Hello friends! Halloween is very near! 💀 I have been working on a few Halloween cards and will be posting those as soon as I know they’ve been received. But today’s project is about Halloween in mixed media art journal form! I do enjoy crafting Halloween!
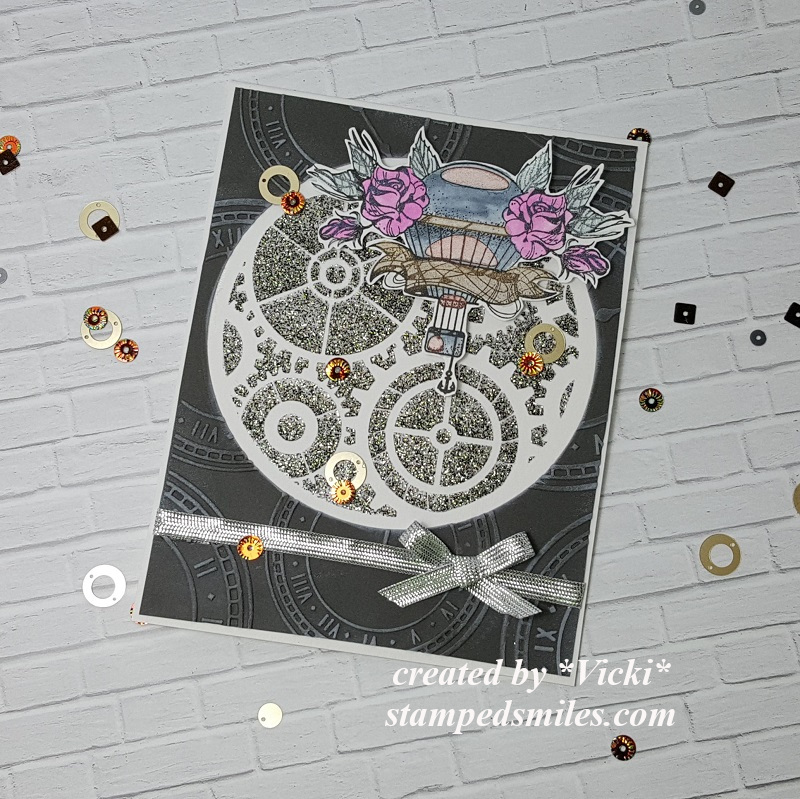
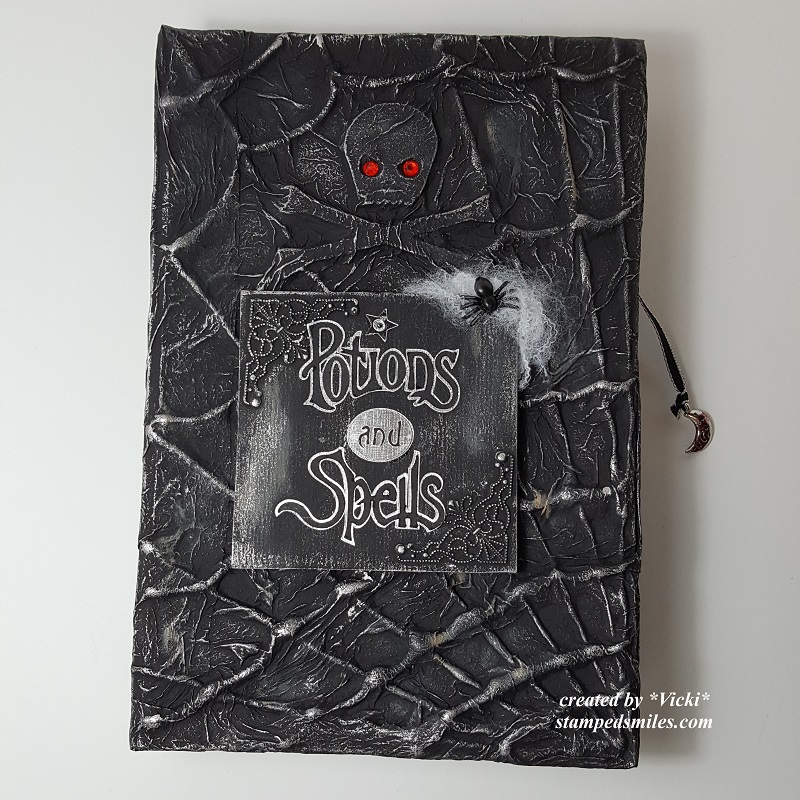
Very excited to be doing the monthly Art Journal Page collaboration with my crafty friend, Carol (from Crafty-Stamper)! We get creative trying to use up our never-ending stash piles along with a prompt for each month. I know she always has great inspiration to share, so please check out her blog too! Here’s my AJ page with the “SMASH OUR STASH” October prompt of “MIX” (mix colors together from any media):
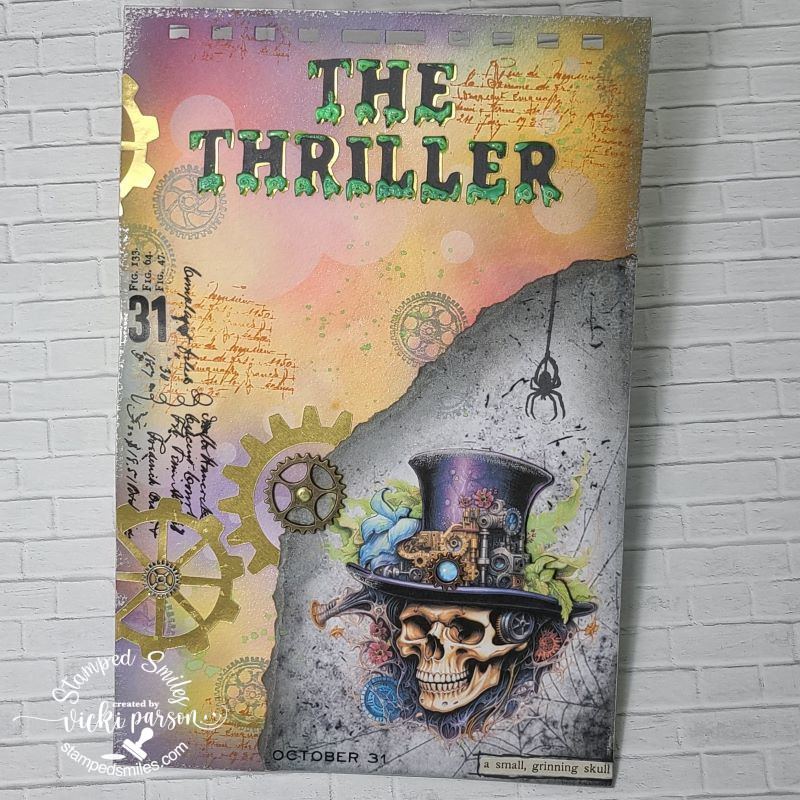
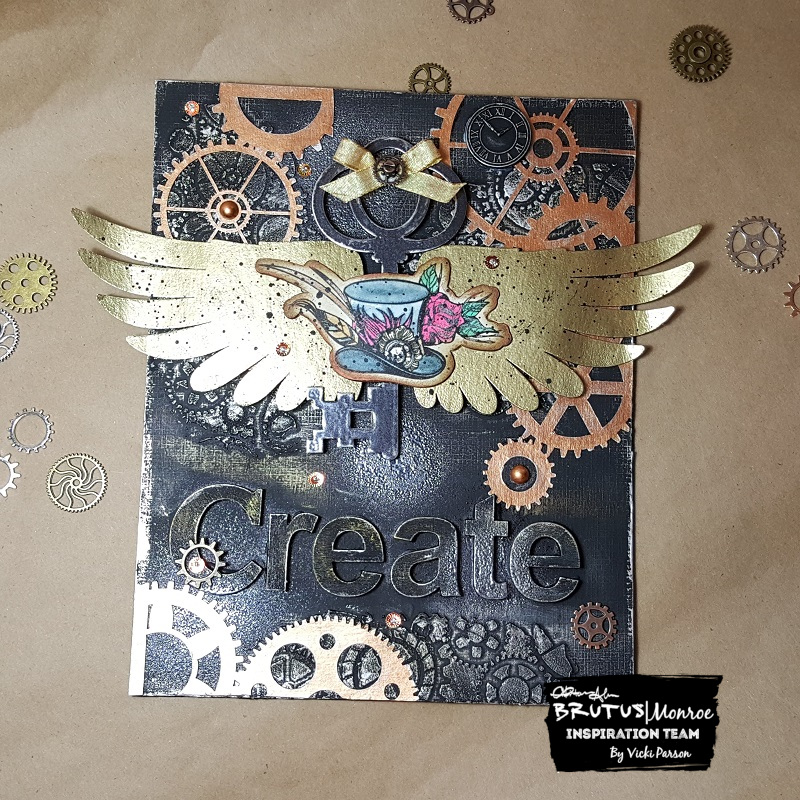
For this month’s prompt, MIX, I have to say that I love to mix up colors to see what they look like. I have SO many bottles of watercolor and of course watercolor is fun to mix up…so I went with that for my background.
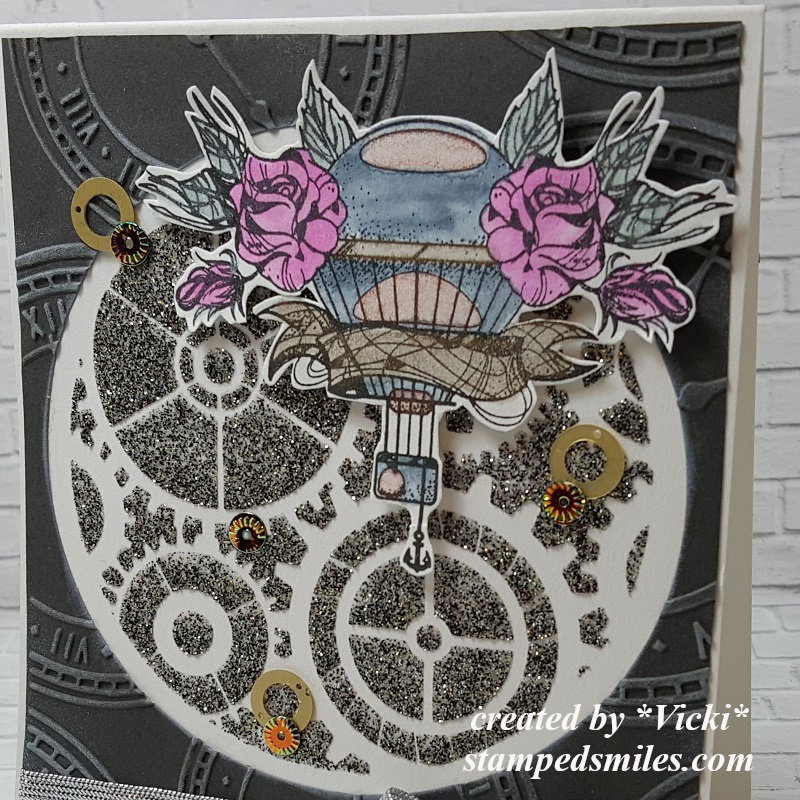
For the background: Hard to tell, but I’ve used eight different colors of watercolor that was applied to a pre-punched 6″ x 9″ Canson 140# cold press paper. I also used a circle stencil to apply some white ink over it for a bokeh effect. I also stamped some random words and gears. (Stamperia and Tim Holtz) I also took some of the green watercolor used in the background for a few splatters.
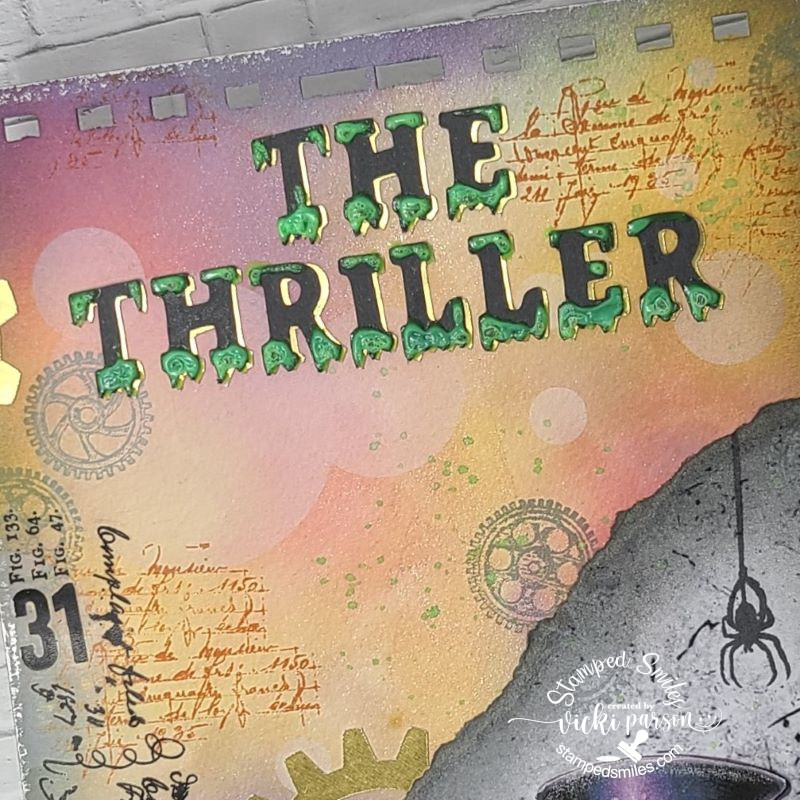
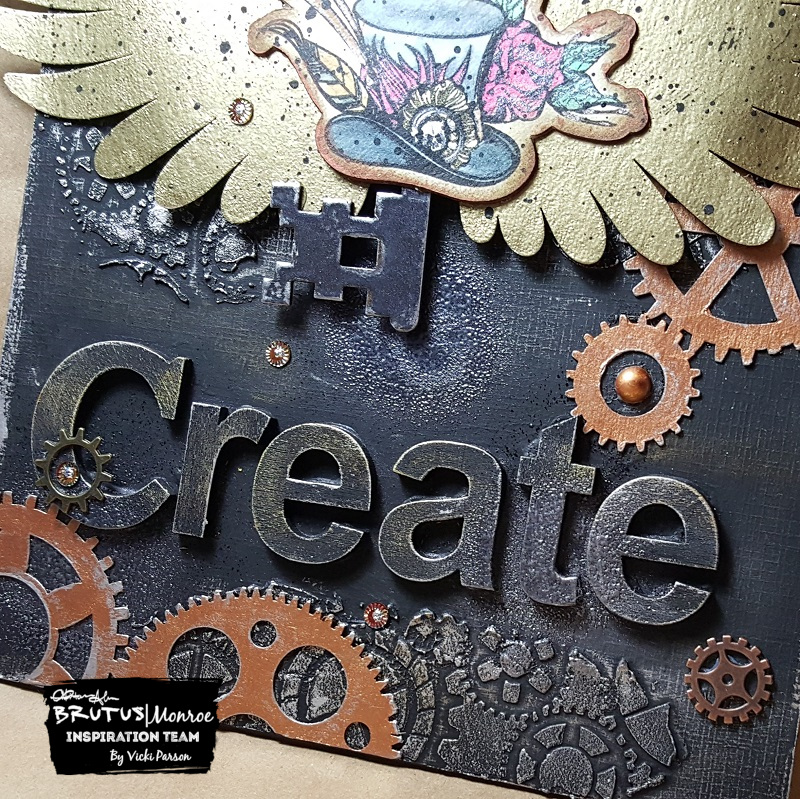
Showing my age here but does anyone remember the Micheal Jackson “Thriller”?! It’s perfect for Halloween! I thought I needed to add a title to my page to represent the Halloween theme and this song came to my mind! 😆
I found some cool lettering that I used my Cricut machine to cut them out with in both gold metallic (also cut gears with) and some dark grey cardstock. I glued them together with a slight off-set so the gold shows through. I also used some Nuvo Glow in the Dark liquid drops around the edges of the letters. I wanted to make it really “goopy” so I heated it up with my heat gun so that it bubbled.
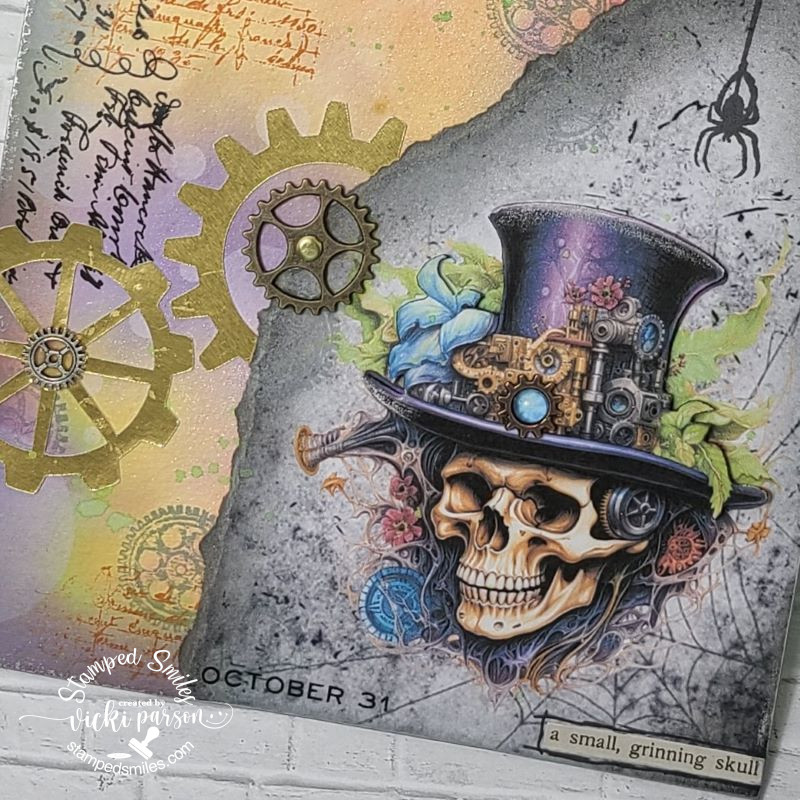
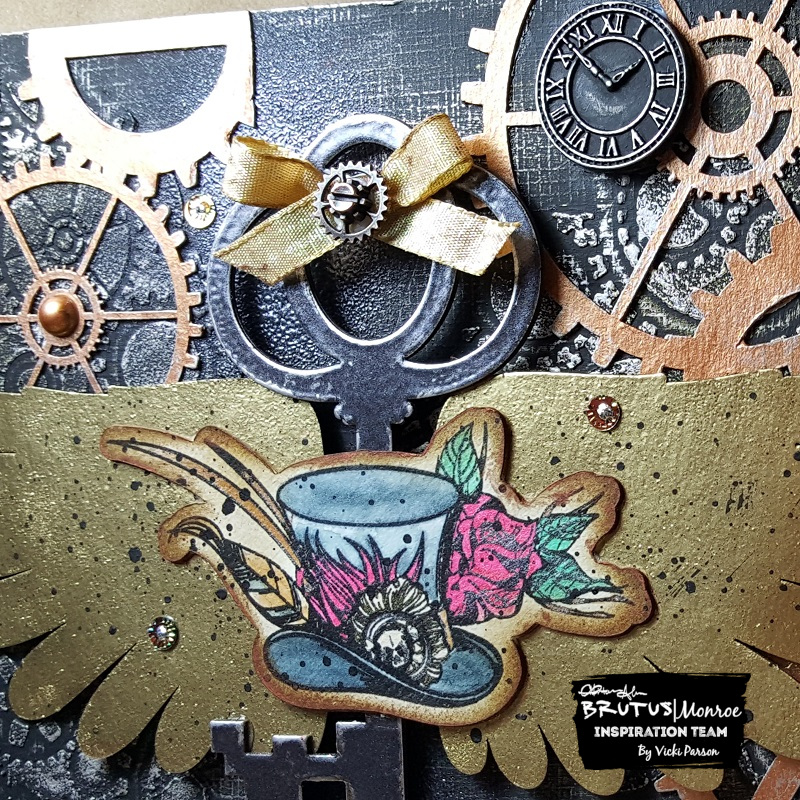
The bottom of the page has the really cool Steampunk skull image that came from an Etsy store. I used another image of it to fussy cut the hat and then popped it up over the image on the paper. If you look at the center bottom of his hat, I added a gear with a clear drop in the center of it.
I’ve also added a talk sticker and rub-on from Tim Holtz. I added a couple more metal gears from my stash to go with the gold cut out ones. Lastly, I’ve taken some silver metallic wax and went around the edges of the page and slightly over top of the skull’s hat.
Hope you’ve enjoyed my art journal page today! I sure had fun putting it together! Thanks so much for stopping by today!
Challenges:
- Art Journal Journey – In Gear
- Creative Artiste – Anything Goes Mixed Media #98
- Try it On Tuesday – Halloween
- Two Old Bats Halloween – Anything Goes Halloween
- Simon Says Stamp Monday – Spooky!