Hello friends! When I read about the weather from other areas, it always amazes me how different and even to extremes the weather gets especially during this time of the year! I hear everything from rain, sun, snow, tornadoes, flooding, cold, warm, hot, etc. So where do you find your own weather to be at right now? In my area, we have reached past the snow, but it’s still pretty cool at night…so I know that Spring and the rain is here for us with a bright spot of flowers/sprouts starting to come out in the Midwest U.S.
With this in mind, we have a new challenge over at Sparkles Monthly and we have a very fitting theme of “Weather Related” (rain, wind, sun, etc.) this month. Would love to see lots of different varieties of weather related projects, so I hope you’ll join us. Here’s what I came up with:
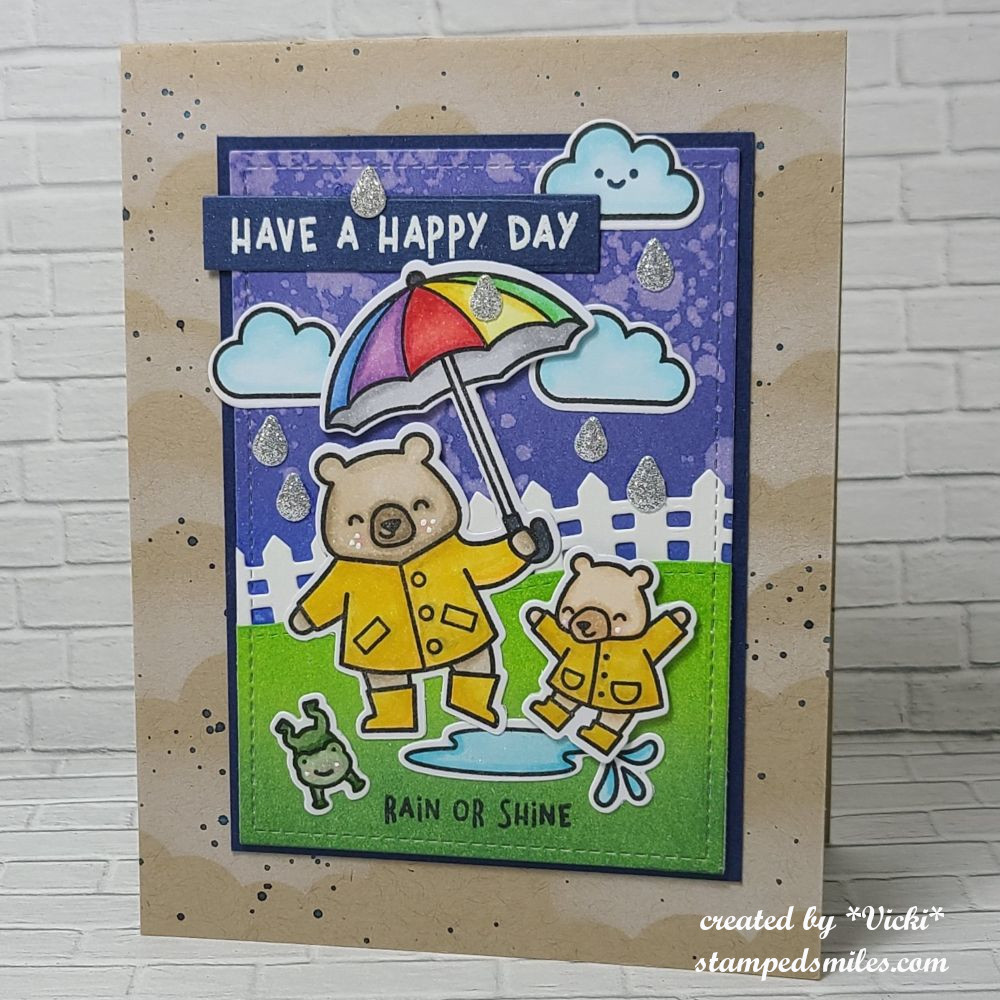
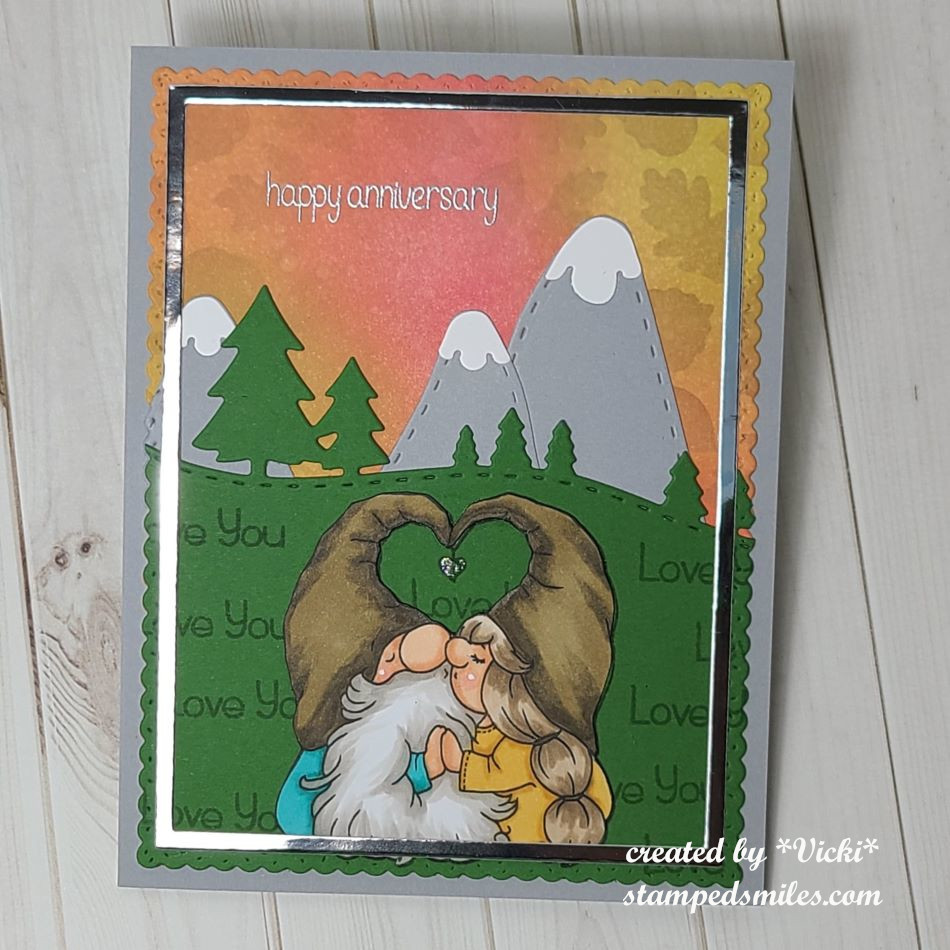
I was so happy to finally get a chance to use this adorable set by Lawn Fawn called Beary Rainy Day as I’ve had it for a while, but never used it until now.
I started with a kraft A2 sized top folding card base and stenciled some white clouds over it. I then splattered some navy watercolor paint over it.
While that was drying, I worked on my scene. For the background, I took some blue oxide inks in Blueprint Sketch and Salty Ocean and ink blended them on the stitched die cut panel. I used some water to spritz over it for a watermark look. While that was drying, I took another stitched panel and ink blended some Mowed Lawn and Rustic Wilderness Oxide inks for the grass area and die cut a hill to place at the bottom. Before I attached it, I also die cut a white picket fence to go behind it. I placed this scene onto a piece of navy cardstock and attached to the card base.
To complete the scene, I’ve stamped, colored with Copics and die cut the critters, rain puddles and clouds. I used the coordinating raindrop die with the set and just die cut a few raindrops in silver glitter paper to add to the scene. Lastly, I white heat embossed part of the sentiment on navy cardstock, cut out with a banner die and then just stamped the sentiment at the bottom in navy ink. Also hard to see in the photo, but I’ve added some shimmer to the puddles with a glitter brush pen.
- That’s all from me today! Hope you’ll stop by the Sparkles Monthly blog is see what the team has come up with using this theme and join us in the challenge! Thanks so much for stopping in as I love to read your comments!
Challenges:
- Craft Rocket – #124 Layer it Up
- Addicted to Stamps & More – #490 Die cuts and/or stencils (clouds stenciled and variety of die cuts used)

- Penny’s Paper-crafty – #594 Anything Goes Using Paper
- Crafty Gals Corner – #266 Fill in the Blank: “Adorable puddle jumping!”
- Time Out – #286 Pick 2 from list: I picked Stencil & Water + Spots ( I was inspired to stencil some clouds and add some spots (splatter) to go with the colors/clouds of my scene and I was inspired by the water with the rain, puddles and watermark for ink blending)

- Thank you to all the challenge blogs for keeping us all inspired to create and play along with our supplies! I try to play along as much as I can.