Hello friends! Wishing you a happy weekend! We’ve had a heat advisory in our area all week, so I’ve been staying indoors organizing, cleaning and crafting! Hope that you’re taking some time to enjoy your weekend even if it’s just for a moment of time.
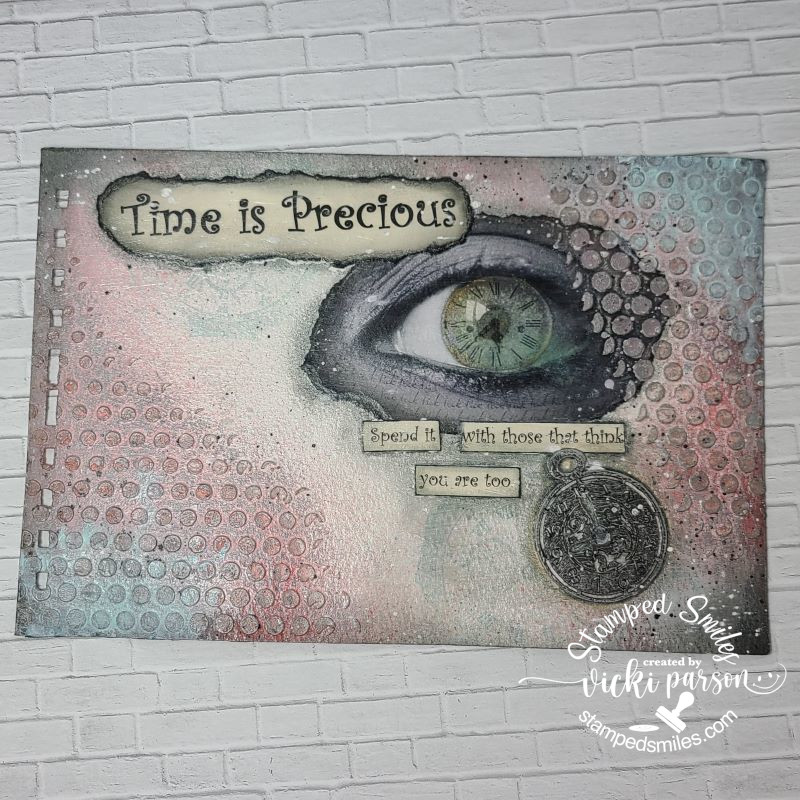
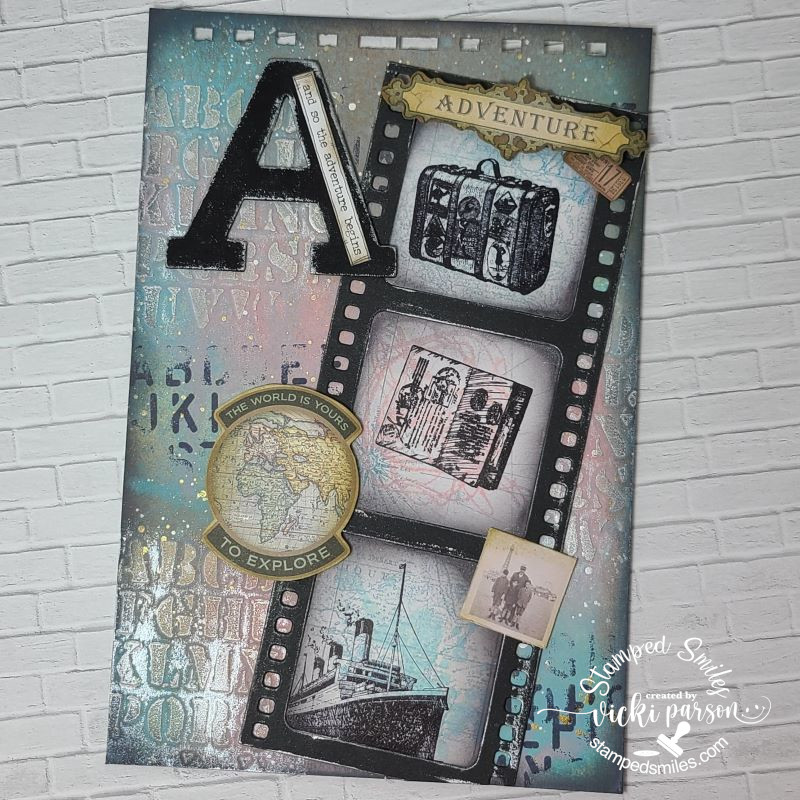
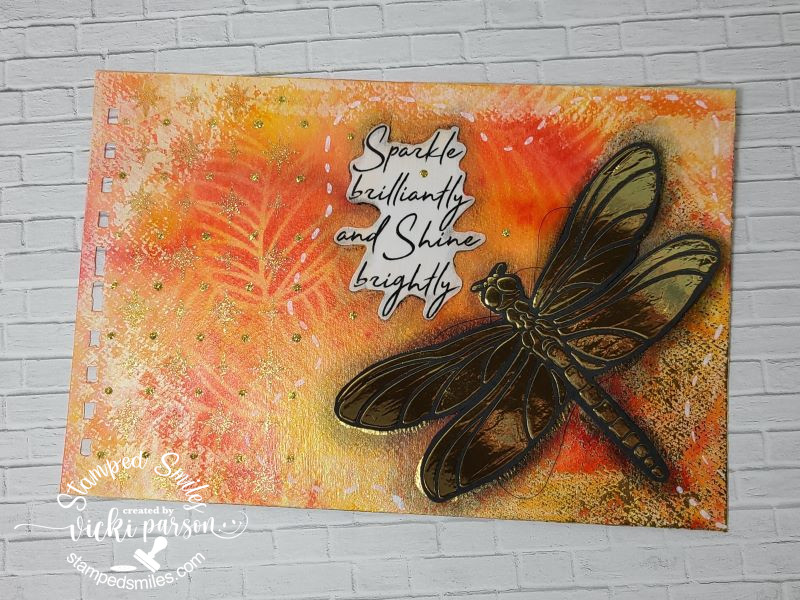
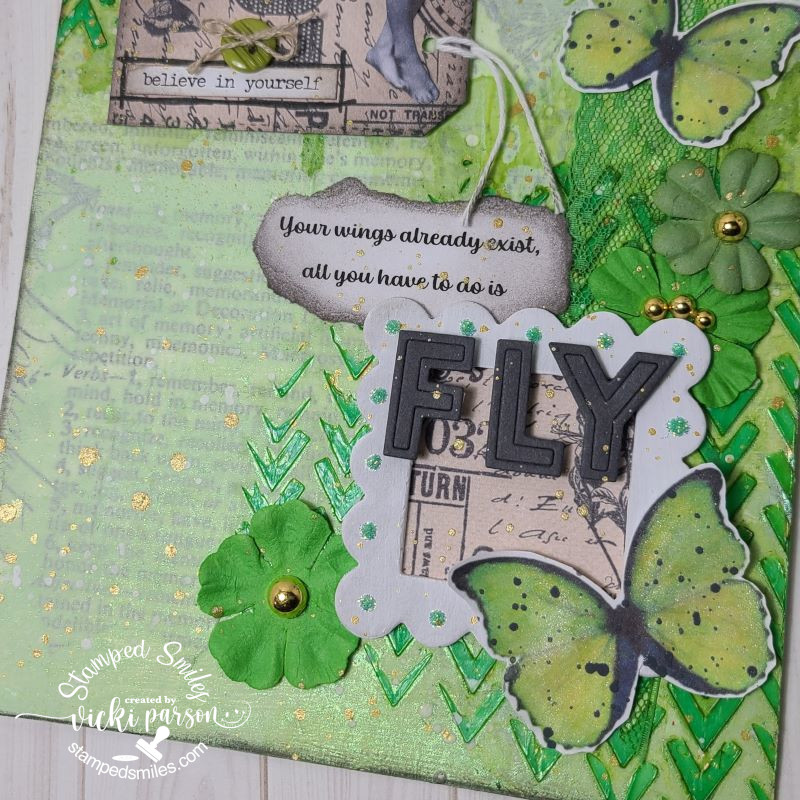
I can’t believe we’re at the last weekend of August, because it’s time for the monthly Art Journal Page collaboration with my crafty friend, Carol (from Crafty-Stamper)! We get creative trying to use up our never-ending stash piles along with a prompt for each month. I know she always has great inspiration to share, so please check out her blog too! Here’s my AJ page with the “SMASH OUR STASH” August prompt of “LETTERS”:
Thinking of YOUR stash, what do you come up with from the prompt? I think as crafters, we probably all have some type of lettering in our stash! I have stamps, stickers, chipboard, wood, stencils, ephemera, etc so I knew this would be a good opportunity to pull out something. And if that doesn’t work for you, I suppose you could take the prompt literally, and attach an actual written letter or make one up yourself to add to your AJ page. Lots of ways to interpret a prompt which makes it easy to come up with a plan to inspire you. So this is what I came up with.
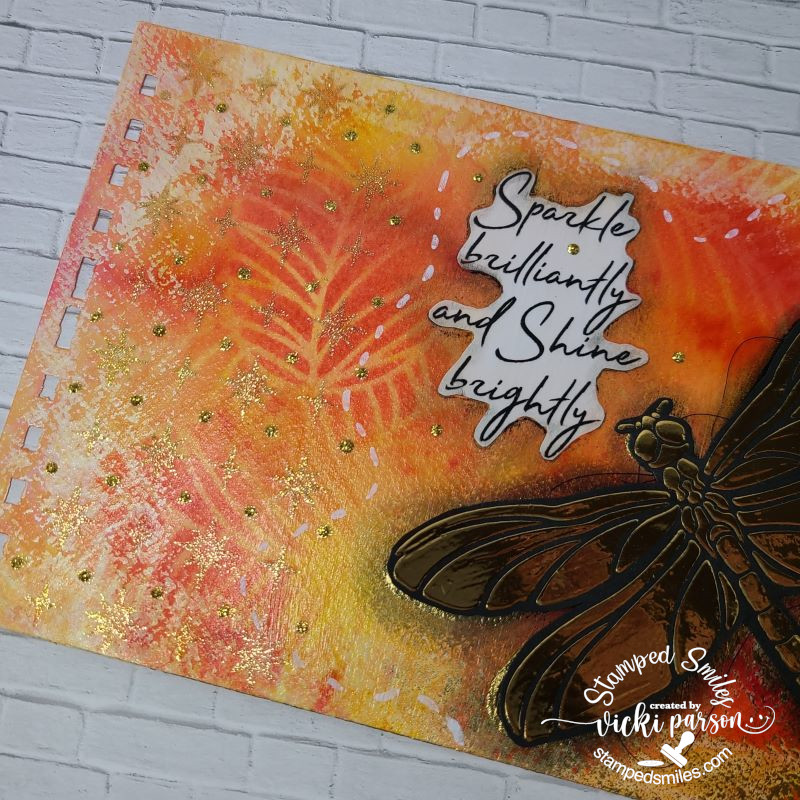
For the background: I started with a 6″ x 9″ Strathmore Acrylic paper with pre-punched holes at the top and stenciled some crackle paste over my Tim Holtz alpha stencil and let dry. I then took some Distress Oxide sprays in the colors kitsch flamingo, salvaged patina and speckled egg and mixed with sprayed water to let the the colors run over the stenciled areas. After it dried, I used the Tim Holtz Grunged stamp set and stamped more letters over the background with black archival ink. The edges were blended with dark gray ink and then I splattered the page with gold and white paints with a fan brush. Lastly, I took some white gold metallic wax and went over the stenciled letters.
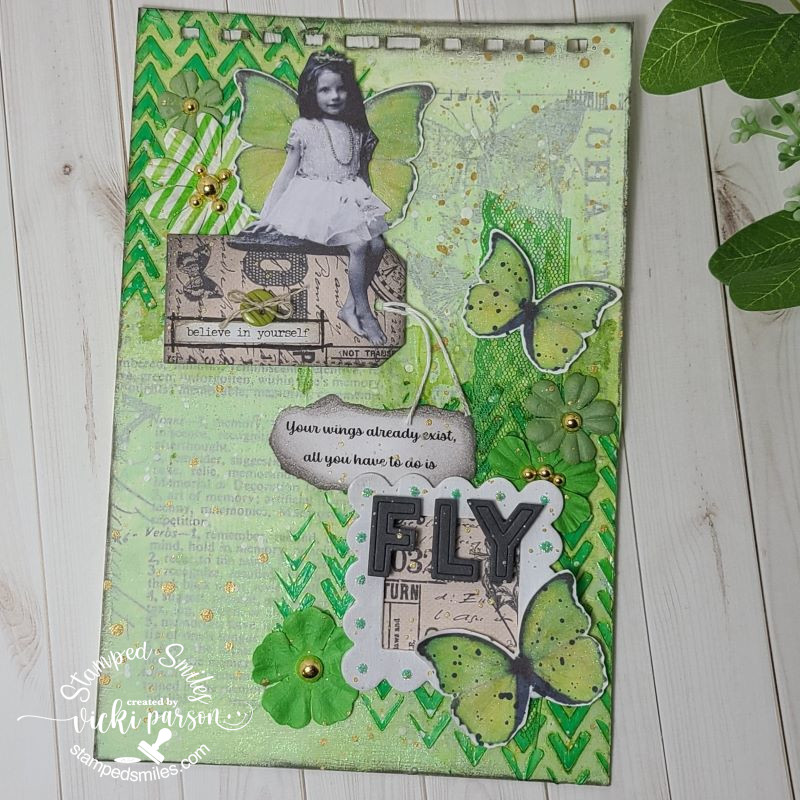
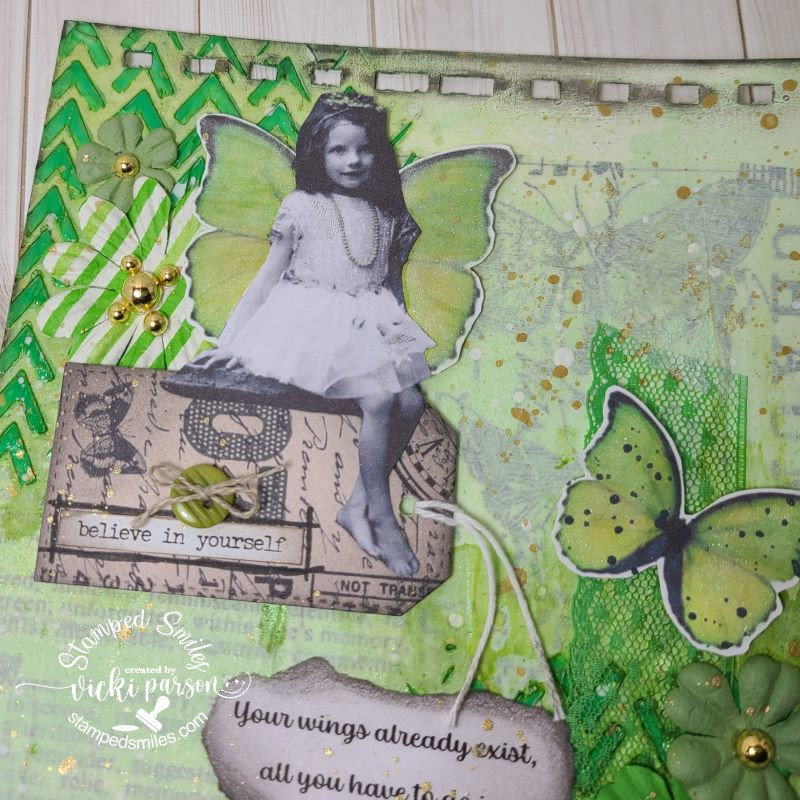
The film strip came from the Whimsy Stamps Slmiline Film Strip die cut out from black cardstock. For the three image sections, I found some packaging with maps images on them and cut it out with the same die. Since the packaging had a slick surface, I painted it with clear gesso so I could stamp over it. After it dried, I stamped the three panels with the TH Grunged stamp set in the same colors of Oxide inks as the background and then stamped the travel images with black archival ink from an old Stampin’ Up! set called “Traveler”. To finish is off, I used an old chip board letter “A” from my stash, painted it black and added some more of that white gold wax along the edges, found a TH “small talk” sticker to go over it and then I drew some lines around it and sponged it to make it look grungy. I finished it with more ephemera I found in my stash from Tim Holtz and Stamperia… and decided to call it done.
- Thanks so much for stopping by today! I hope you’ve found some inspiration with my project! Enjoy your day!
Challenges I’d like to enter my page for:
- Art Journal Journey – Where in the World? (travel theme)
- Crafting Happiness – Any type of craft
- Creative Artiste – #96 Anything Mixed Media
- Paper a la Mode – No Cards – I was inspired by grungy things
- Crafting From the Heart – No Cards – Anything Goes
- Ally’s Angels – Anything Goes


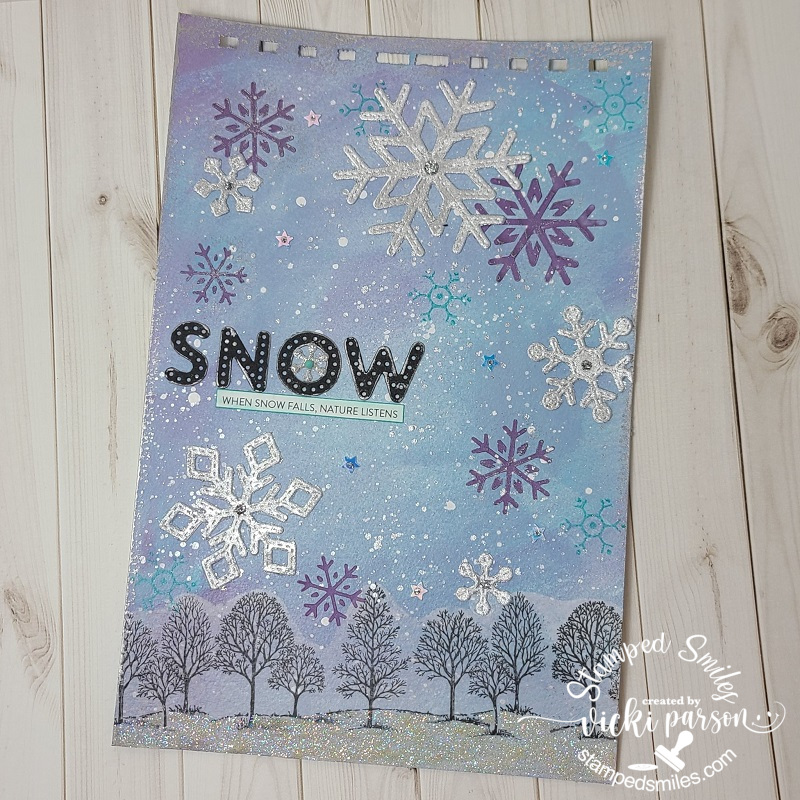
 Here’s my first Art Journal inspiration for 2023 with the “SMASH OUR STASH” January prompt of “Sprays/Stains/Paints” :