Hello friends! Hope that your week has been a good one for you! Thank you to everyone for stopping by and taking your time to spend with me as I appreciate your kindness.
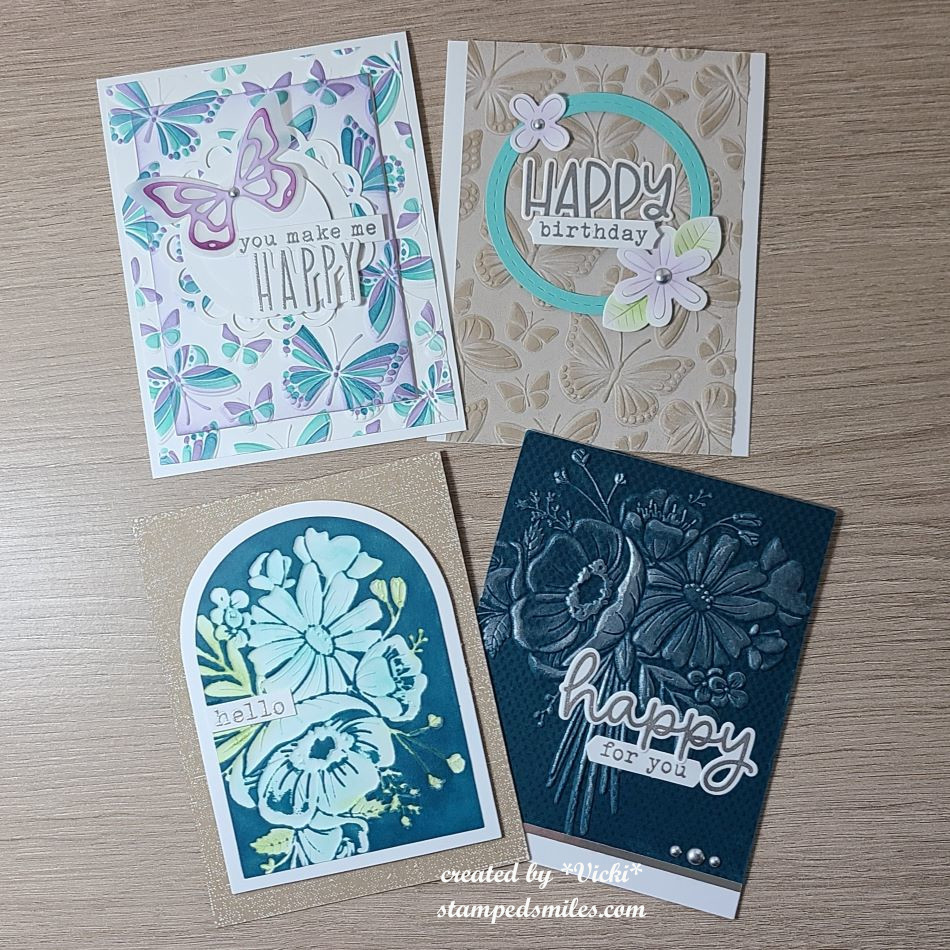
Today starts the August challenge over at Sparkles Monthly and for this month, our hostess is asking to see a butterfly or butterflies on your projects. I love butterflies and look forward viewing the gallery on this one. Be sure to stop by the blog to see what the rest of the team has created for you. Here’s my project for this challenge:

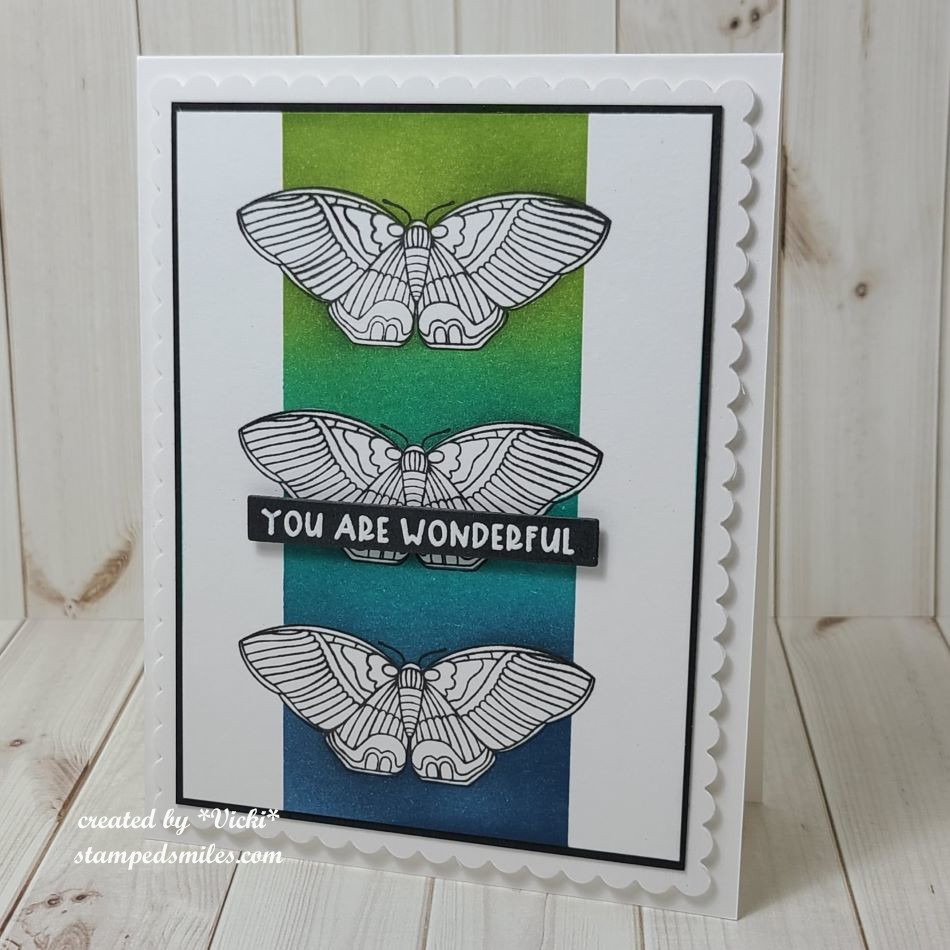
I like how this one came together! I’ve used several butterfly items from Taylored Expressions. I started with the background by taking the Fluttering Friends Layering Stencil and stencil the colors Sour Gummy, Spearmint & Peaches ‘N’ Cream over a white card base. Once the stenciling was finished, I used the Fluttering Friends 3D embossing folder over it which also impresses the bodies and antenna on them. I layered this over a top folding A2 Spearmint card base. (I also cut out a frame with the same colored cardstock using the Frame in Frame 3 Cutting Plate).
For the butterfly focal, I white heat embossed a butterfly from the Beautiful Butterfly Wings stamp set and cut it out along with the layered wings and body from the Beautiful Butterflies die set. I layered it onto a piece of vellum cut out with the Petite Scallop Circle Stacklets die. I also white heat embossed the sentiment from the Mini Strips-Fluttering By stamp set over Sour Gummy cardstock cut from the Mini Strips die. I used foam strips to pop it up and I also added some rhinestones on the butterfly wings.
I hope you like my inspiration for the challenge and that you’ll take some time this month to create something with butterflies too.
Thank you for stopping in and have a great day!
Challenges:
- Cut It Up – #310 ‘Thinking of You’ + use of die cut
- The Divas That Cut…Paper! – Wet/Dry Embossing (I did both)
- Crafty Gals Corner – #258 Anything Goes optional: Embossing Folder
- Lil’ Patch of Crafty Friends – Anything Goes
- Can You Handle the Pressure? – Anything Goes using Embossing Folder optional: wheels
- Stencil Fun – Anything Goes using Stencil optional: Summertime
- Triple B – Butterflies/Birds/Blooms (I used butterflies)