Hey there friends! We’re now at the half-way mark of our wonderful “Birthday Celebration” challenge over at {Cupcake Inspirations}!
Have you been adding your birthday/celebration themed creations to the gallery yet for your chance to win a prize from one of the amazing sponsors we’ve enjoyed sharing the inspiration with?! If you haven’t, we hope you will be able to join in the fun with us as we’re really loving the wonderful projects we’ve been seeing so far!
Today I thought it would be fun to create a unique card with my friends for {Cupcake Inspirations} as well as another of an old favorite from our sponsor Riley and Company that was also featured for yesterday! I have loved this adorable moose for many years and so I couldn’t help but use another image to create something for a little chuckle….

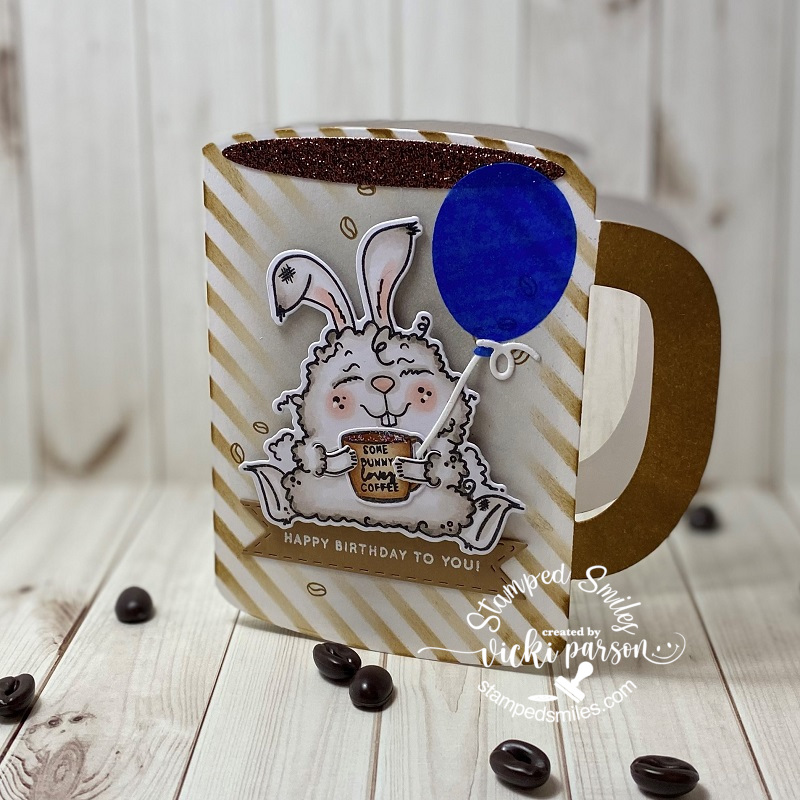
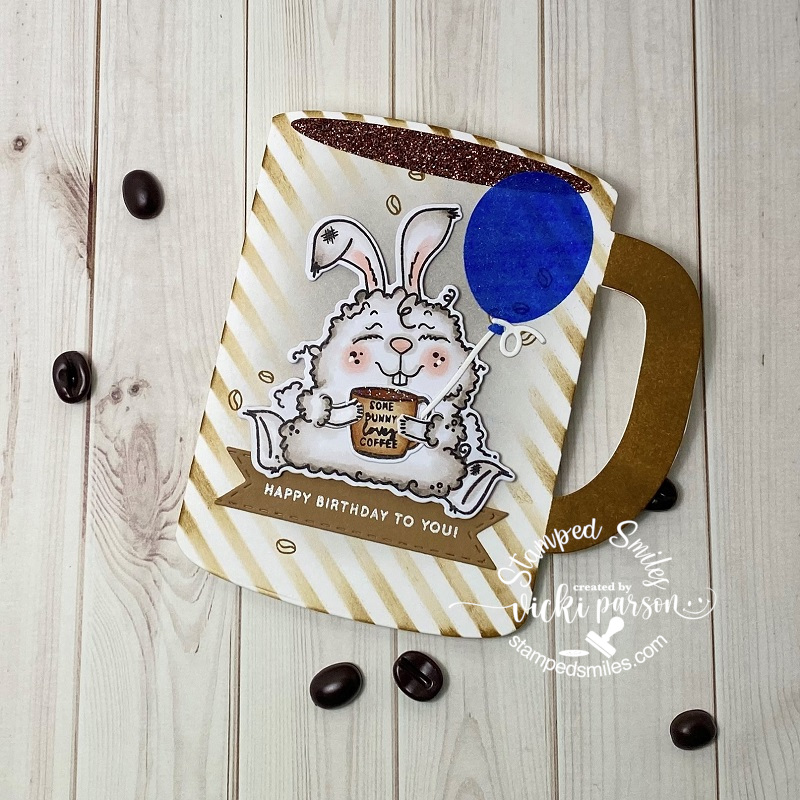
I had so much fun with this easy to make card! I’ve used my Cricut Explore to print out and cut the shape of the cupcake. I actually did this twice so that I could make a folding card with the shaped design. I made a score mark on the bottom cupcake along the left side and glued it together so that it would open up on the right side.
I’ve taken this really adorable Riley and Company “Or Bust” stamp that I’ve had for a few years and stamped and colored him up. Since the space above the “or bust” words is empty, I filled it with a sentiment from a MFT set that was perfect! 😂 I then fussy cut him out and popped him up with foam tape over the card.
I used a gold metallic gel pen to color the frame of the sign he’s holding, wrapped some gold metallic ribbon around the cupcake with a bow and a cupcake button in the center and then finished it off with some glitter over the sprinkles on the top of the cupcake.
Hope that you’ve enjoyed my fun little shaped card today! Thanks for dropping in and I’ll see you on Day 10 for more inspiration with another sponsor!
Challenges:
- Cut It Up – #207 Old School + die cut (Have had this Riley for years! Used Cricut)