Hello friends! I hope that you’ve had a wonderful week so far and looking forward to the up-coming July 4th weekend for those of us celebrating in the U.S.! Just came back a few days ago from my son’s wedding which was really beautiful and a remarkable time celebrating with all the family! (I will share on that in the future here.)
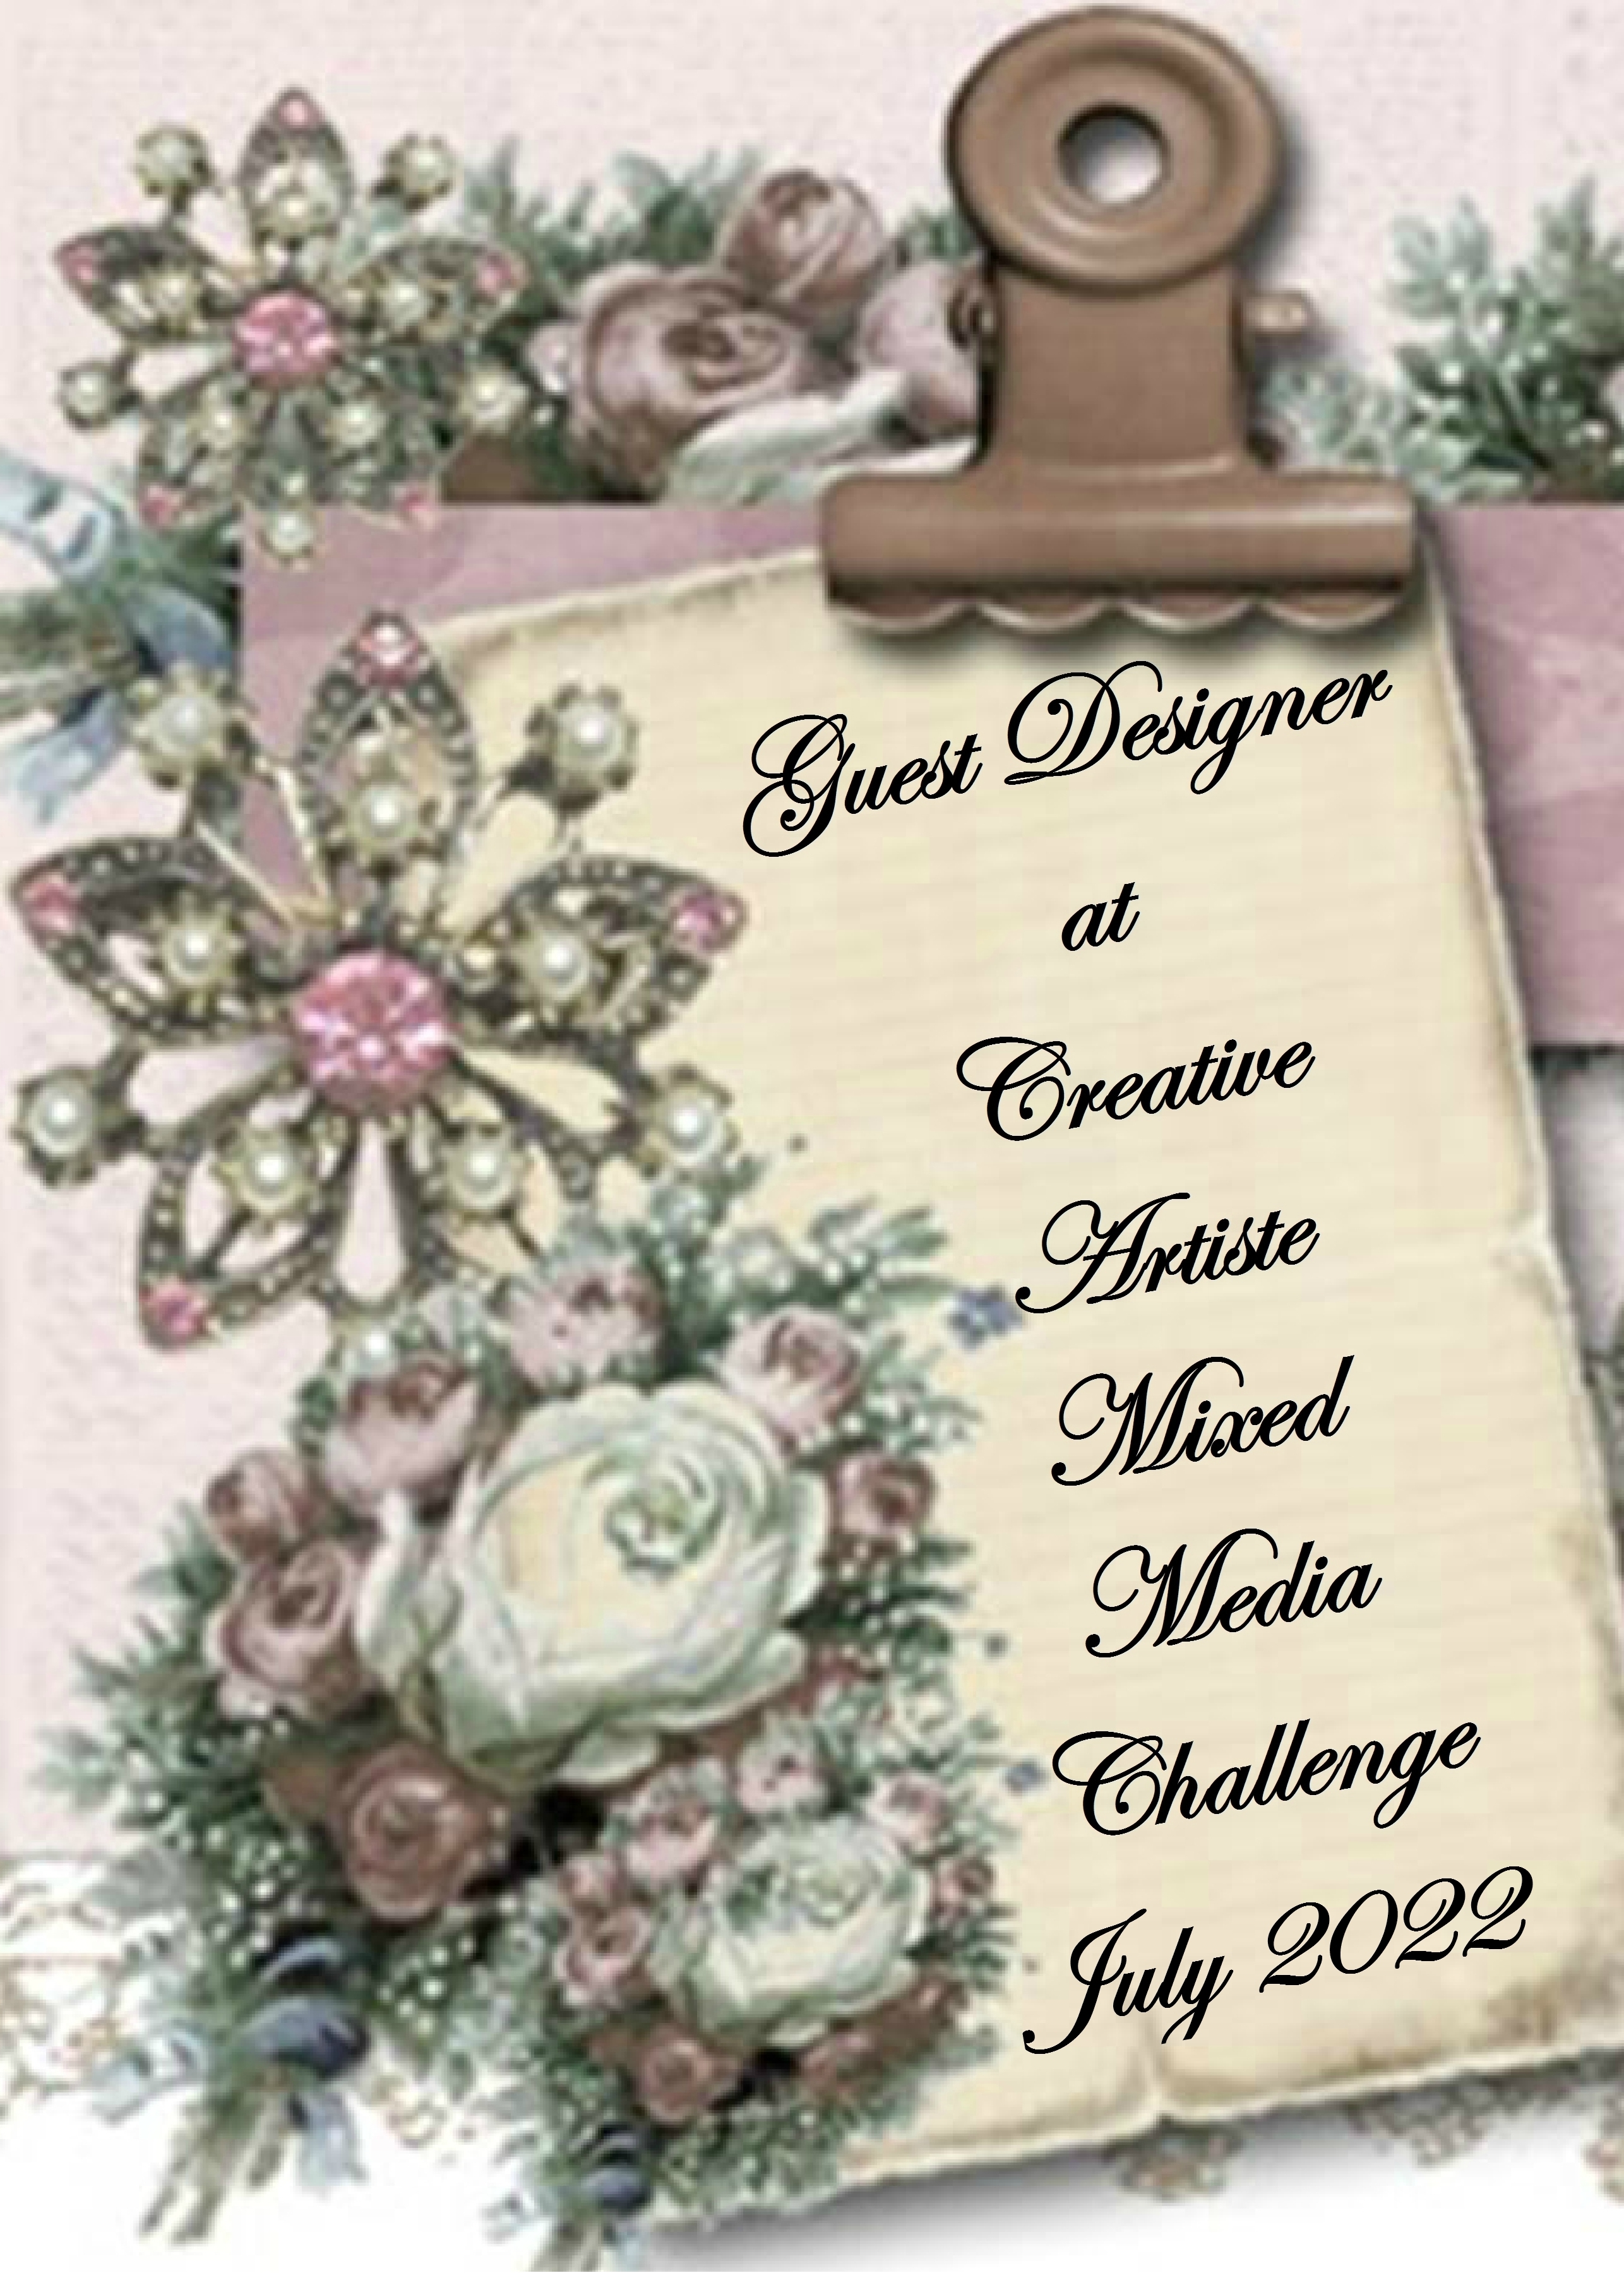
Today I’m very excited to share my mixed media project as the July guest designer over at the Creative Artiste Challenge Blog! So if you enjoy creating with mixed media, please check out the blog and have some fun playing along with us this month!
I wasn’t required to create anything specific for this challenge as it’s always an “Anything Goes Mixed Media” theme. So I thought this would be a great time to share the project that I made and taught recently for a crafty friends retreat. (I will share more on my completed projects in the future here too!)😉
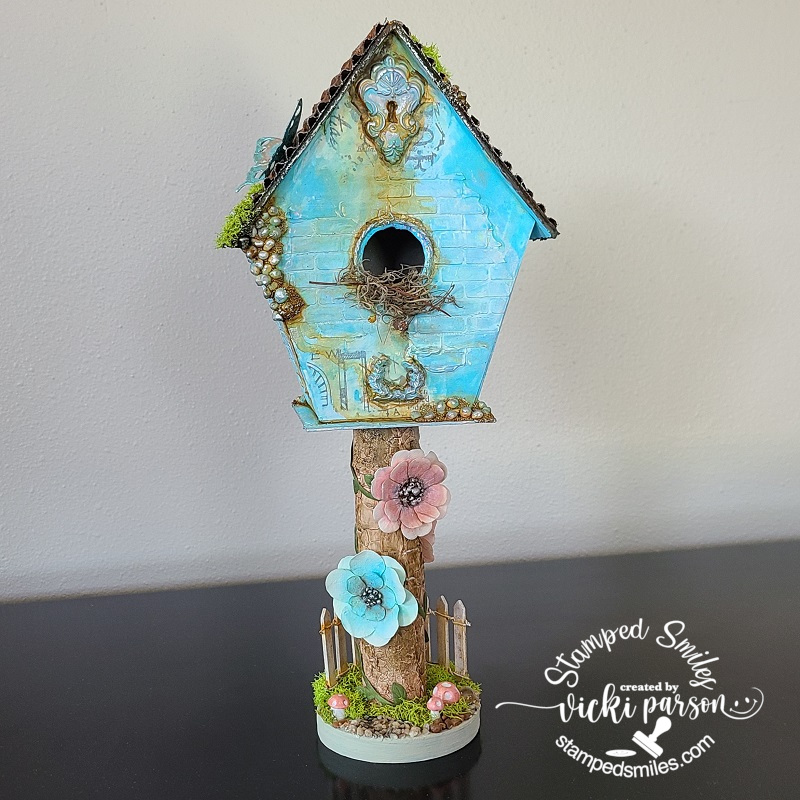
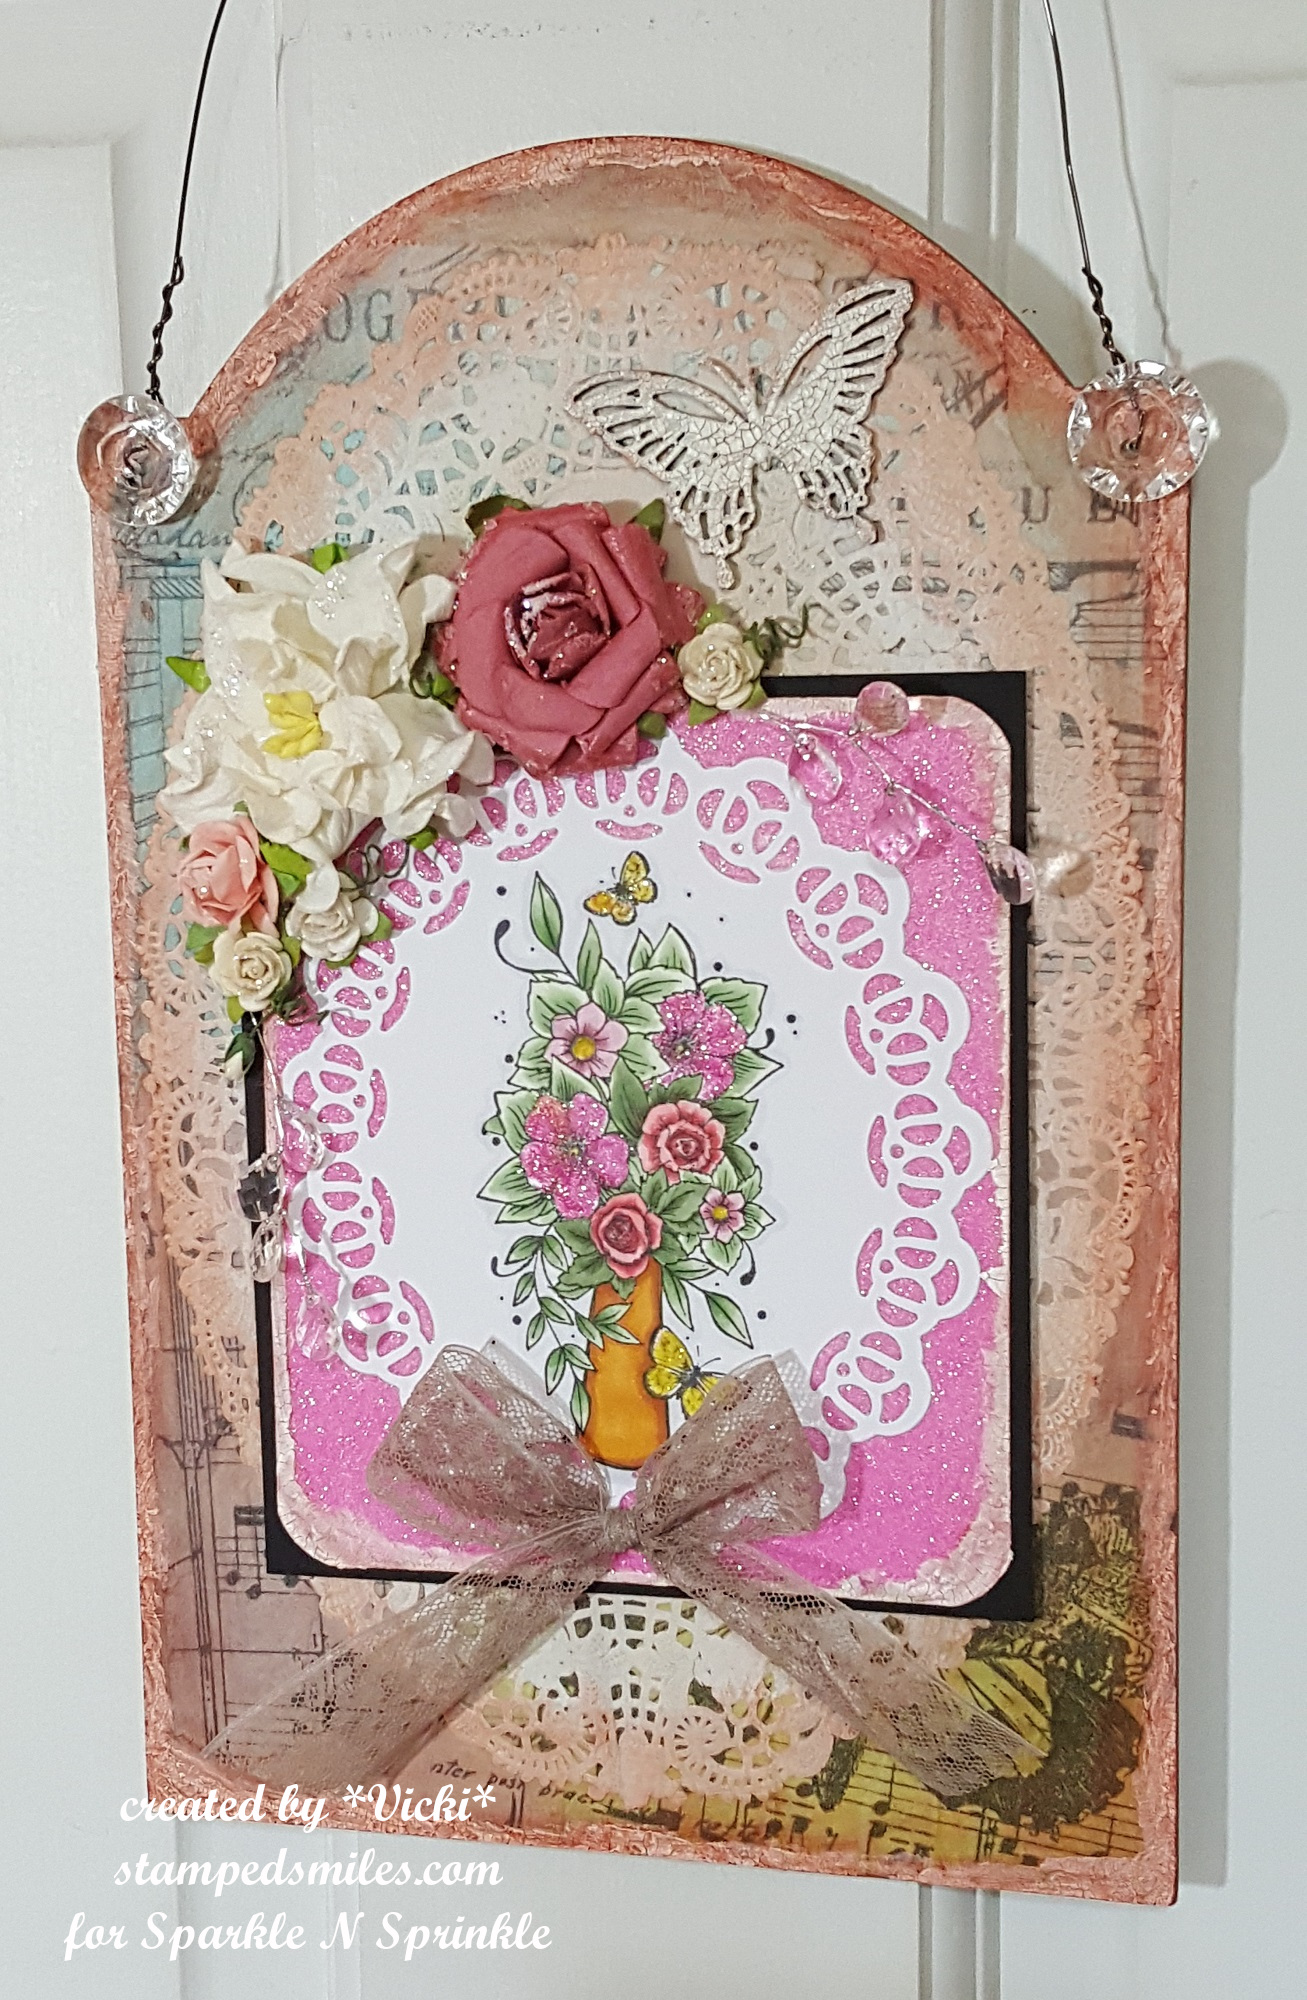
I have made a mixed media birdhouse with a “stand” that is approximately 14″ tall with a width of about 6″ across the birdhouse roof edges.
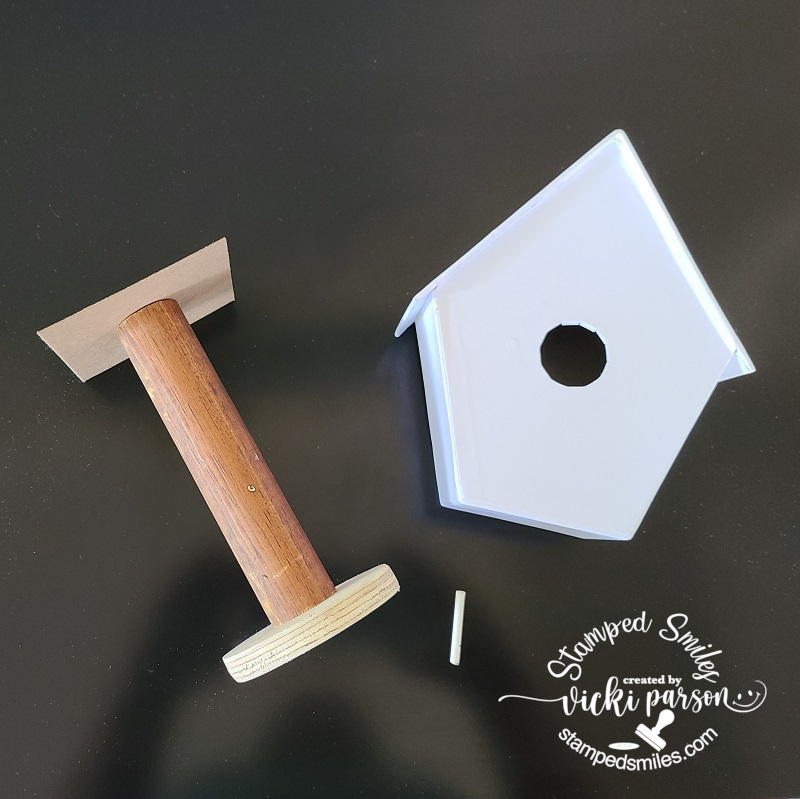
I purchased a paper mache birdhouse that came without the square layer underneath it or the “perch”. I added those using my own chipboard and craft stick from my stash. The “tree stand” was constructed from an old stairway post from my house that had been stored in our shed out back. We had no use for it, so I had my husband cut down the length that I wanted for the birdhouse, attached the square chipboard piece to it and glued the birdhouse on top of that. The very bottom was created with my husband’s saw and pieces of left over wood he had which was then screwed to the stairway post. Here’s what the items looked like unassembled…
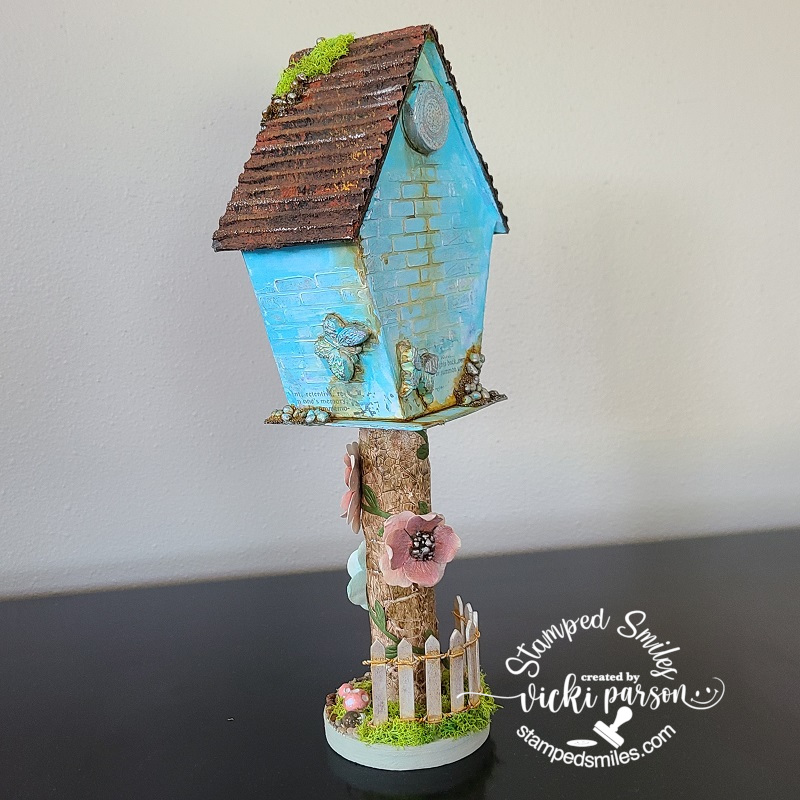
For the “tree bark” look on my post, I covered the entire post with some crackle paste and let it dry along with all of the glue and white gesso to prime everything. For the “roof” of the birdhouse, I took a couple of pieces of regular cardboard that you would throw away from a box. I cut it to size for the roof, ripped off the layer to expose the corrugated texture underneath and glued it to the roof. This was primed with black gesso.

Here’s a closer view of the roof. To get that “rusty” texture look, I used the Finnebair Rust Affect Pastes. Not only does it give that look, it also gives the texture too. The class seemed to enjoy that part. I’ve also added some more textures with the art stones, wax and moss. You will also notice that I’ve used this same method with the “perch” too.

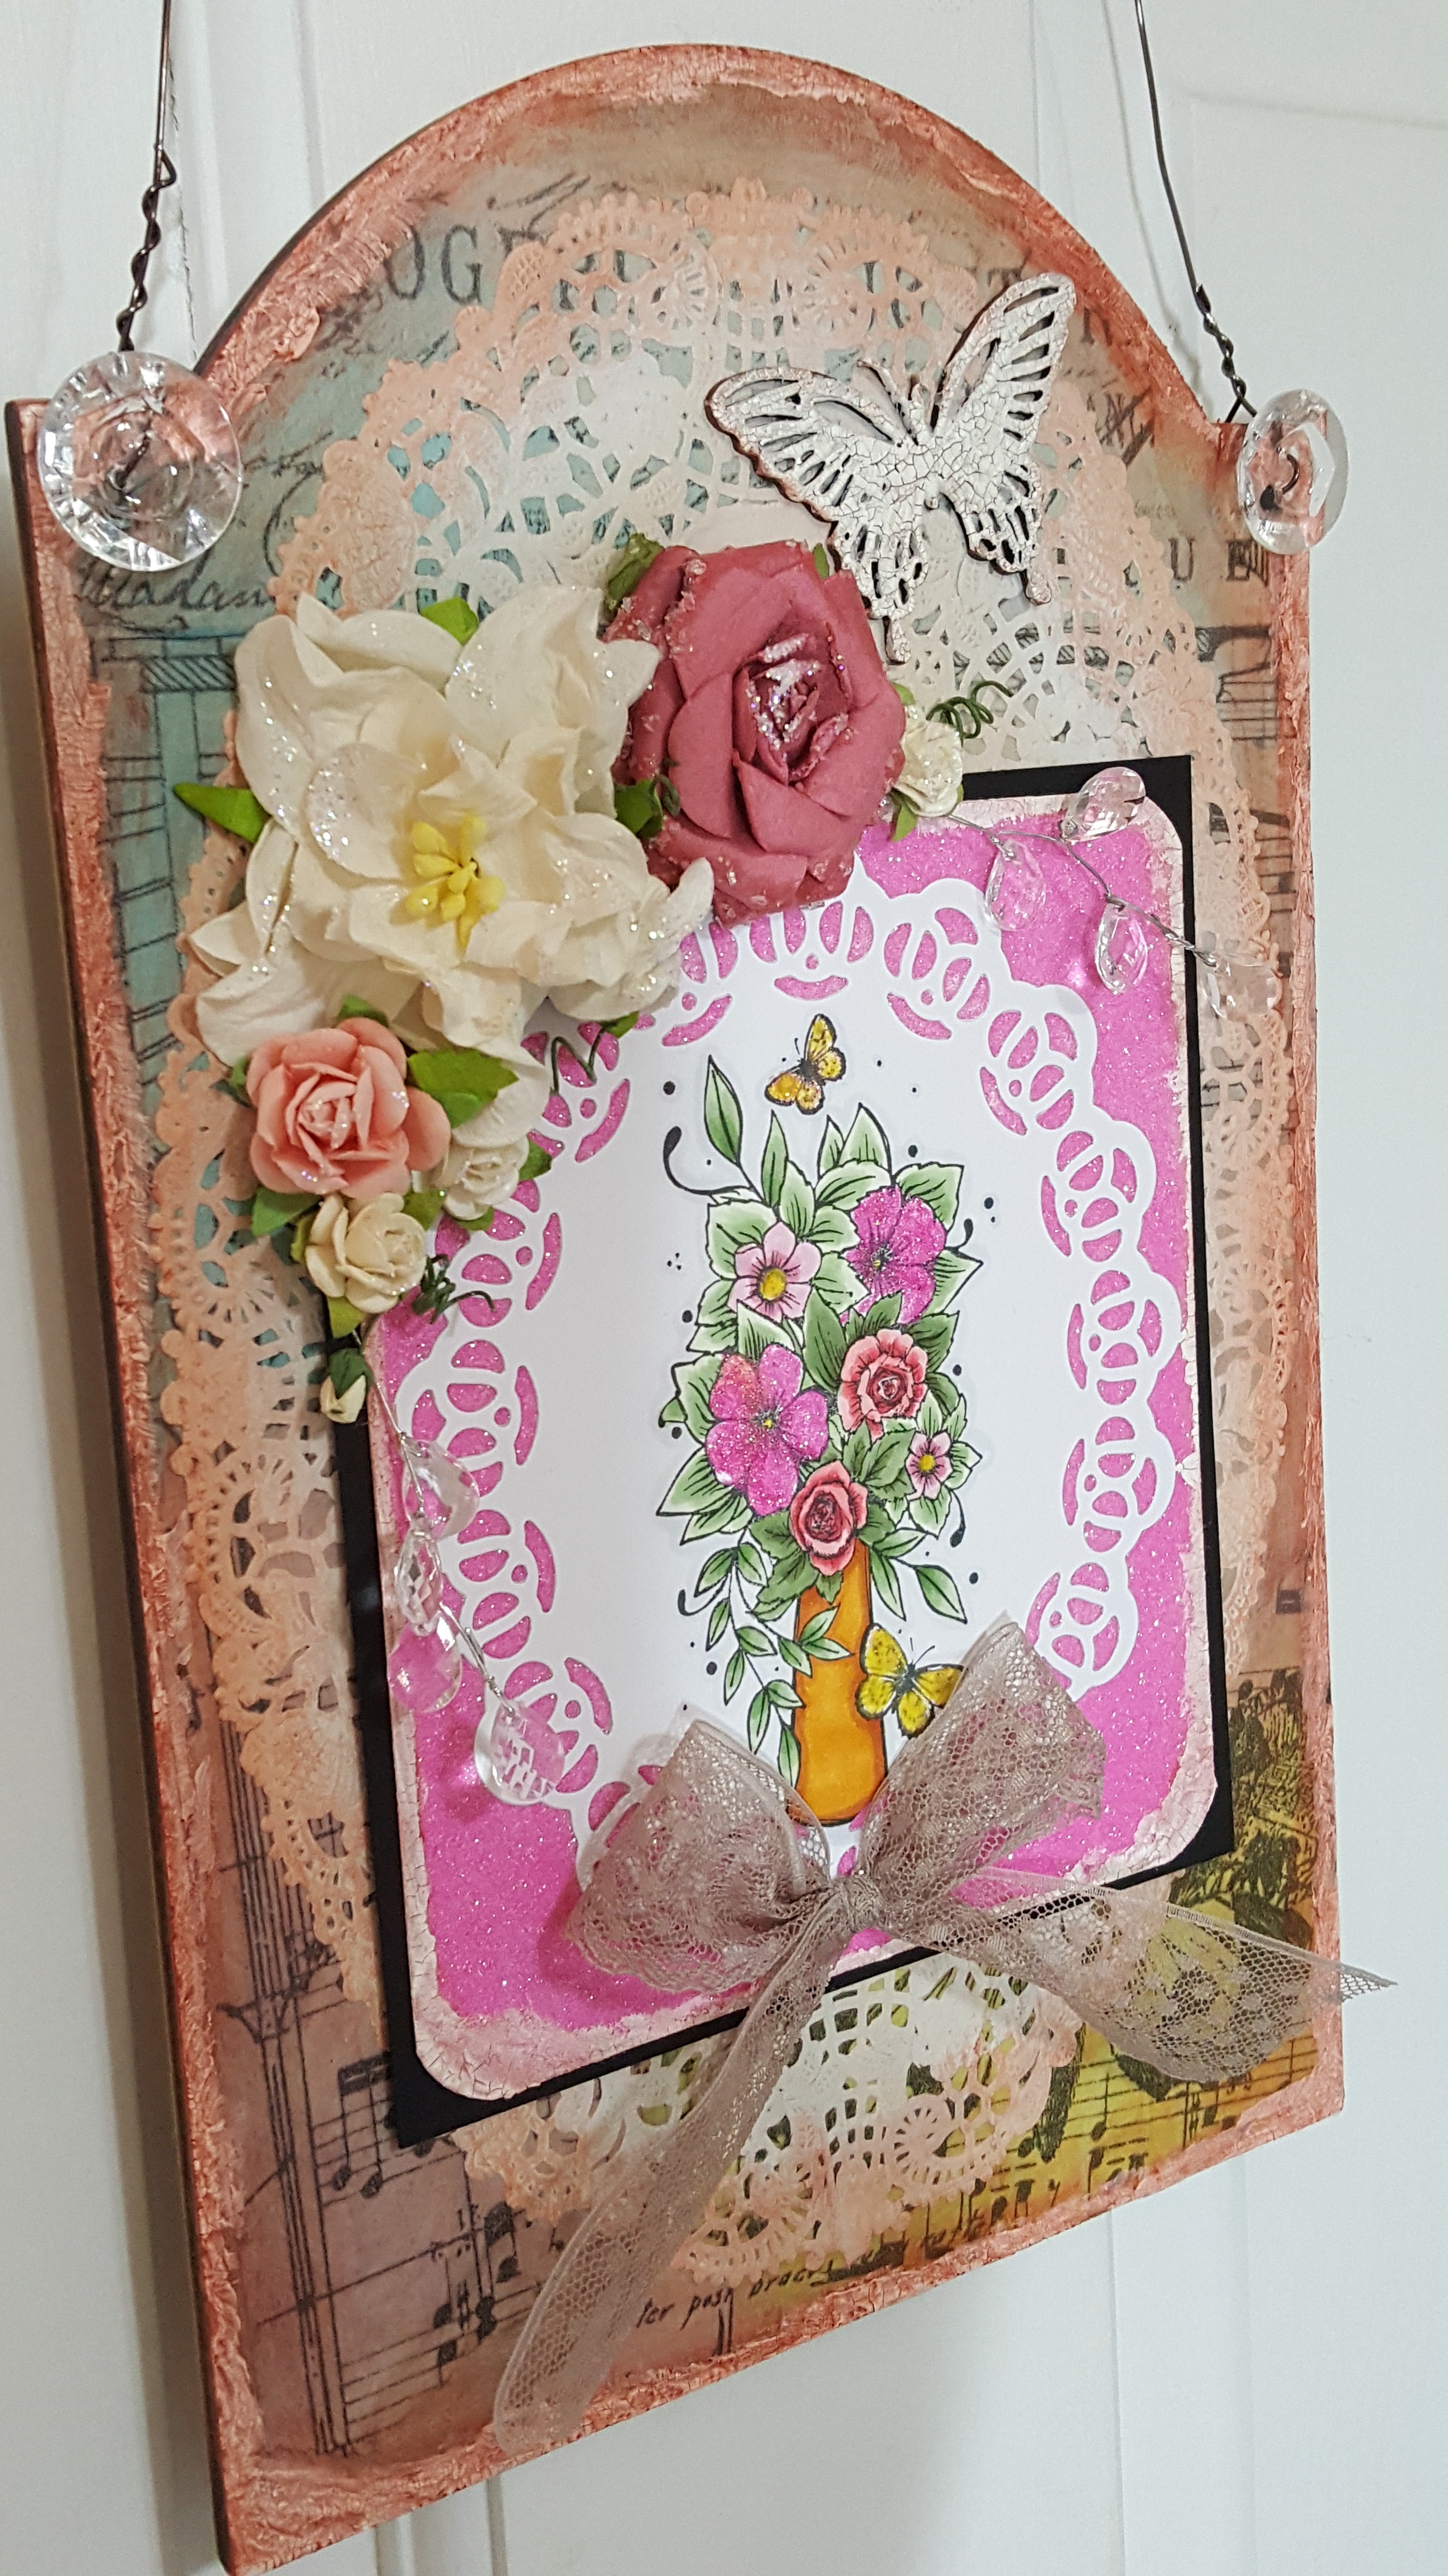
The other side of the roof also has added texture with art stones as well as a tin mechanical butterfly that was painted up with some Sparks sparkle paints.
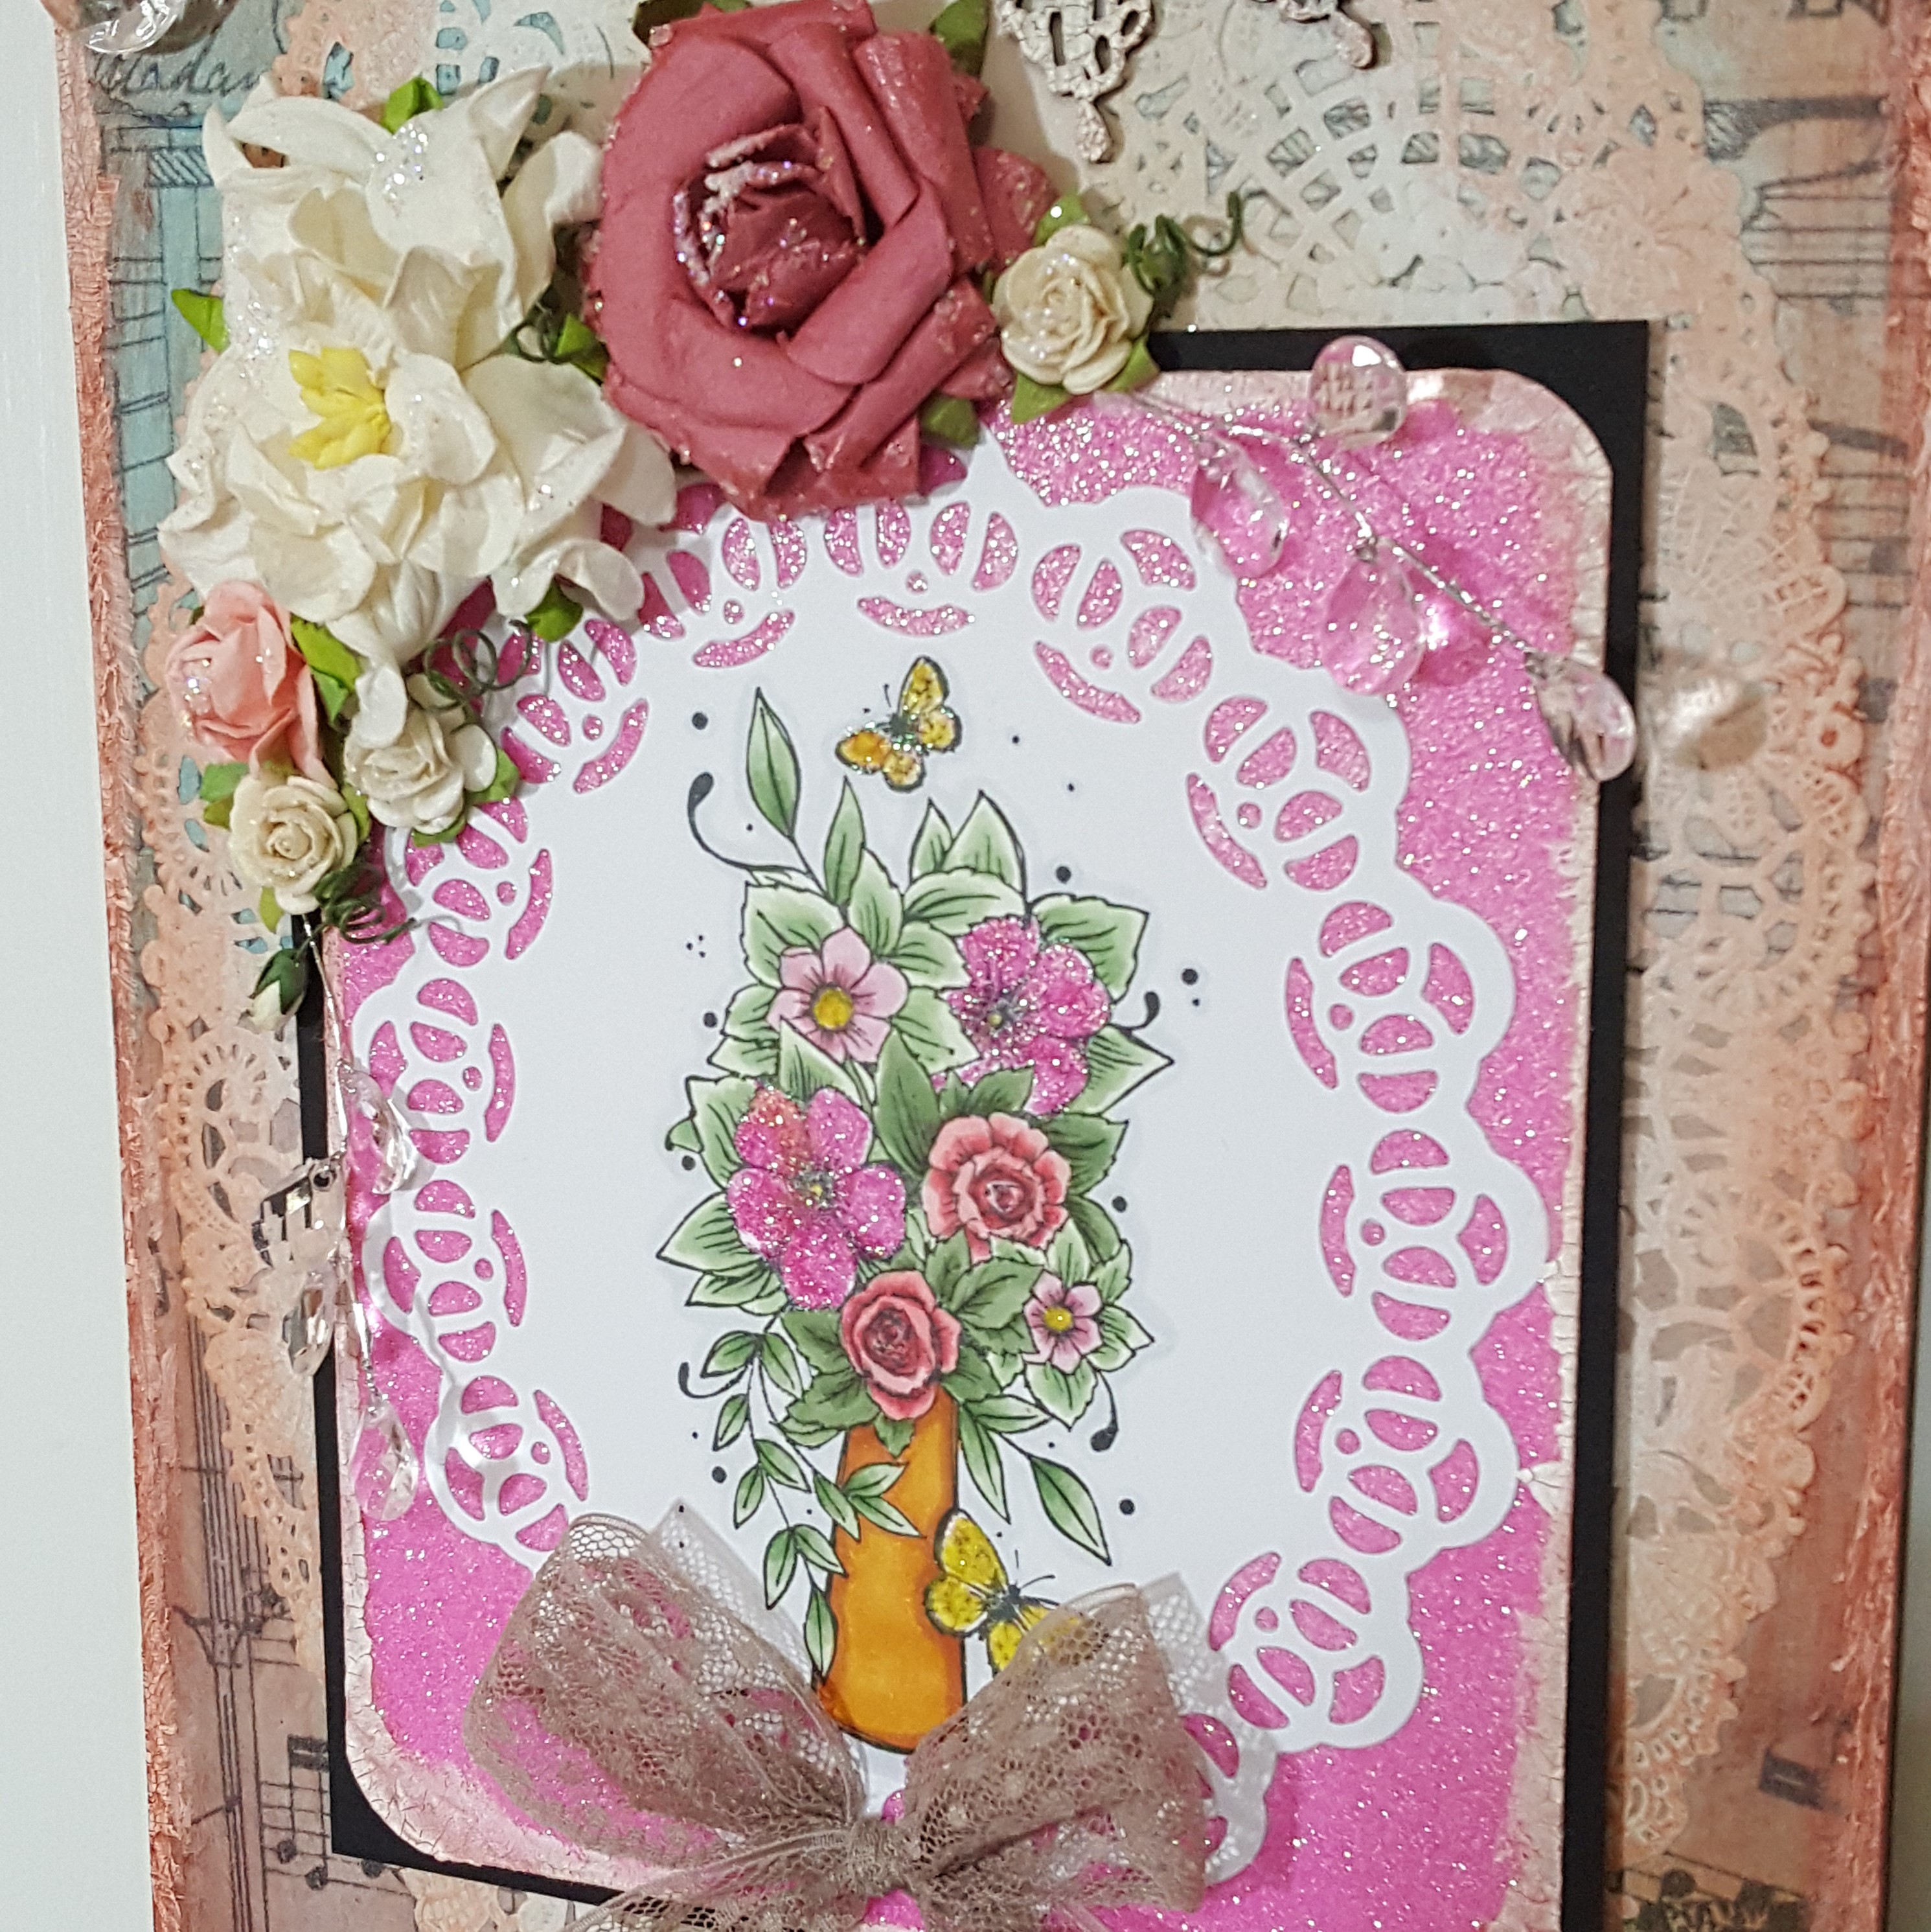
For the “tree post” I added some paint(s) mixed with touches of water to make the texture stand out to get that “tree” look to it. It was wrapped with a vine ribbon and flowers that were painted to coordinate with the project and then attached to the vine. The centers of the flowers were made with beads, painted and waxed over them.

And here’s a closer view of not only the post and flowers, but the fence which was also painted with watered down paint as well as painted mushrooms that were actually a bright red color. I wanted to customize it to coordinate with the project. I’ve attached some decorative rock and a little crystal ball at the bottom of the platform along with the green moss which covered up the rest of the areas.

As for the birdhouse areas, I ripped up pieces of printed vellum and randomly attached those pieces as desired. I also took some texture paste and a brick stencil to go over areas of the birdhouse being careful where I wanted to place my different clay molds. I made all of the clay molds shown and enough for everyone in class too. This is where all of the art stones were attached too. At this point is where the clear gesso comes in because of the printed vellum that you don’t want to get covered up with the white. Once attached glue pieces and paint dried, this is where I painted with watered down blue Pasto Paint so that the vellum is still visible through it. I also painted a very light washing of white paint to go over the brick areas for highlights.

And lastly, to create the “runny rust” colors around the clay and textured areas, I used a couple of different paints that were sprayed with water to let them drip down over the areas. This gives shadows to the texture and the illusion of your rusty roof affecting the sides of the birdhouse.
All of the textures were lastly highlighted with silver wax paste and the rest was just adding the green moss and the Spanish moss in the hole of the birdhouse. I have a photo of the class finished pieces that I will share in an up-coming post along with other projects I made for my classes during the retreat.
**Really hope you’ve enjoyed my mixed media birdhouse project and given you some inspiration in some way! Please be sure to stop in at the Creative Artiste Mixed Media Challenge for more inspiration by the team…hope you can join in the fun with us this month!**
Thanks so much for stopping in and I’ll be seeing you soon!
Challenges:
- Love to Scrap – #156 Anything Goes
- Love to Craft – #69 Anything Goes
- Arty Divas – Anything Goes