Hello friends! Happy June! Hope you’ve been enjoying your month so far! It’s going to start warming up at the end of this week which means I’ll probably start spending more time indoors with the air conditioning and hopefully have some time crafting! Yay!

I’m super excited to share my post with you today as I’ve been asked to be a guest designer for this challenge at Try It On Tuesday! Always happy to be apart of the challenges and support them as much as I can as they help to inspire creativity!
I’m loving the challenge theme for this one which is “BOOK PAGES”! There are several different ways to go with it, but here’s my take with the challenge:

I am an avid reader and I do love turning the pages of a good book, but sometimes you can come across an old book that is in bad shape or even a book that has no meaning to you and that you might normally throw away. I don’t do that, but I keep it instead for purposes of using in my crafts! I do the same with magazines, etc. Sometimes I use the illustrations for art journaling, etc. I’ve even kept some for the purpose of gift wrapping. How about you? Do you keep things like this for anything? If you do, then this challenge would be a great for using it up! I’ve even seen some decorative papers that have a “book page look” which would be suitable, I think, for the challenge as well!
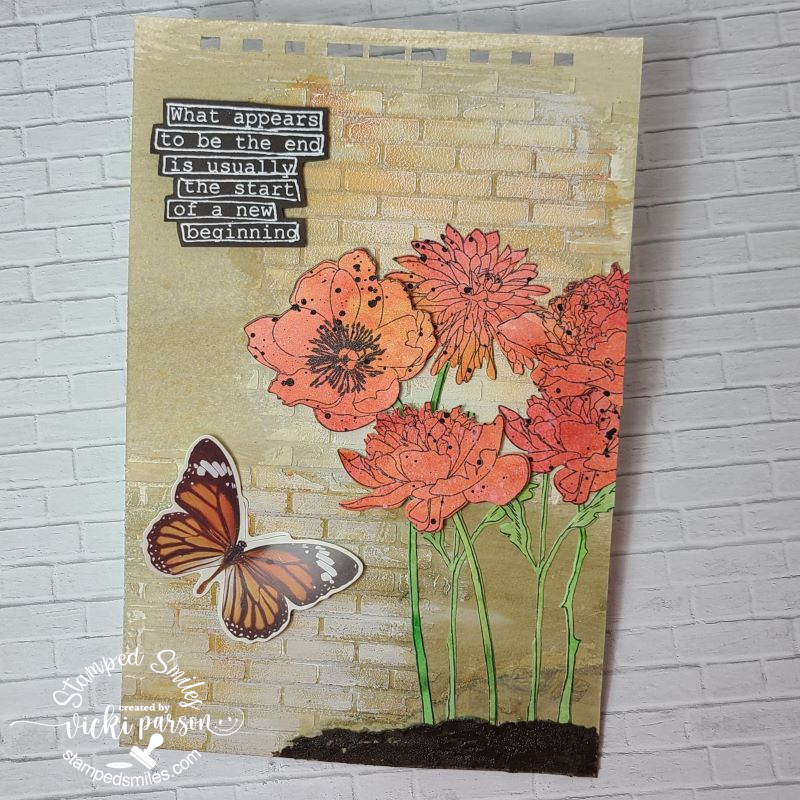
For my card: I’ve used a cover plate die (unknown) and cut the pieces from a book page and then cut it again in black cardstock so that I could use the frames. I took some brown ink to sponge around the edges and in the center randomly, so that it wasn’t so stark white. I then splattered it with both black and white paints, wrapped some twine with a bow around and placed it on a side folding A2 black card base.
The flower image: I took another book page and stamped/heat embossed the Bursting Blooms stamp from Taylored Expressions(retired/not in store) and cut it out with the coordinating die. I had some fun watercoloring the image with some Daniel Smith watercolor samples and than I sponged around the edges with some more of the brown ink before attaching to the card with thin foam squares. (I also cut an additional piece of white cardstock for added thickness as some book pages can be thin.)
To Finish: I’ve taken the Taylored Expressions Sundry Sentiments and white heat embossed the sentiment over black cardstock and cut it out with the coordinating die. I attached it to the card along with some black rhinestones.
I love how this one turned out and I hope you do too! Please be sure to pop on over to the challenge blog and check out all of the inspiration from the team! I look forward to seeing your creation in the gallery as well!
Thank you for stopping in today and I’ll be sharing more with you soon!
Challenges:
- Allsorts – #784 Flowers Galore or Anything Goes
- Creative Fingers – #279 Anything Goes
- Alphabet – ‘E’ is for embossing wet or dry (heat embossed flower and sentiment)
- Krafty Chicks – #719 Stamps
- Time Out – #265 Inspired by a Quote from Henri Matisse: “There are always flowers for those who want to see them.”