Hello friends! Happy March! I’m happy to see this month come as signs of Spring start popping out everywhere! Pretty soon the flowers will start coming up too! Are you ready for Spring?
Today starts a new challenge over at the Mix It Up Challenge Blog! There is always lots of wonderful inspiration from the team, so please go check it out and play along! The challenges are always ANYTHING GOES with an optional theme. This month’s theme is FANCY FOLD! For these challenges, you have plenty of time to enter as they run for 6 weeks! I look forward to seeing what you come up with! Here’s the project I made:
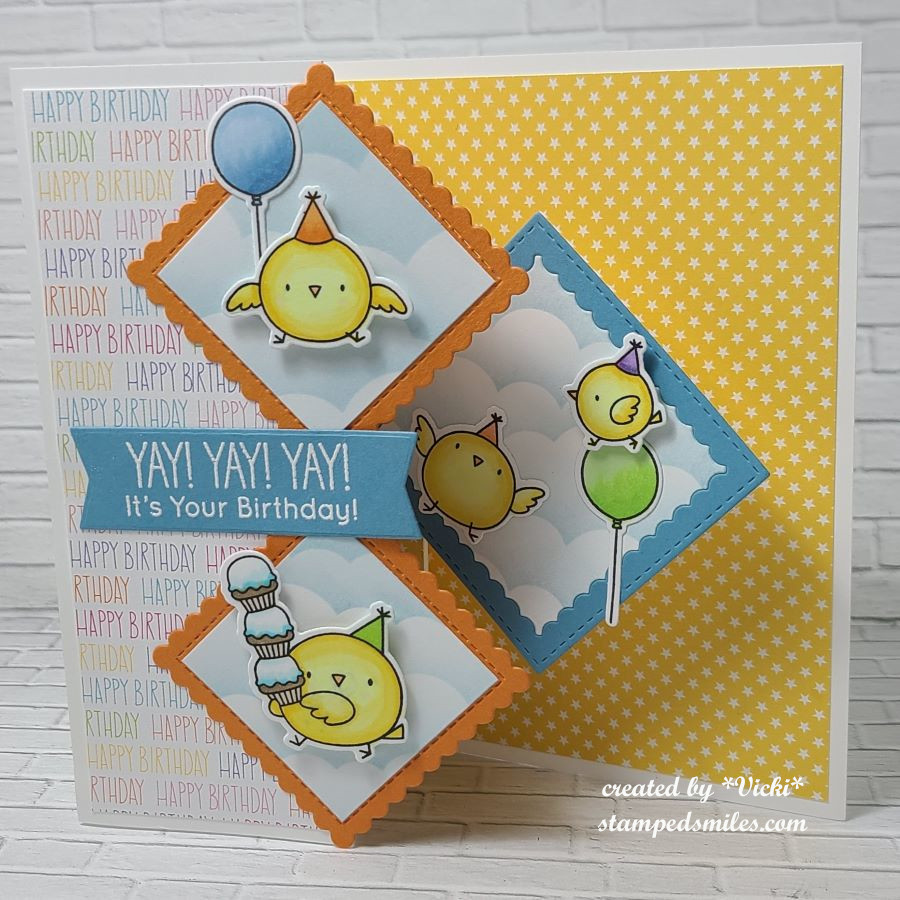
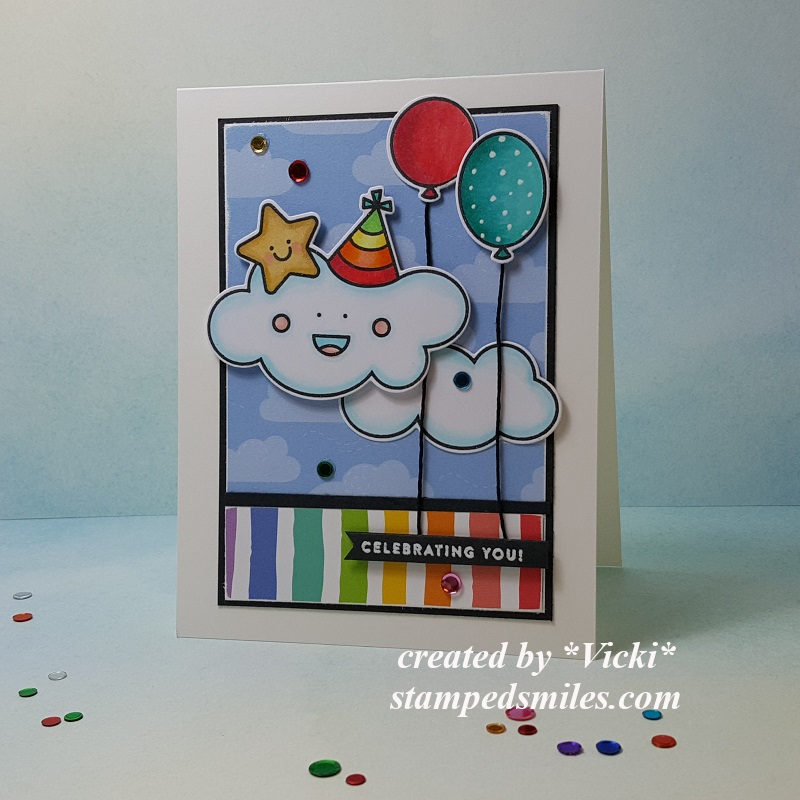
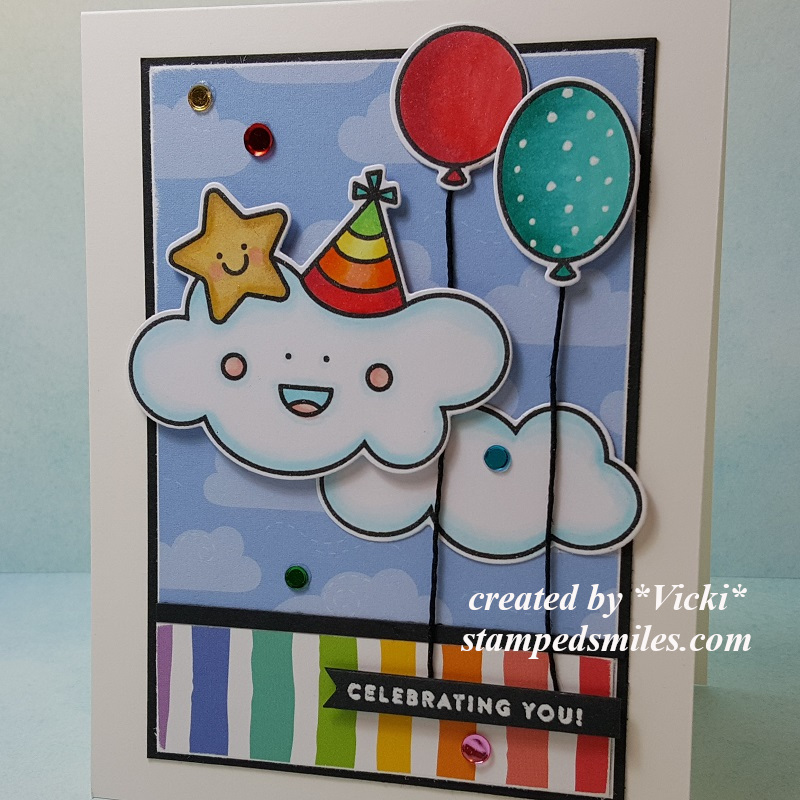
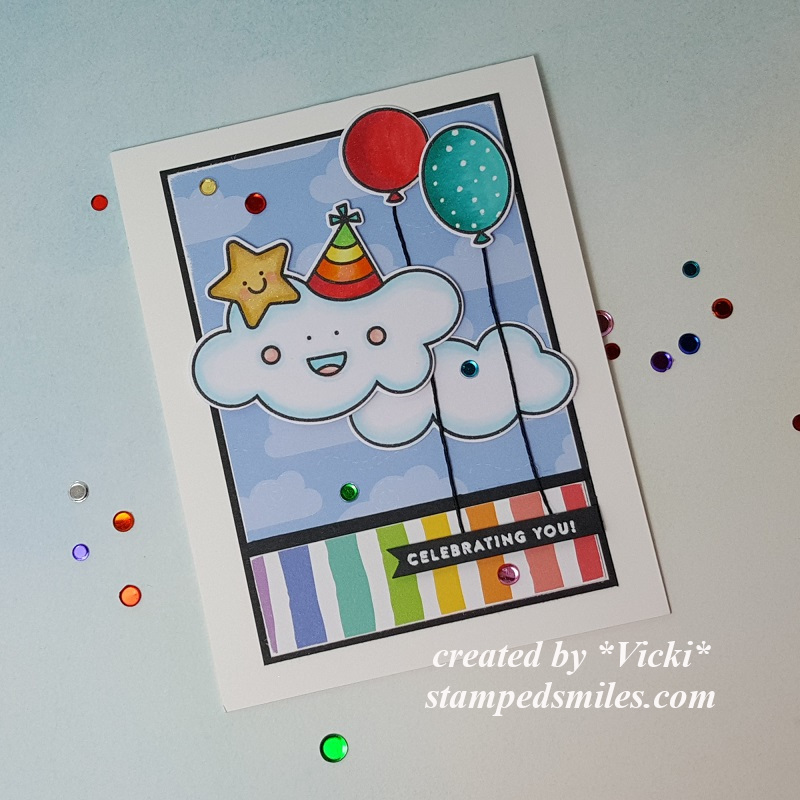
These birds are ready to party! How fun are those party hats?! I’ve found this really cool take on a “Z” fold card, but this one has been named “Diamond Z Fold Pop-Up Card“. There are so many variations of this that I found on You Tube, but they’re all the same concept of the two diamond shapes on front and then an additional diamond pop-up mechanism on the inside that moves when you open the card. (Click on the card name for a tutorial.) The only thing I did differently than hers was using scallop square die cuts and I covered the pop-up mechanism on the inside with pattern paper so it’s not as noticeable.
I’ve used the My Favorite Things (retired) Birthday Chicks that I stamped, colored and die cut out and arranged over the design. I’ve also used the My Favorite Things (retired) pattern papers and of course the same for the scallop stitched squares. For the white squares, I’ve used a MFT cloud stencil with blue ink for the clouds and the sentiment was white heat embossed and cut out with a banner die.
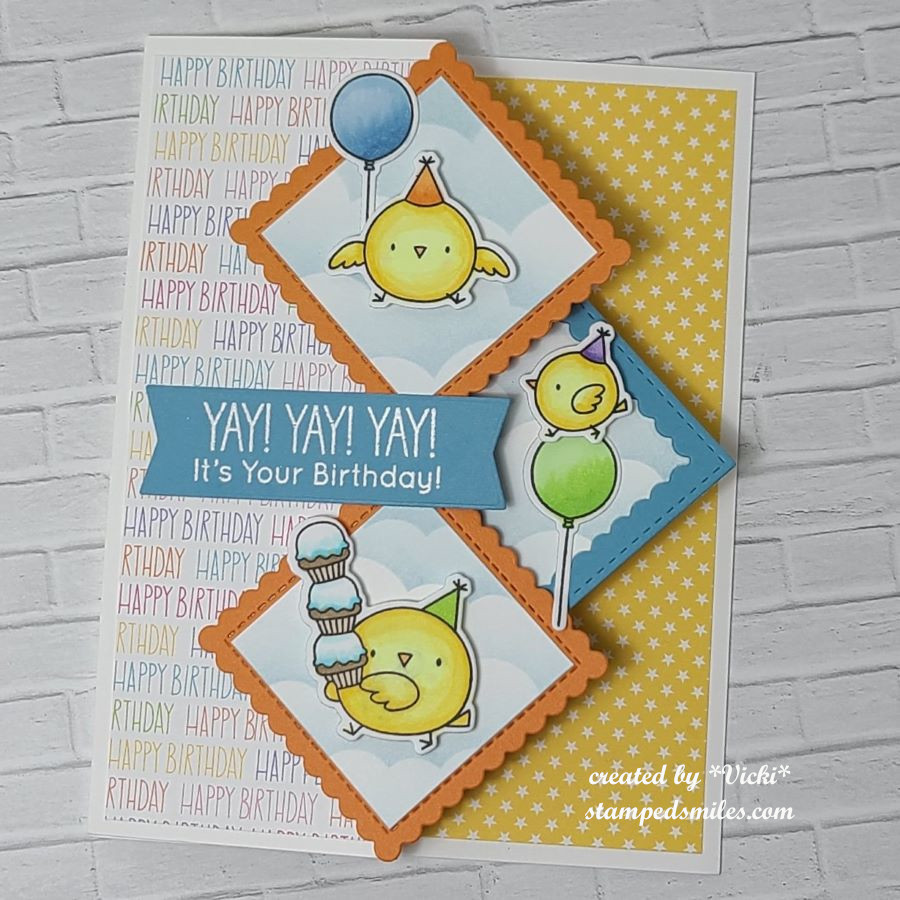
When this card is closed, this is what it looks like. Notice that you do not see the bird on the inside panel next to the bird on top of the balloon as he is hidden until you open it.
It folds up just like a Z fold would and it’s A2 and ready for a regular A2 envelope. I’ve placed an extra panel on the back of the card for a special handwritten message and decorated it a strip of pattern paper and another party bird. I didn’t put anything on the inside stars pattern because I thought it took too much away from the front of the card and you don’t want an inside message to show on the front of the card. It takes a bit of maneuvering to decorate images and sentiments as to where to put them strategically on the card, but it was so fun!
- I hope you’ve enjoyed my card today and go check out the challenge to come and play along with us! I really look forward to seeing all of the different fancy fold projects in the gallery this month!
Thanks so much for dropping by and I’ll see you soon!
Challenges:
- Make My Monday – Fun Folds #220
- Penny’s Paper-Crafty – Anything Goes using Paper #566
- Simon Says Stamp Wednesday – Anything Goes
- Crafty Catz – More Than One Fold/Anything Goes #666
- Krafty Chicks – #705 Anything Goes