Hello friends! I hope that your week has been going great! I had planned on posting earlier in the week, but I got so focused on completing my classes that I ran out of time! (Check out the gallery below…LOTS of cards!) I thought while I’m working on laundry today, I’d make a post sharing some things I’ve been doing…so grab yourself a beverage and take some time to enjoy! First up is my art journal page:
- Remember that I’m a guest host over at Art Journal Journey this month and the theme that I’ve chosen is “LIGHT“. I hope you’ll stop over to see all of the wonderful inspiration that everyone has been creating with this theme and join in the fun!
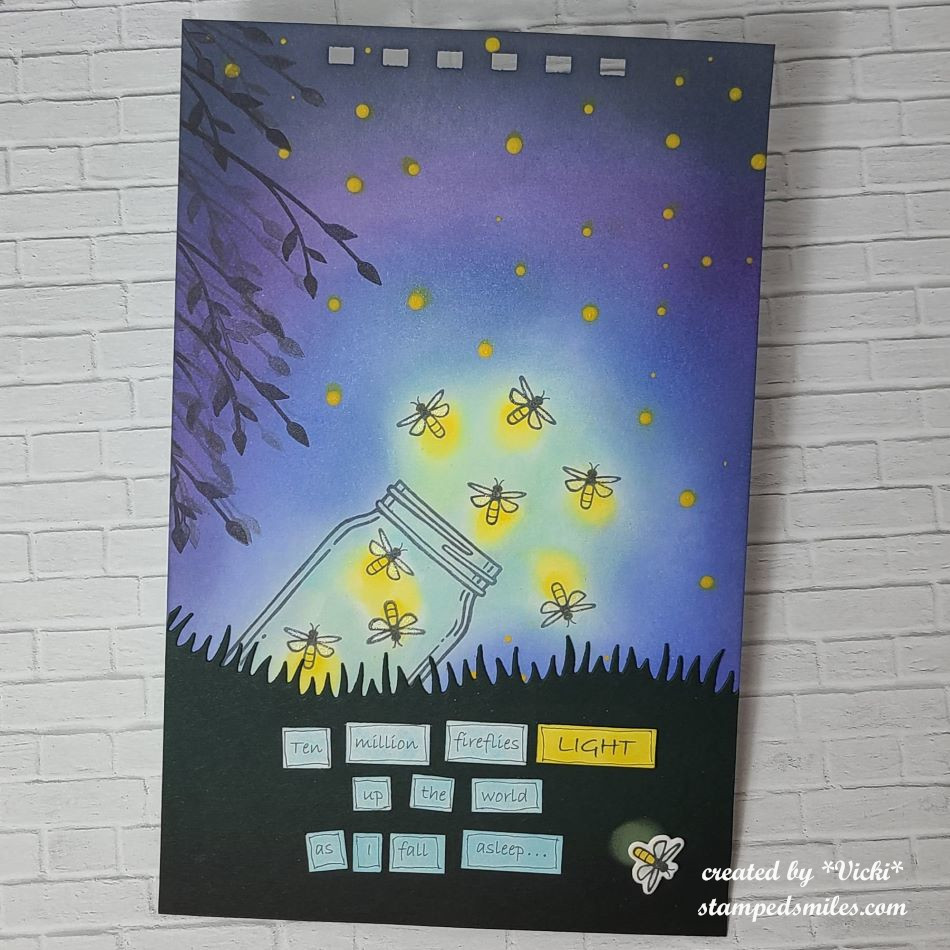
This so reminds me of Summer! Remember as a child going outside in the dark and seeing tons of those flashing lights going off?! I was always amazed that when I ran over to chase that flashing light, it disappeared on me and I was forever trying to capture those lights!
For the background: I’ve chosen some Bristol Smooth cardstock in 5.5″x8.5″ pre-punched holes at the top cut with my Zutter machine. I have started with stamping the jar and placing it where I thought it needed to be and then stamped those fireflies around it. Starting with the fireflies, I dabbed on some yellow where they emit light and then used some soft blue around them working out with darker shades of blues as I reached the edges. Bristol cardstock works great for ink blending with Distress Oxides. To make sure that the yellow light was showing over the dark ink (without smudging it), I took some yellow paint and the end of my paint brush to make various sized yellow dots for the look of those fireflies in the distance.
I decided to take a leaf branch to generation stamp it along the edge for the illusion of a tree being there. Although it looks black, I die cut a grass border in very dark green cardstock for the bottom portion of the page. I also added another firefly at the bottom that was die cut and popped up with foam tape. I used yellow ink for underneath his light glow. The firefly wings have been covered with a glitter brush pen.
For the bottom lettering: I printed it off my computer and then cut out each word, added some color with inks over them and then doodled around each word with a pen. These words and this AJ page was totally inspired from a song called “Fireflies” by Owl City. If you’re interested in listening to the song, check out the video below:
I learned that this song artist has insomnia and came up with this song during one of those times he had trouble sleeping. I can relate and so it inspired my light page.
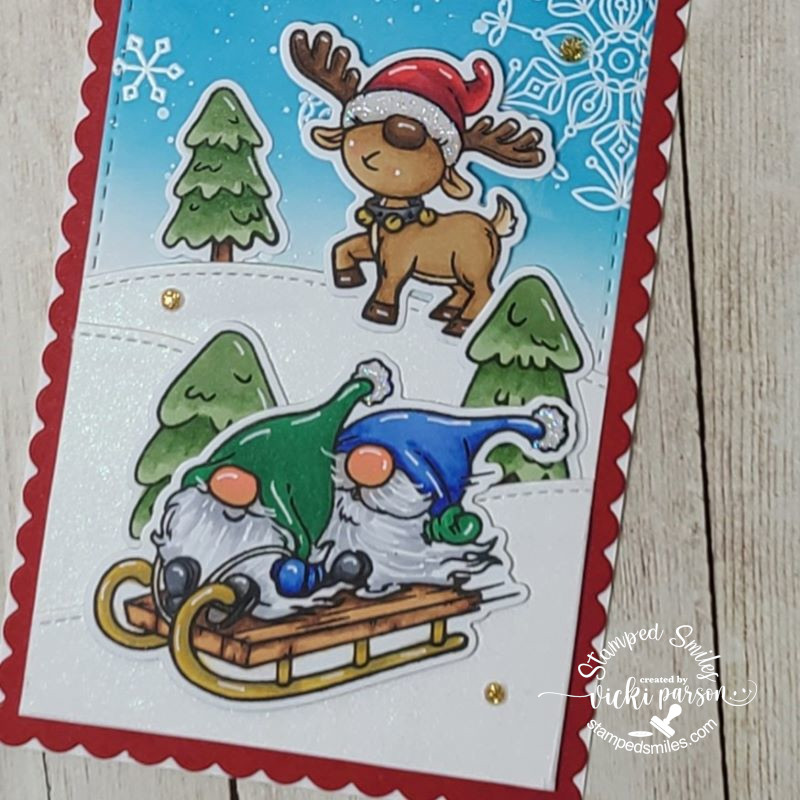
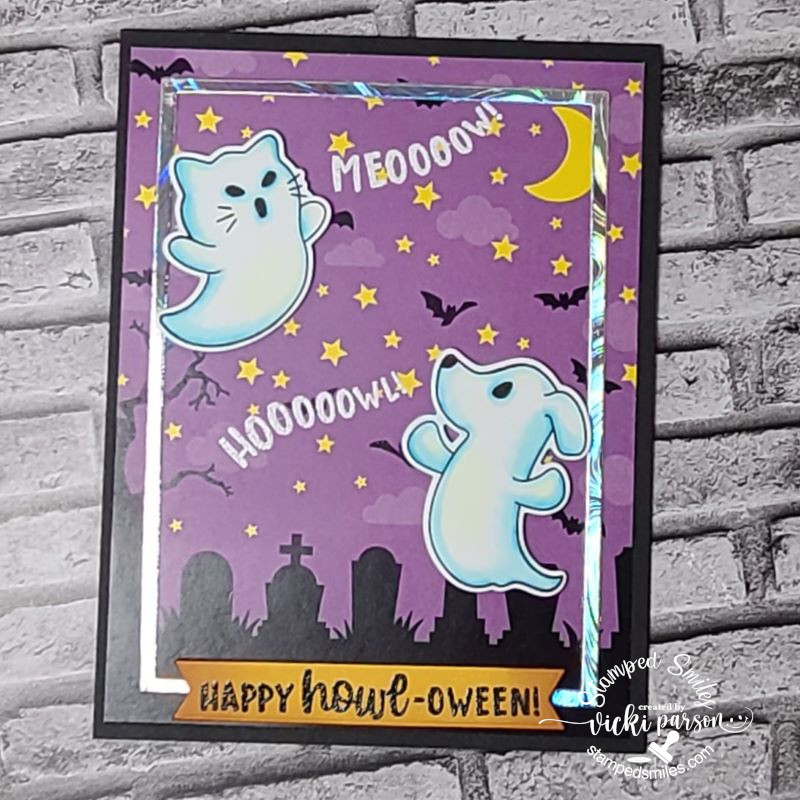
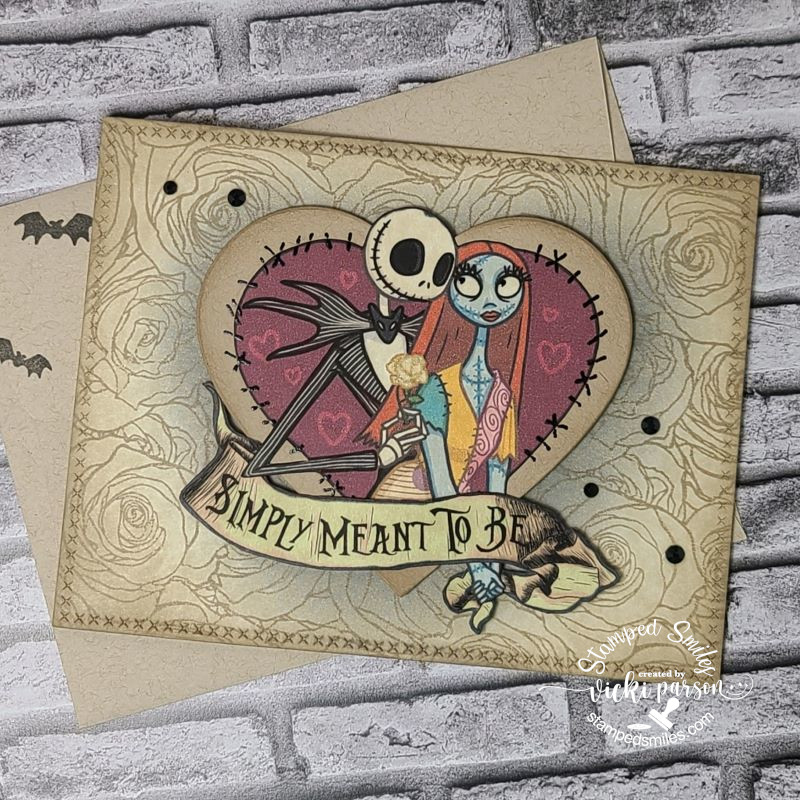
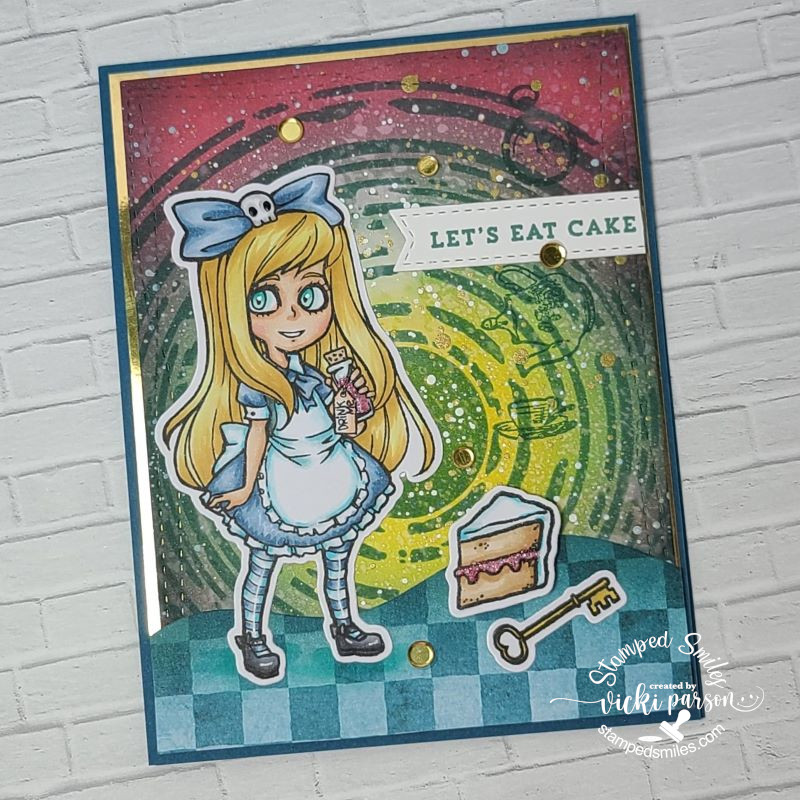
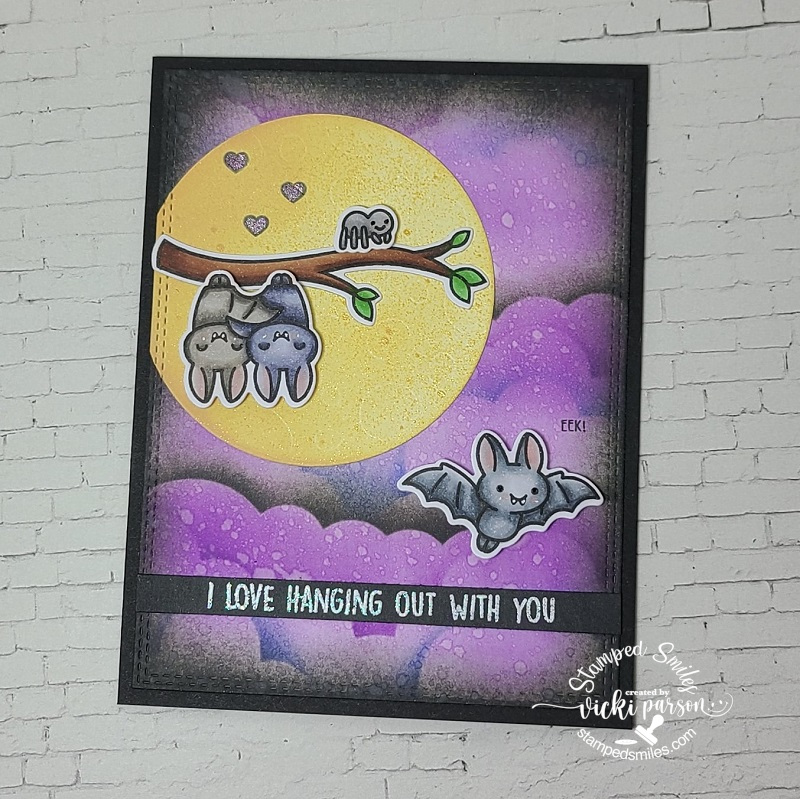
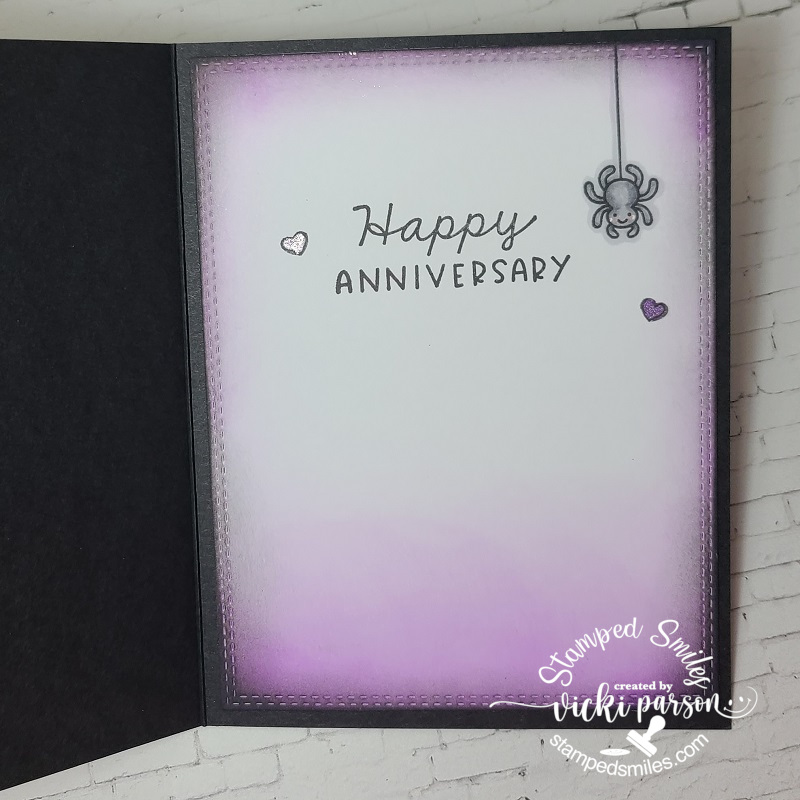
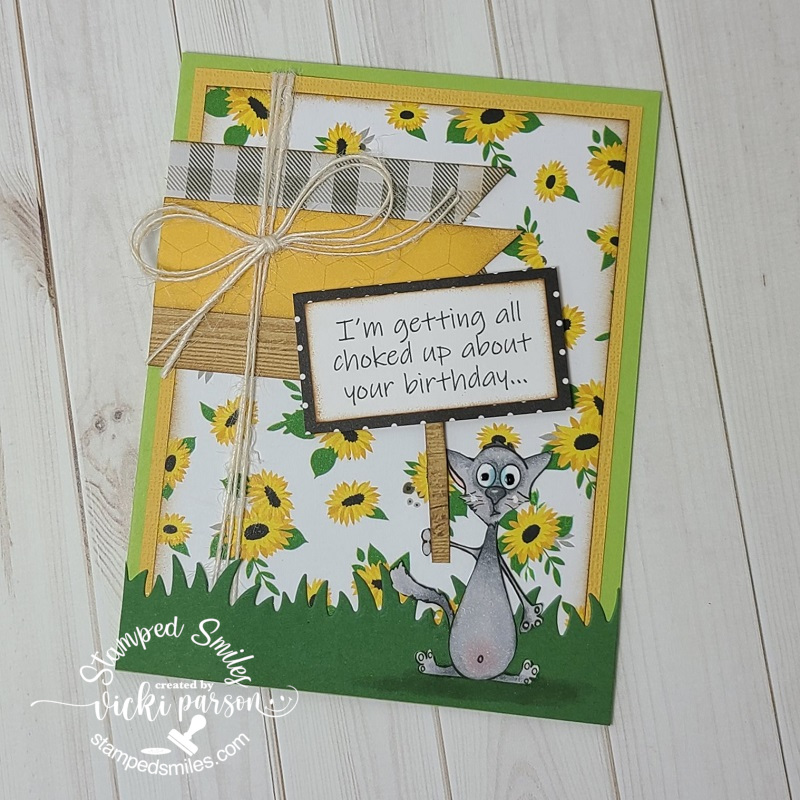
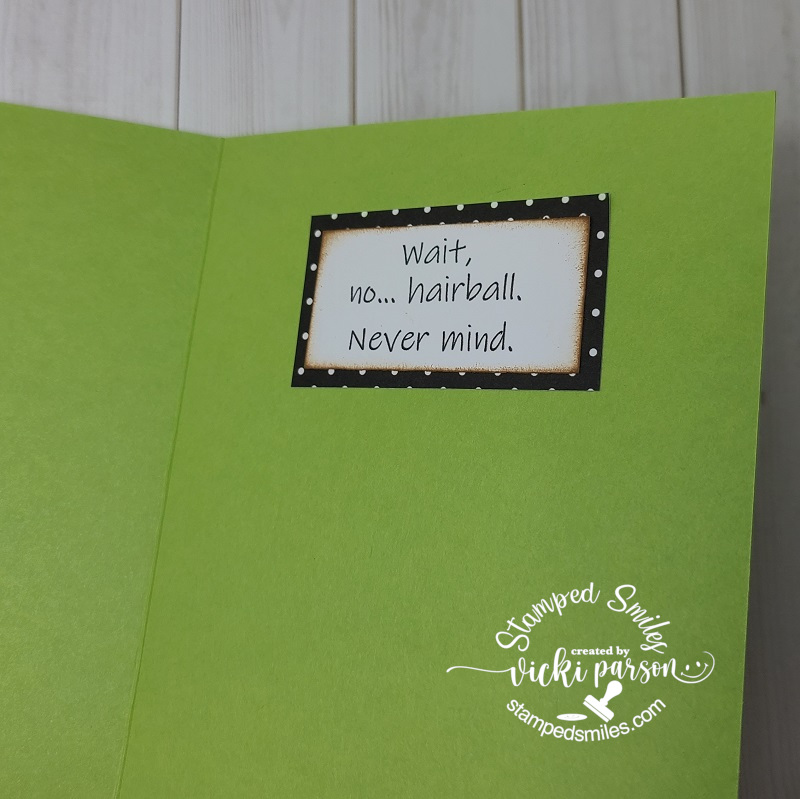
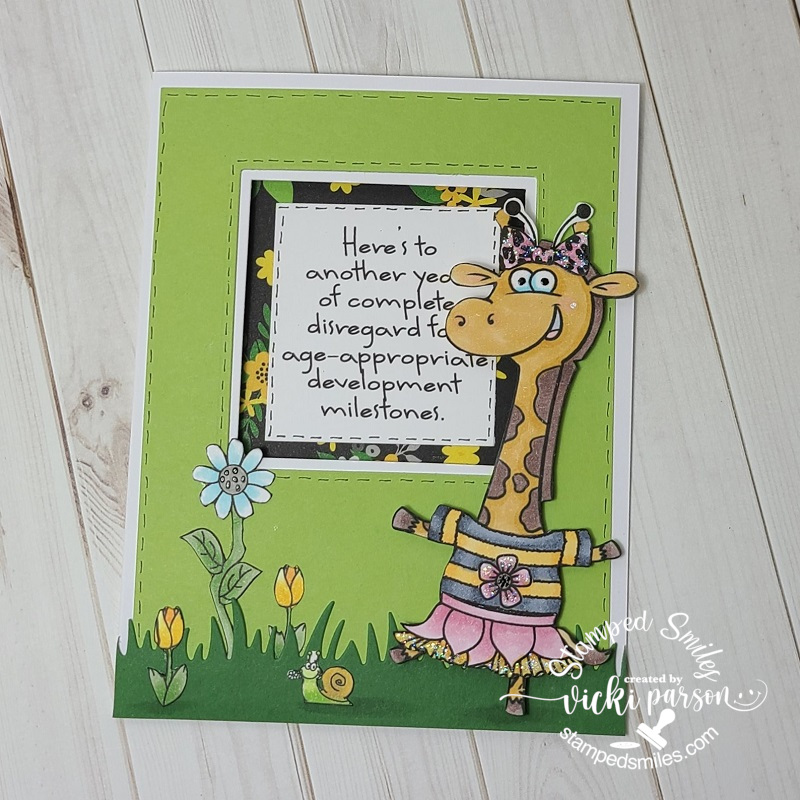
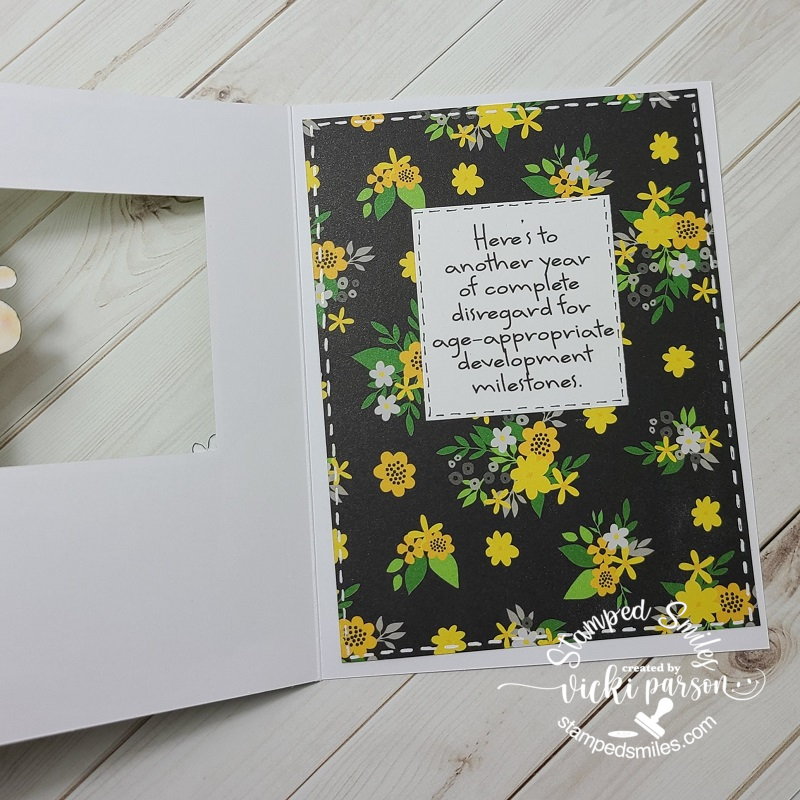
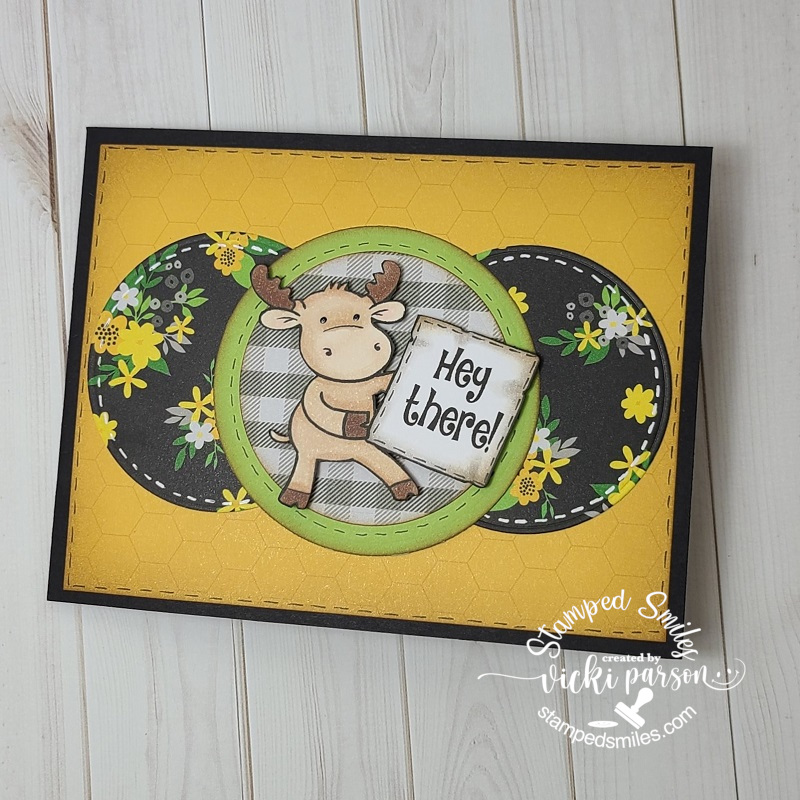
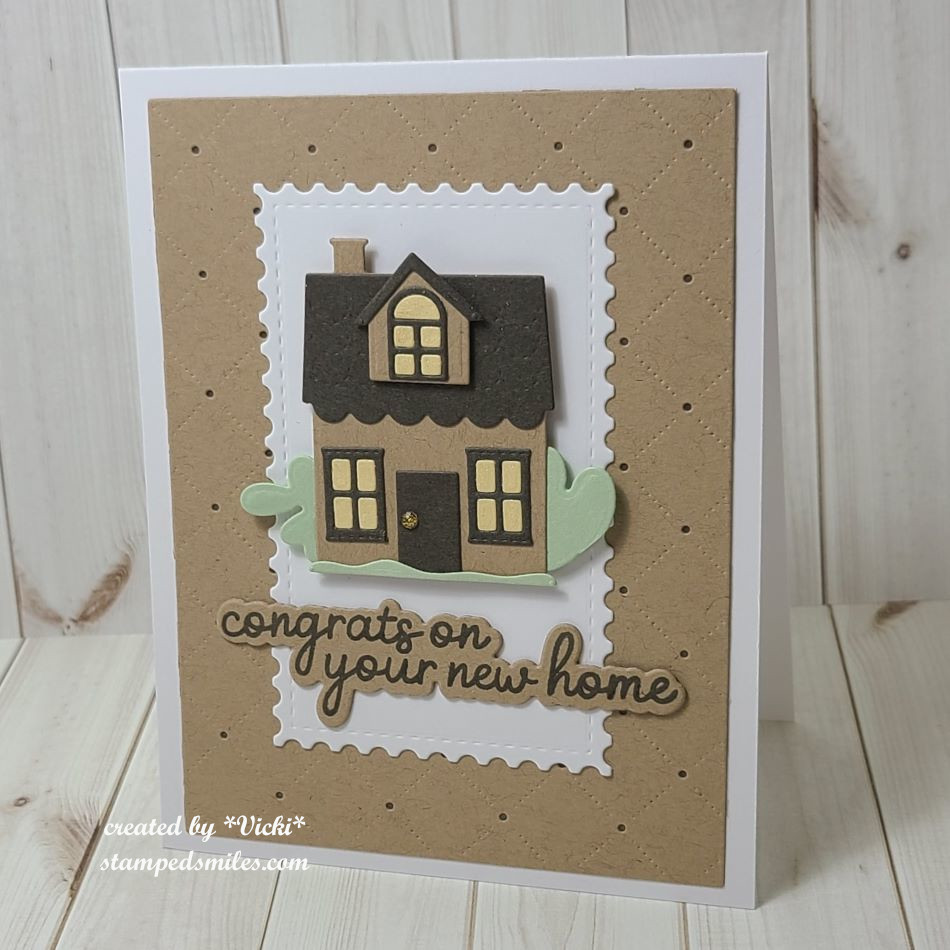
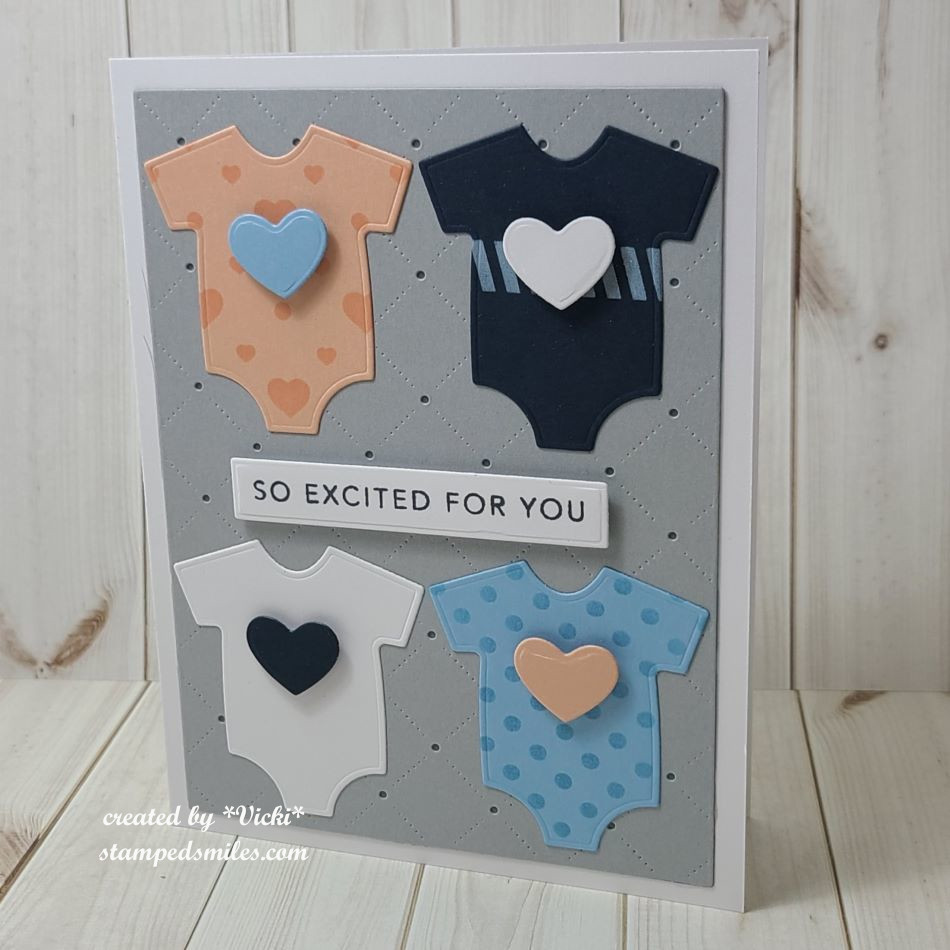
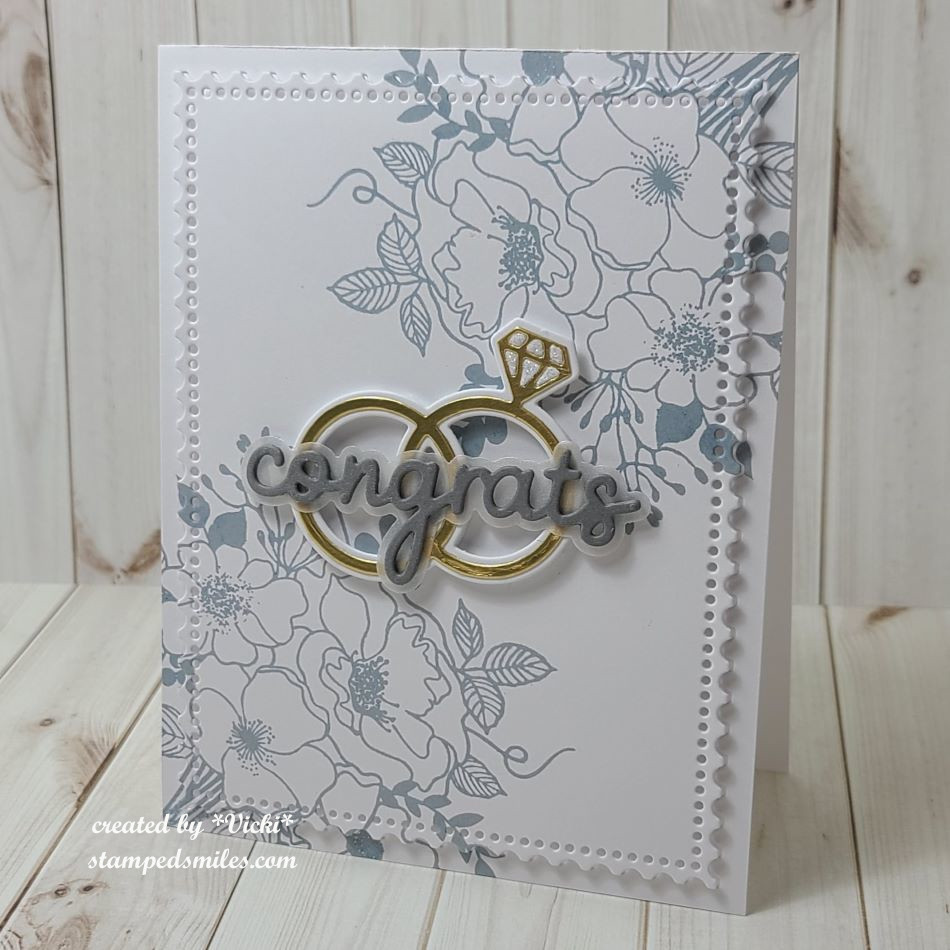
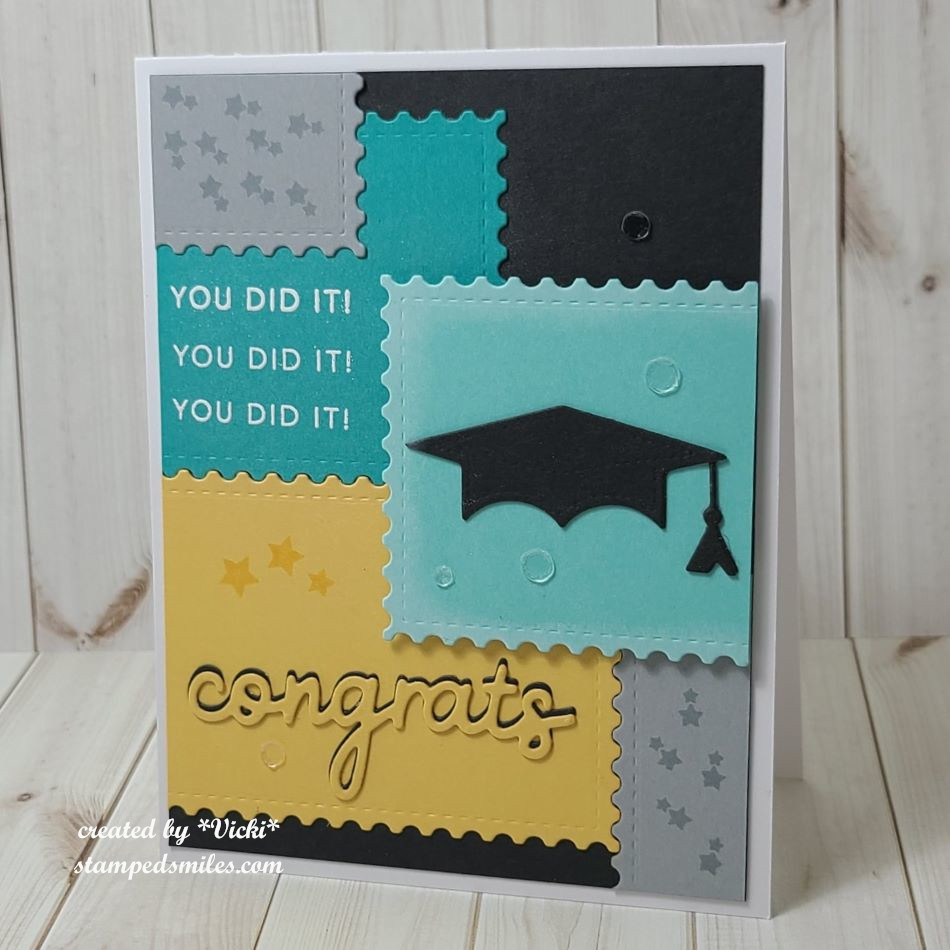
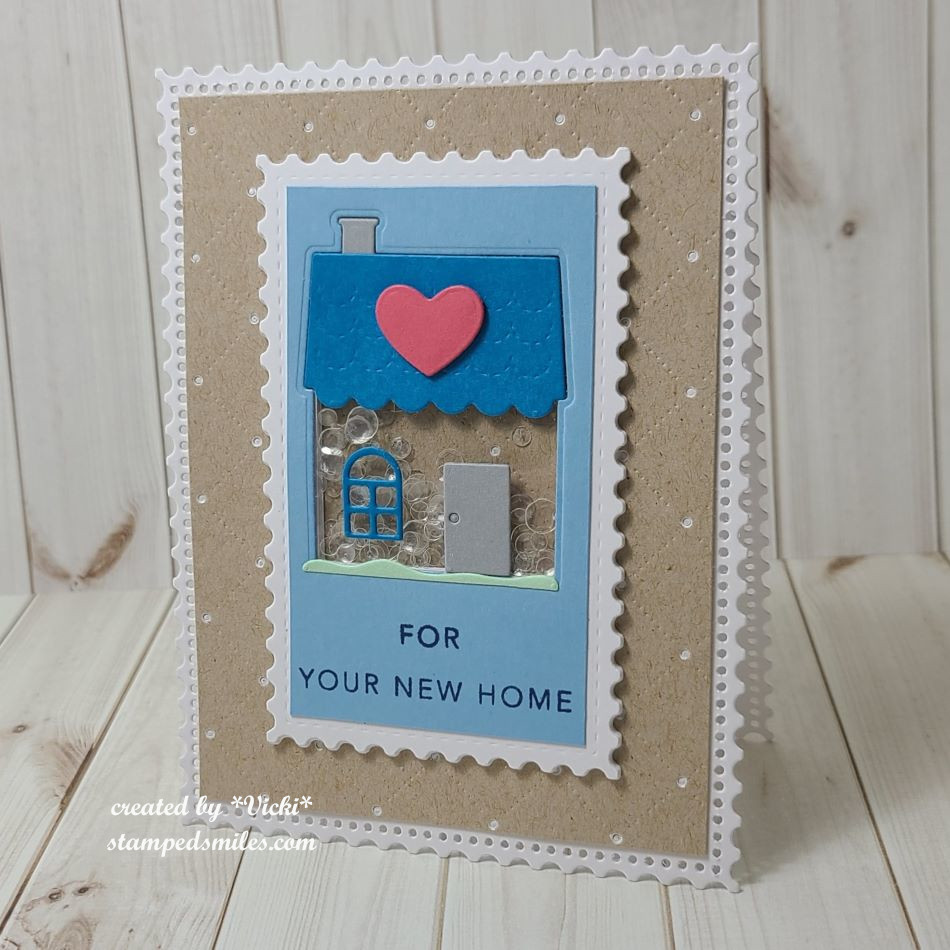
Next, I would like to share with you a card class event that I took part in called “Celebrations Delivered” provided by Scrapbook & Cards Today magazine. It was a one day event with virtual live learning class videos and each instructor provided at least 3 different projects. I have listed below each photo who the class instructor was.
- If you are on my website, just click on each photo to enlarge it and see the details about each one underneath the photo. I have made 15 total cards from this:


Really had fun making these and using the products provided to us. This also reminds me that I have more classes coming soon that I’ll be doing and that I’ve also forgotten to share some things that I had done last year, but hadn’t posted! If anything else, you can hopefully enjoy or be inspired in some way as I post! But more will come soon if my arms don’t fall off!😉
Thank you so much for stopping in today and I’m happy you’re here! I will be dropping around to see what everyone is up to and I will be back on Saturday for our “Smash Your Stash” AJ inspiration! Have a wonderful day!
Challenges:
- Art Journal Journey – LIGHT/KEEPING IT LIGHT
- Simon Says Stamp Monday – NOT a card (art journal page at top)
- Try It On Tuesday – Spotlight It! (Fireflies are spotlighted with yellow dots) Hopefully this works for the challenge!