Happy April friends! We have finished March already and onto Easter very quickly approaching! I hope you’re enjoying all things Spring coming up your way! We’ve had several storms and we’re in the tornado season as well, so I hope everyone is staying safe out there whatever the weather. I do have some things that I had previously finished and wanted to share:
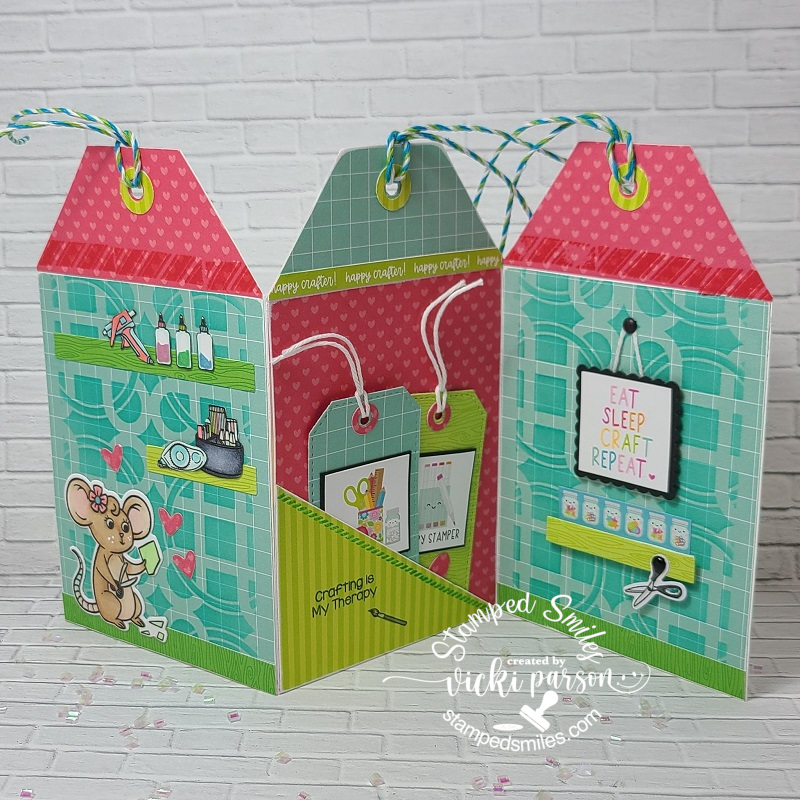
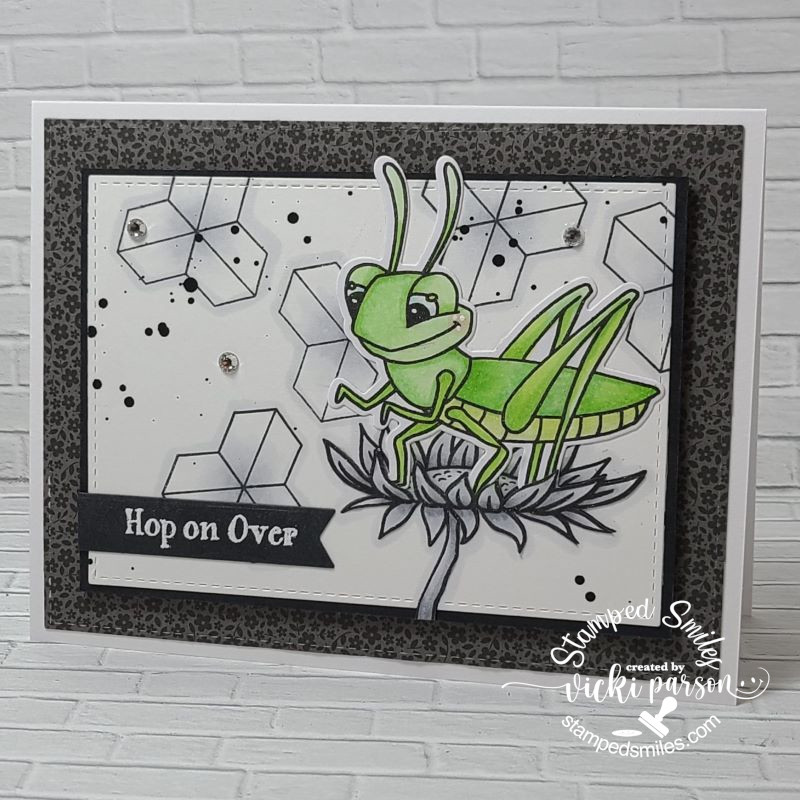
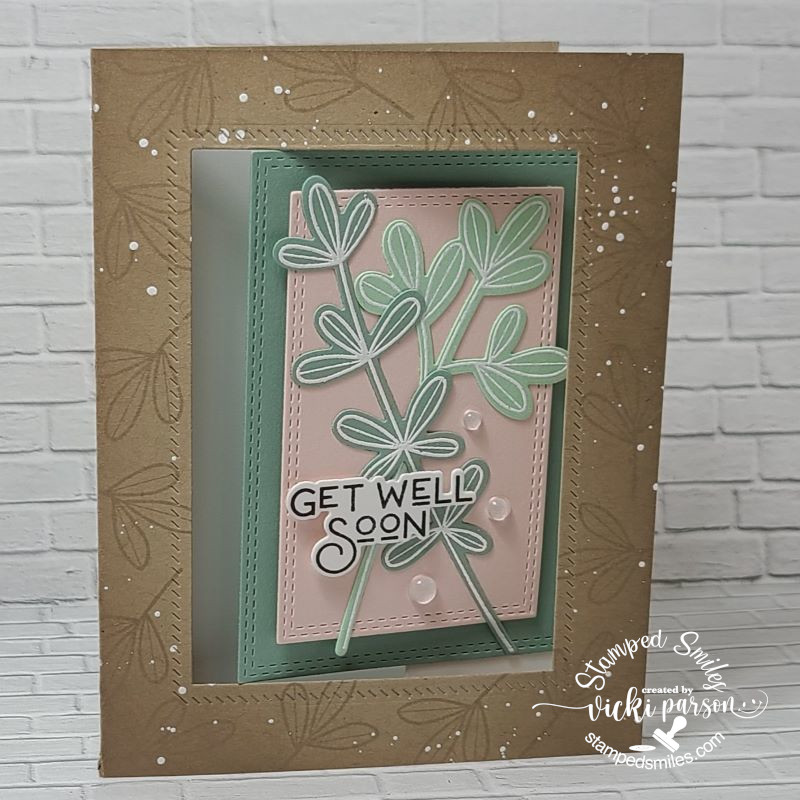
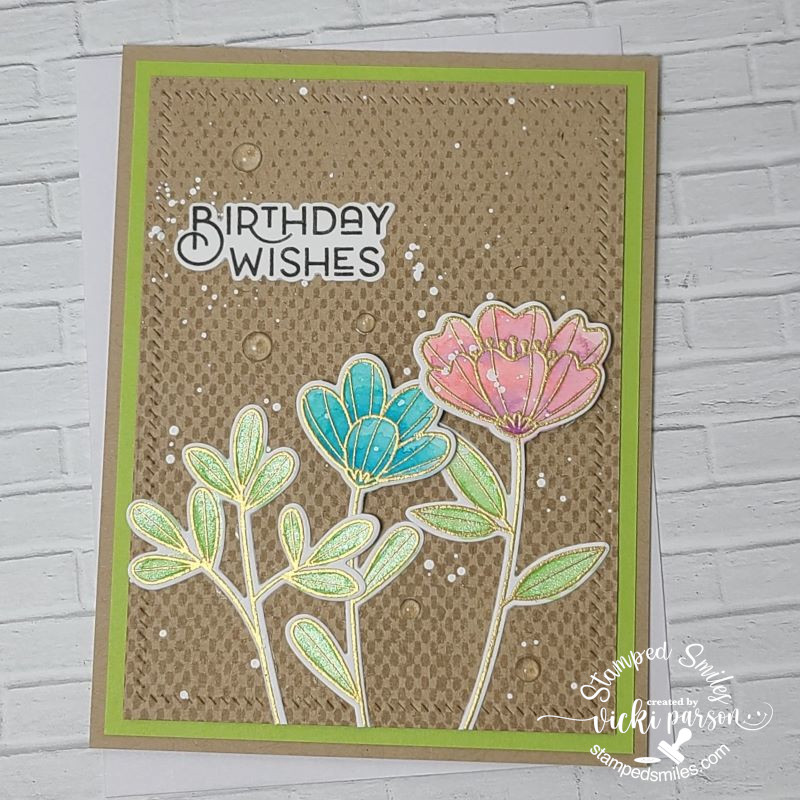
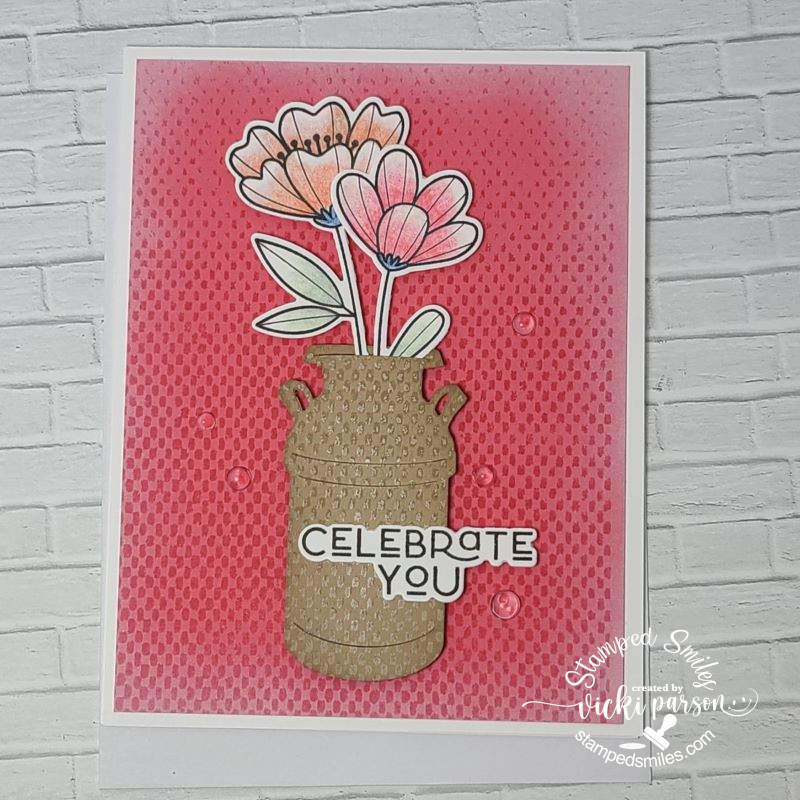
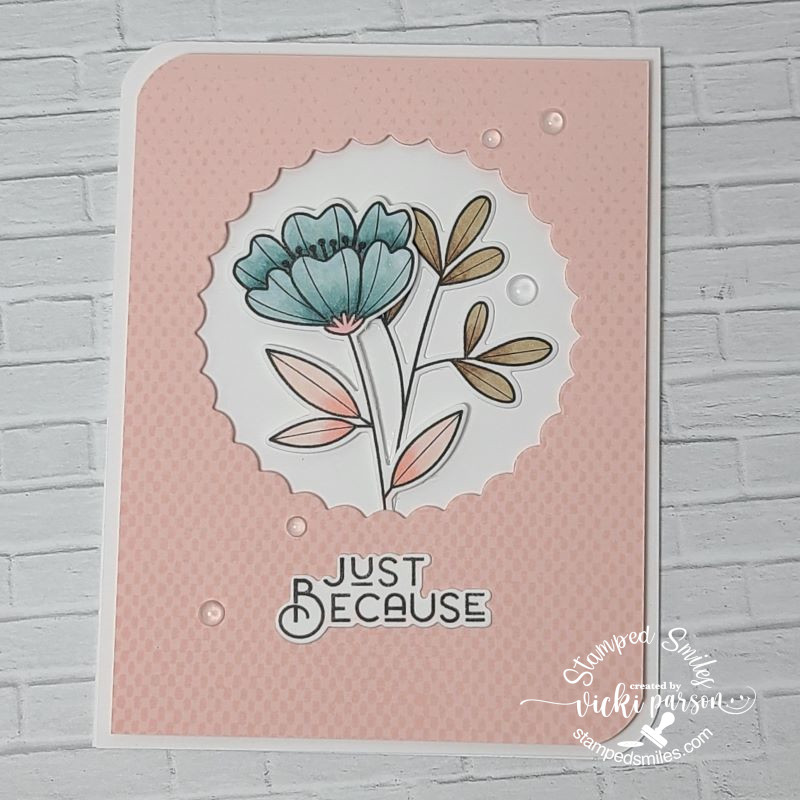
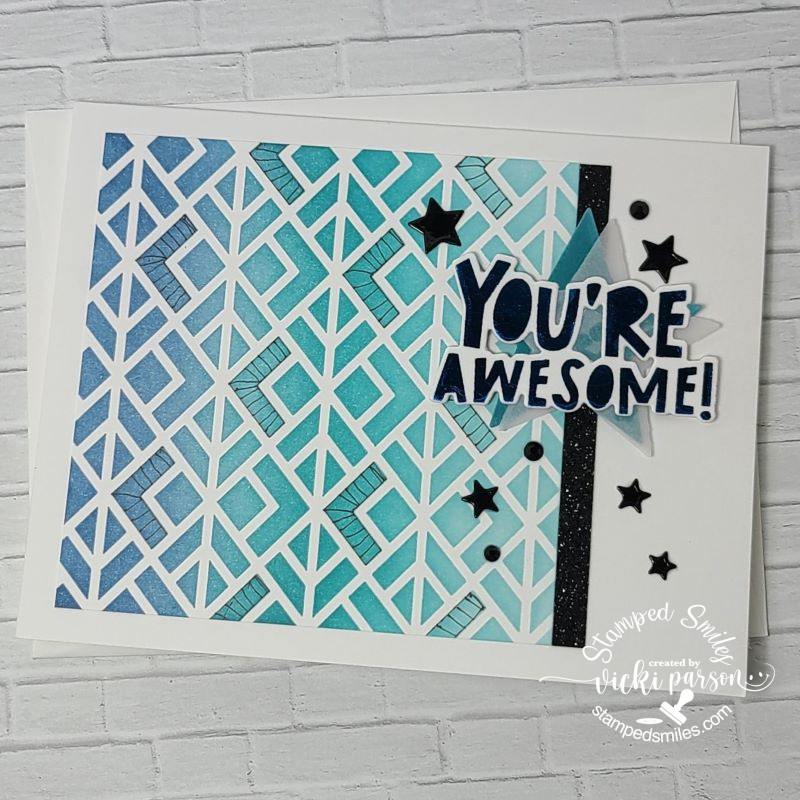
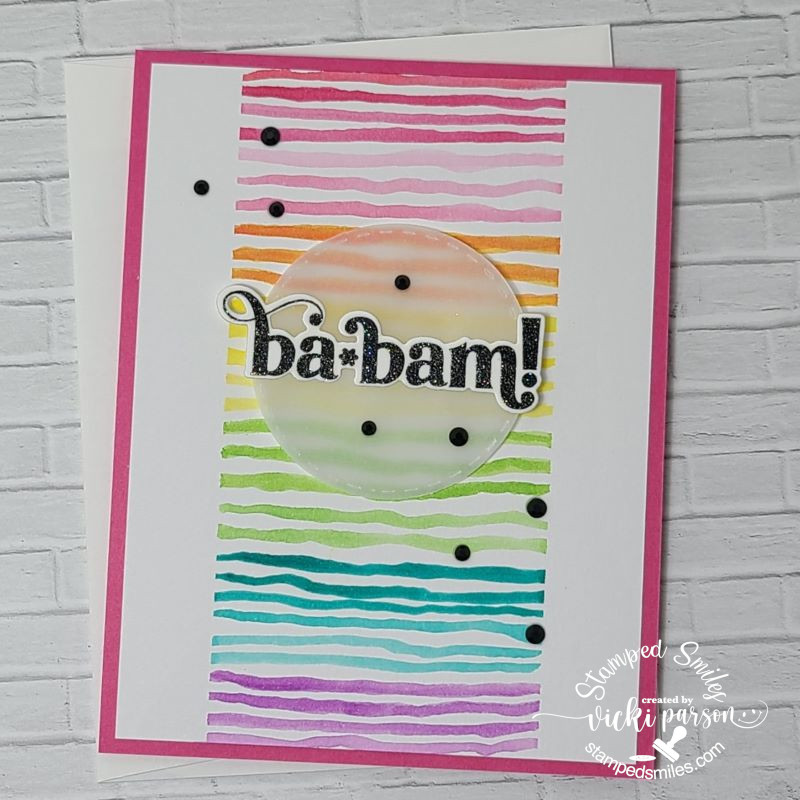
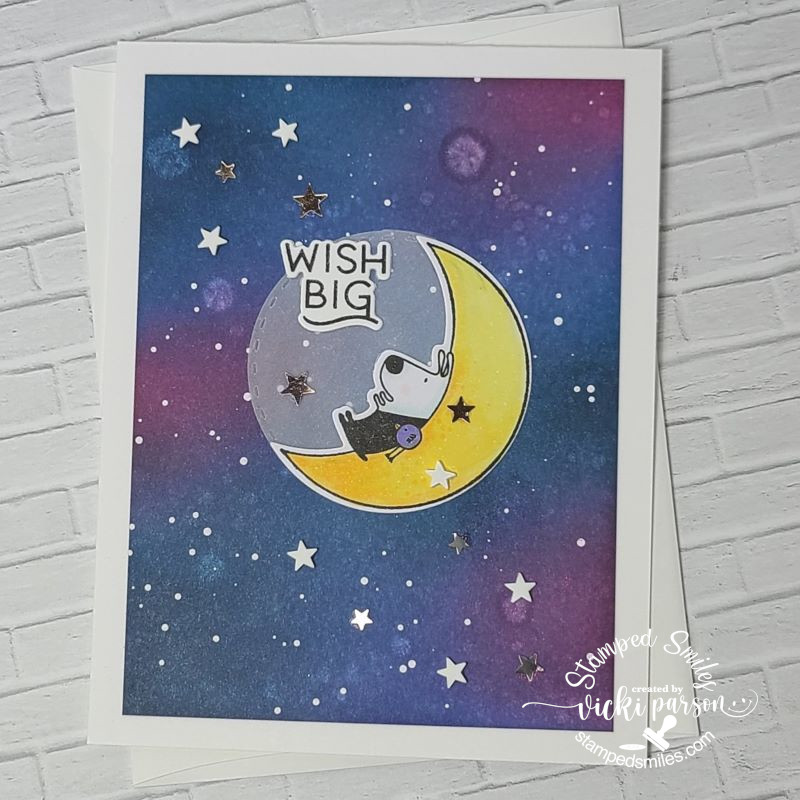
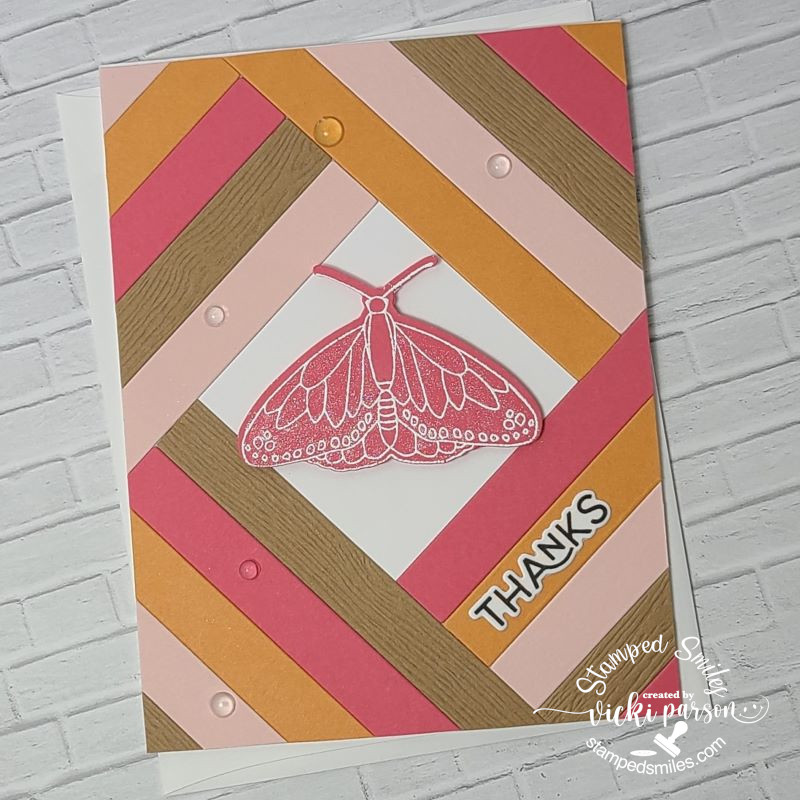
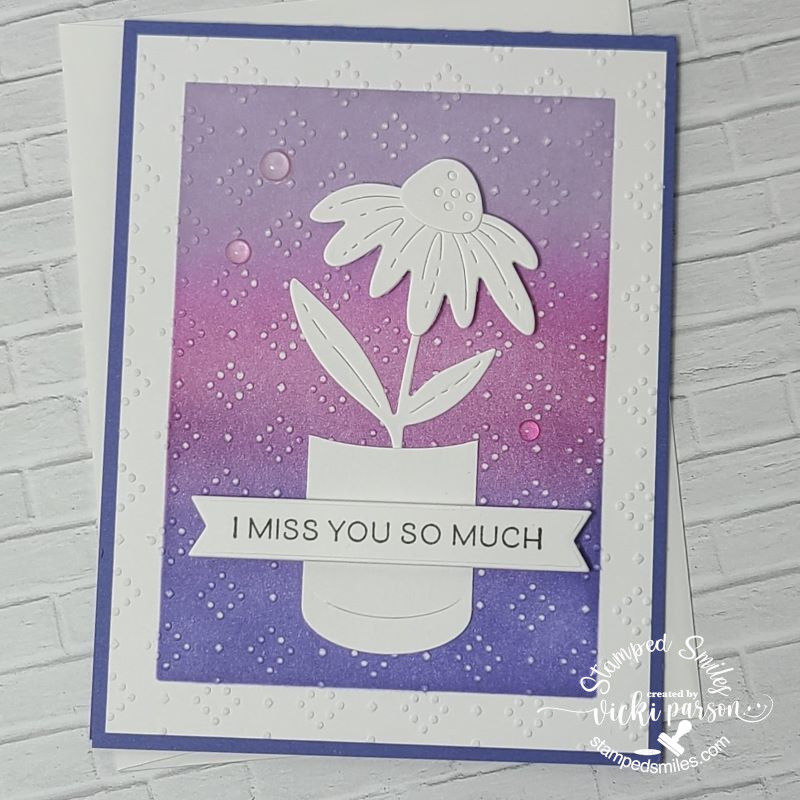
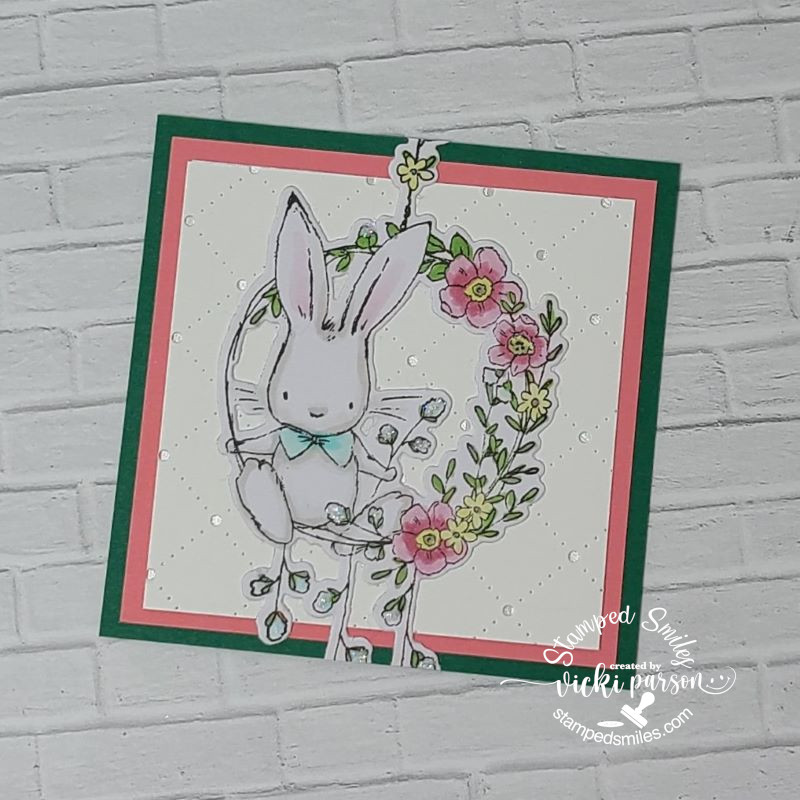
First, I wanted to share about the Virtual Stamp Joy Event by Taylored Expressions that I participated in a few weeks ago. I always have so much fun and enjoy the motivation that it seems to generate! I’m sharing them in the gallery below, so if you’re on my website post, then just click on each photo to enlarge it.
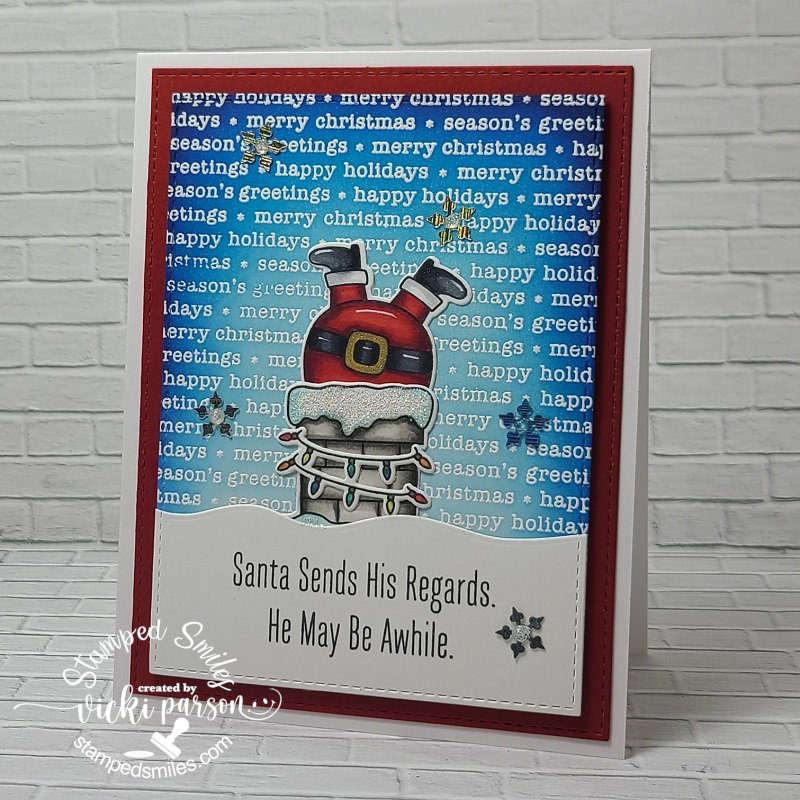
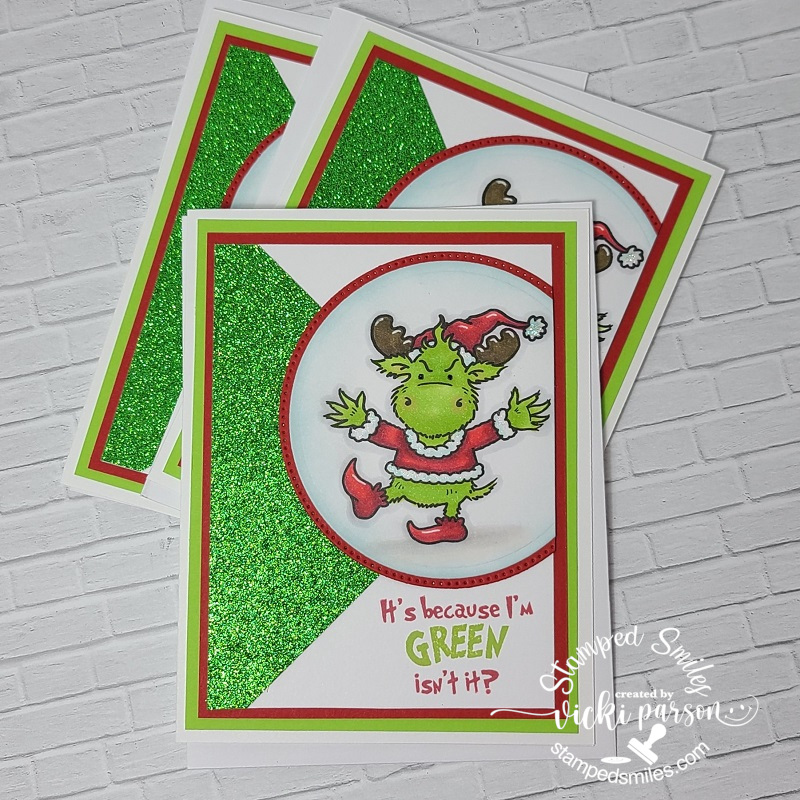
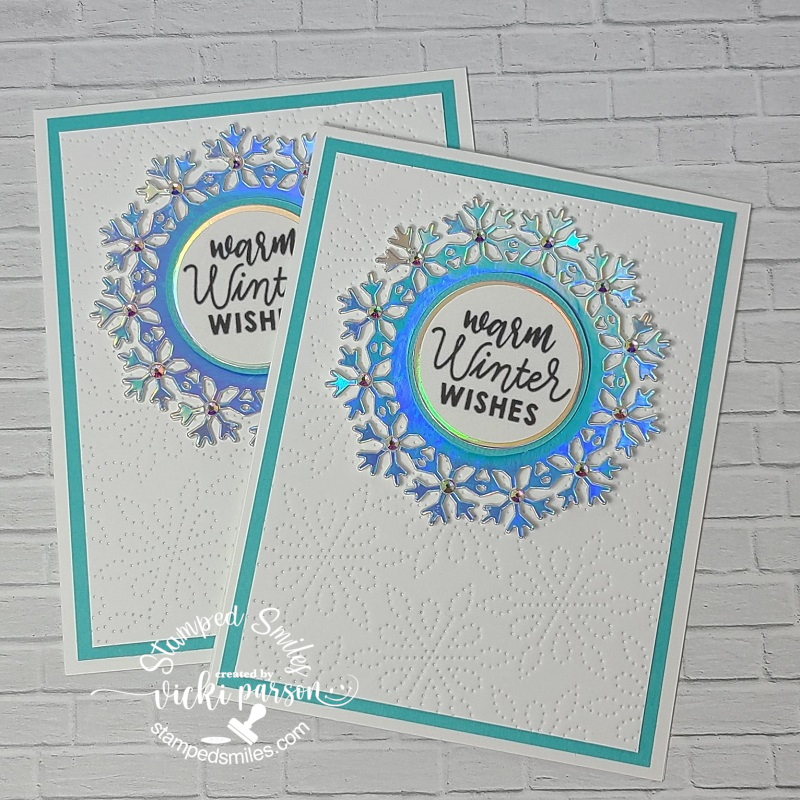
- The first four photos were from a class using the same floral stamp set and the others are from the next day of make-n-take projects. Please let me know if you have any questions about any of them!
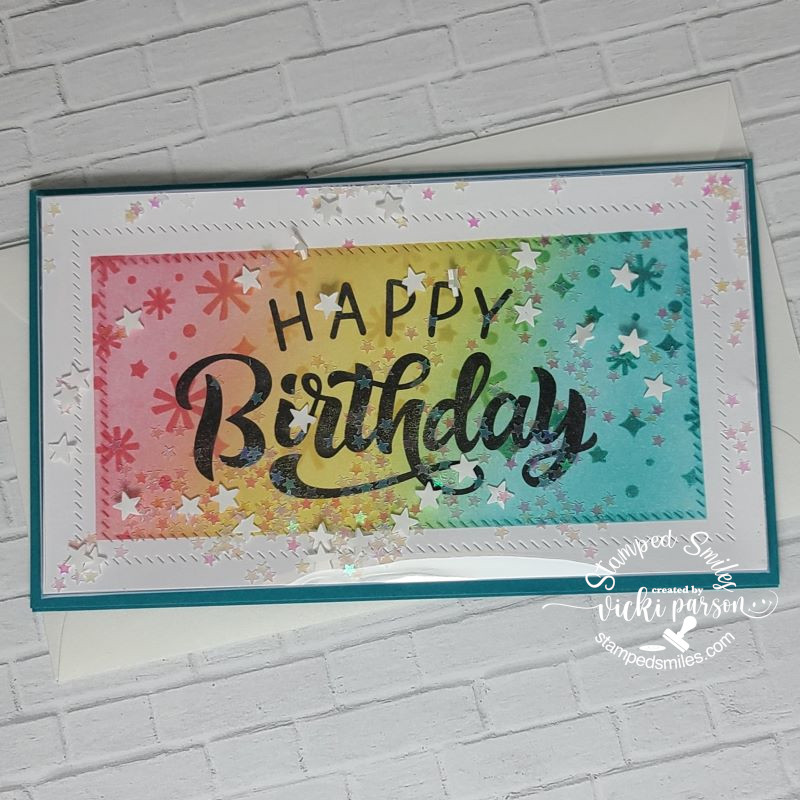
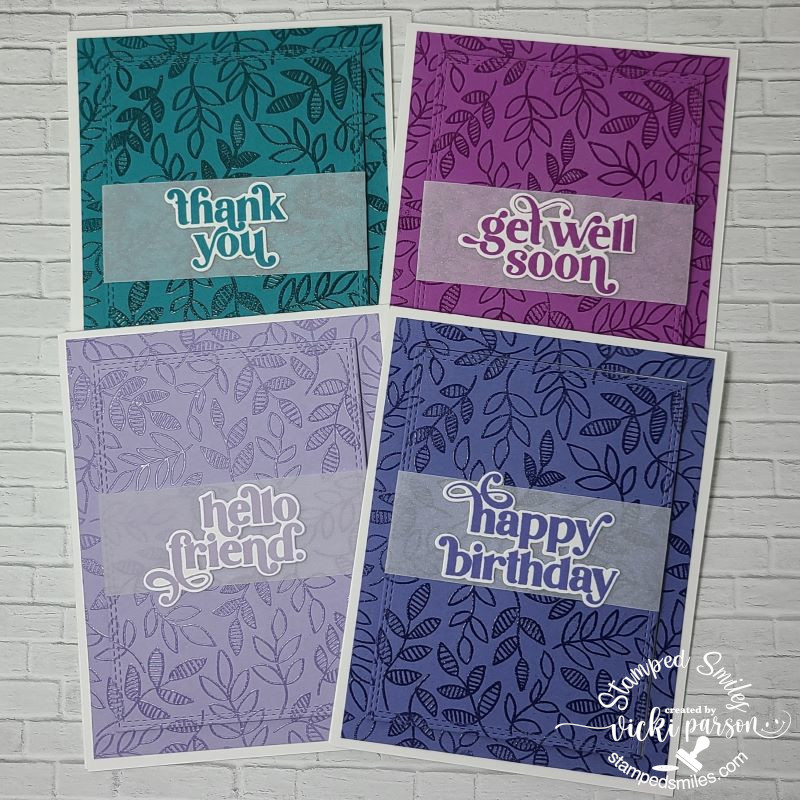
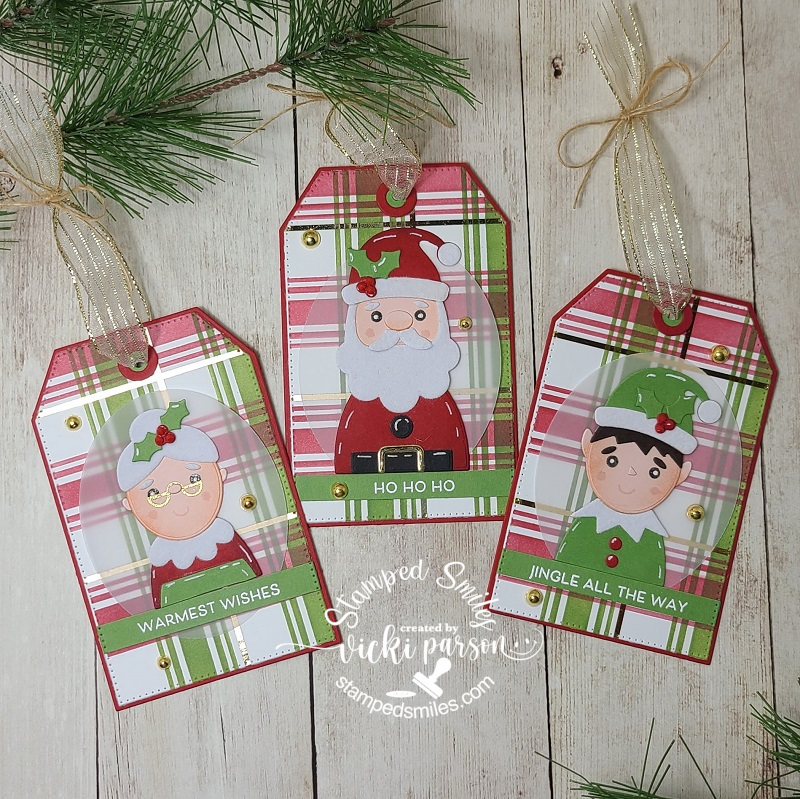
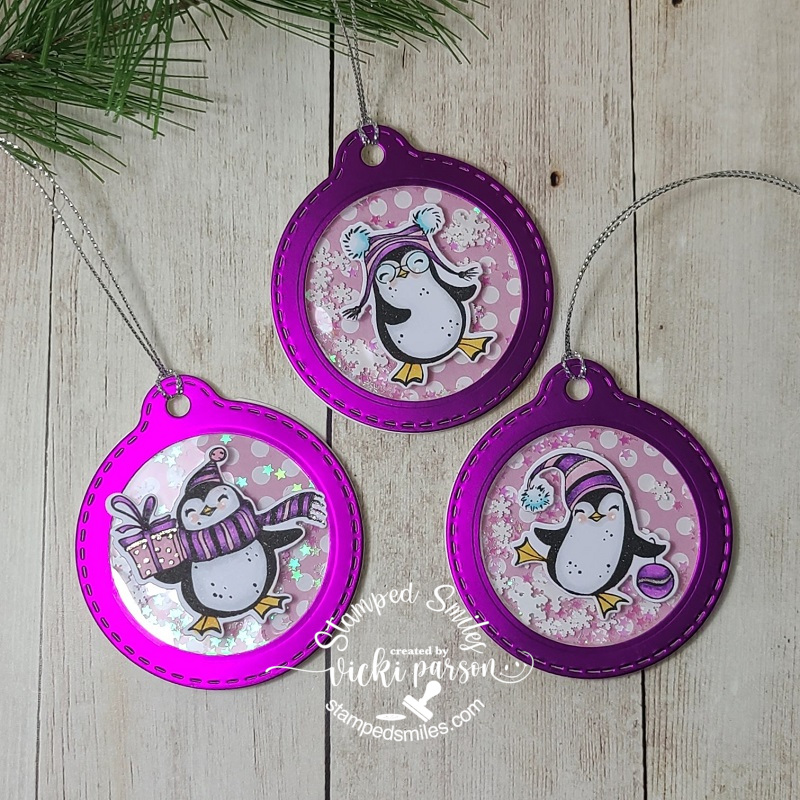
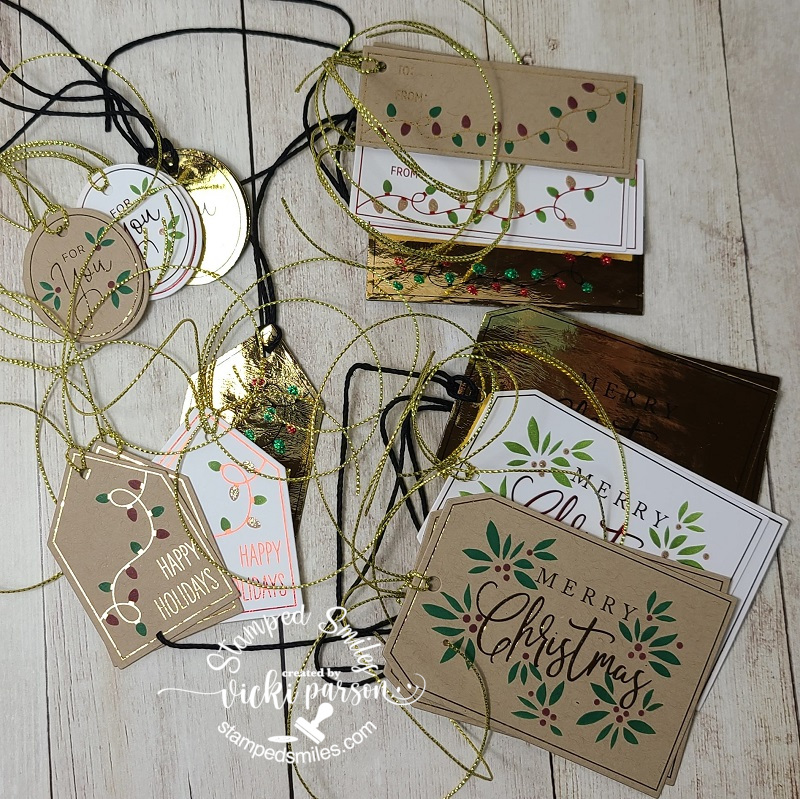
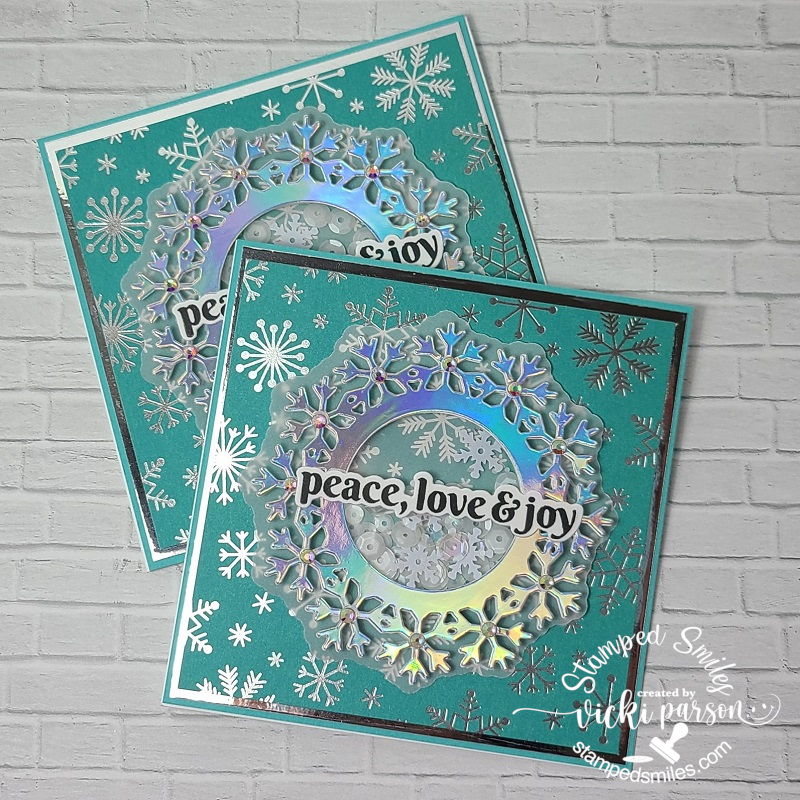
The last set of four cards were a “mass production” using a background stamp in different colored cardstock panels and clear heat embossing over them. The class sample had “hello” sentiment on each one, but I changed up the sentiments and have placed them in a card box to give them out with envelopes as a gift for someone.
Hope you’ve enjoyed the inspiration as much as I enjoyed putting them all together!
From the end of last year up until this last month, I didn’t have much time with the Holidays and everything going on, but as you may have seen in previous posts, I participate in a “square sampler swap” and when everyone sends out their squares, we then complete a home décor piece with all of the squares, so I thought I’d share mine finally completed:
- CLICK PHOTOS BELOW TO ENLARGE
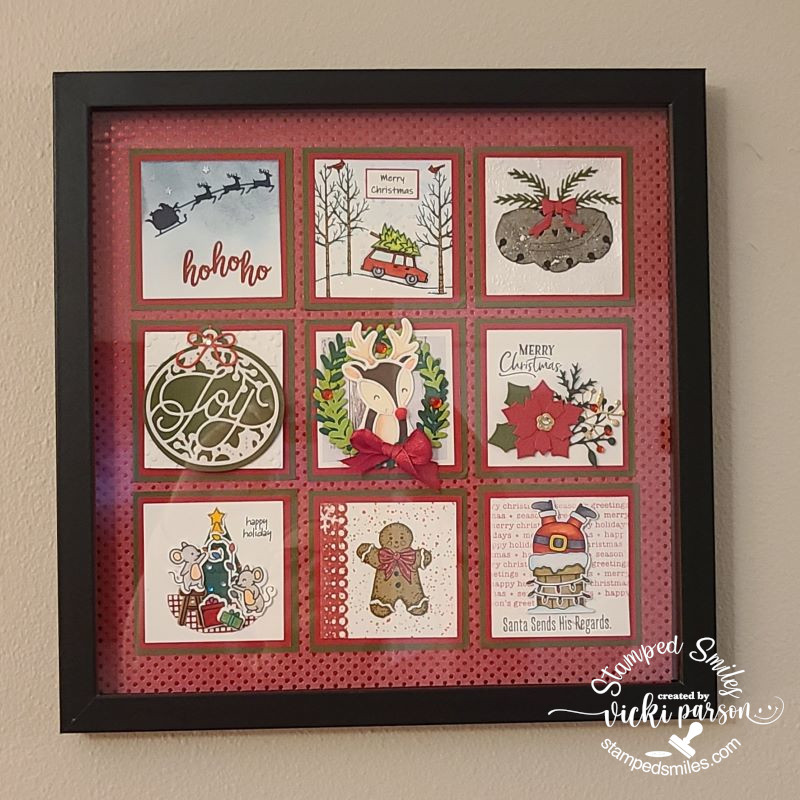
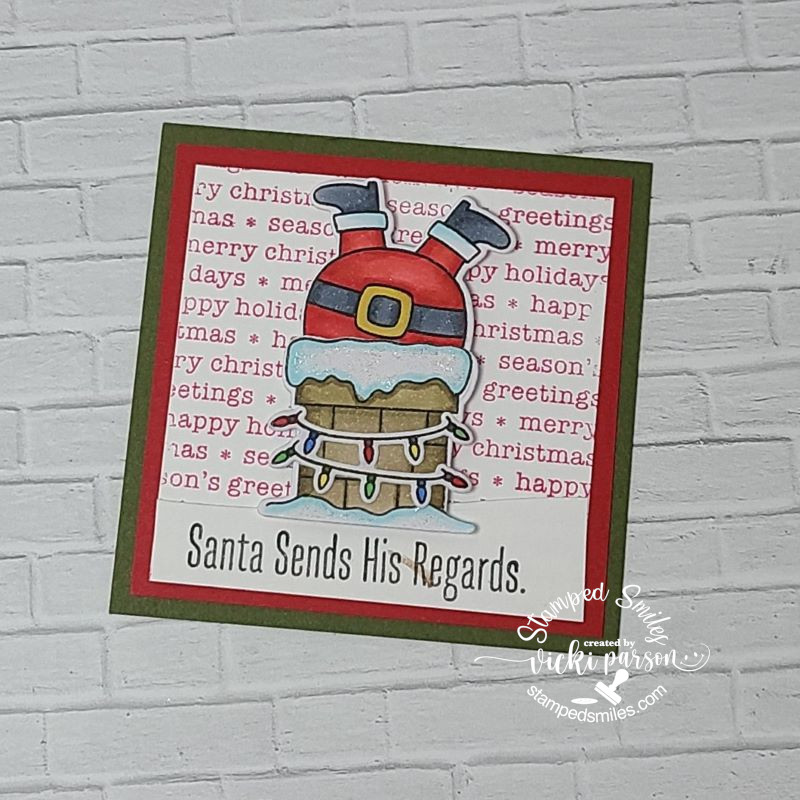
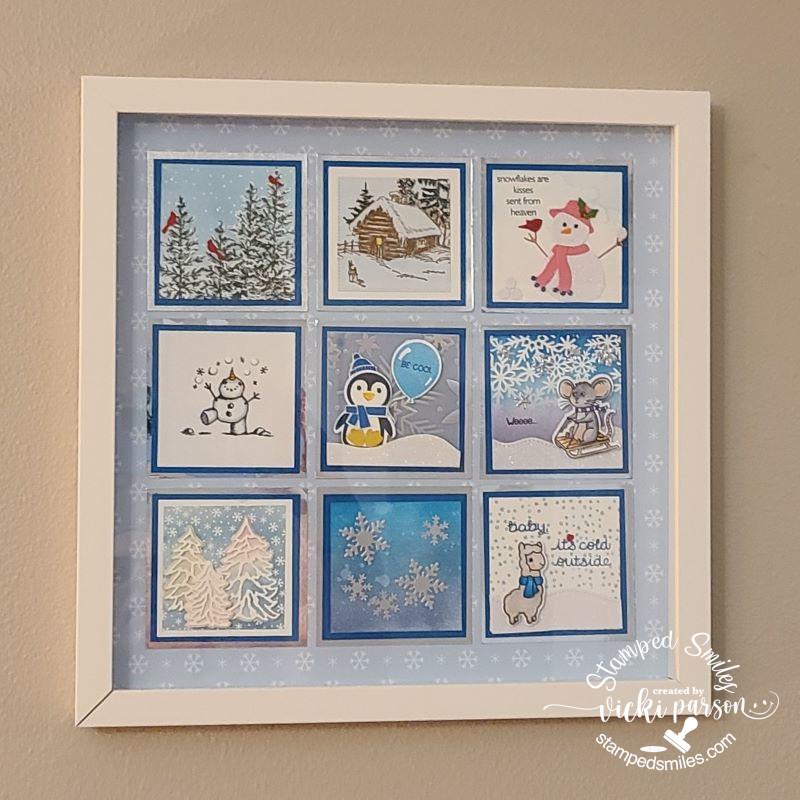
This was for the Christmas Sampler SWAP and you can see that I’ve used a black shadow box frame for my sampler and placed some red with red metallic dotted paper behind it. The square on the right is the one that I made. (I’ve used My Favorite Things products for my square.)
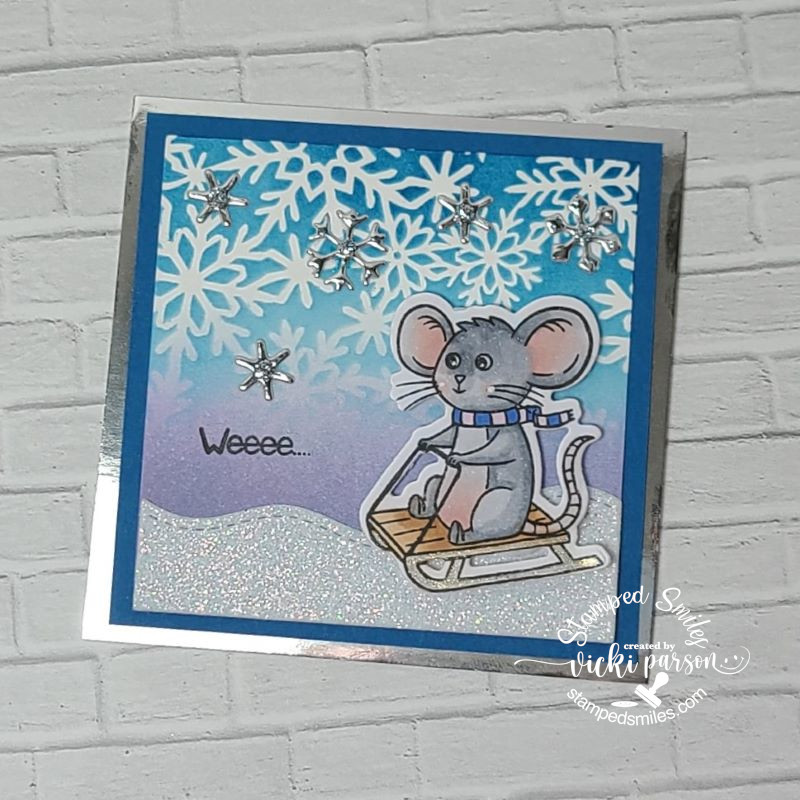
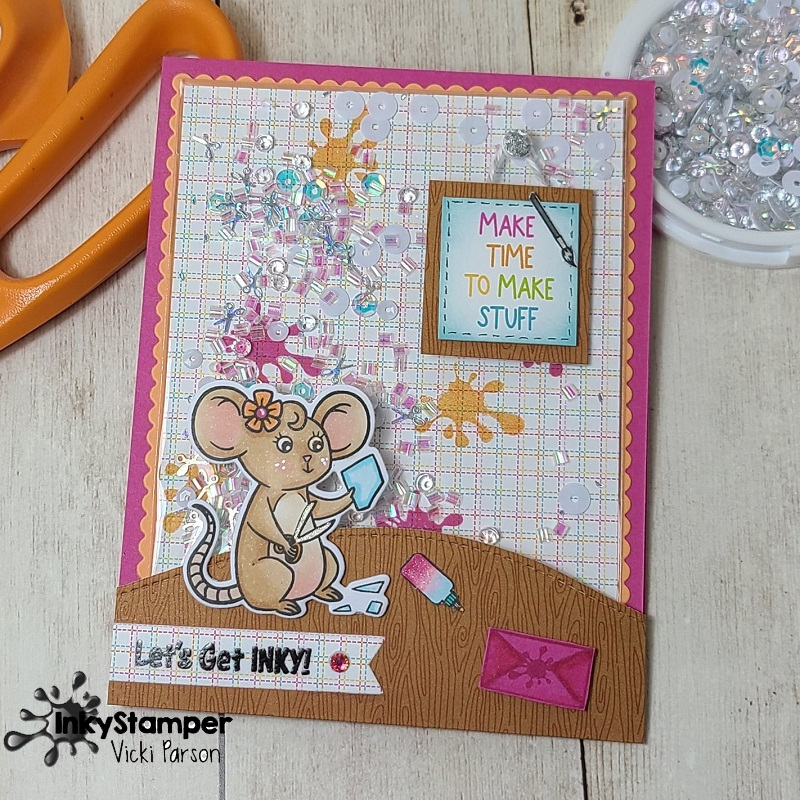
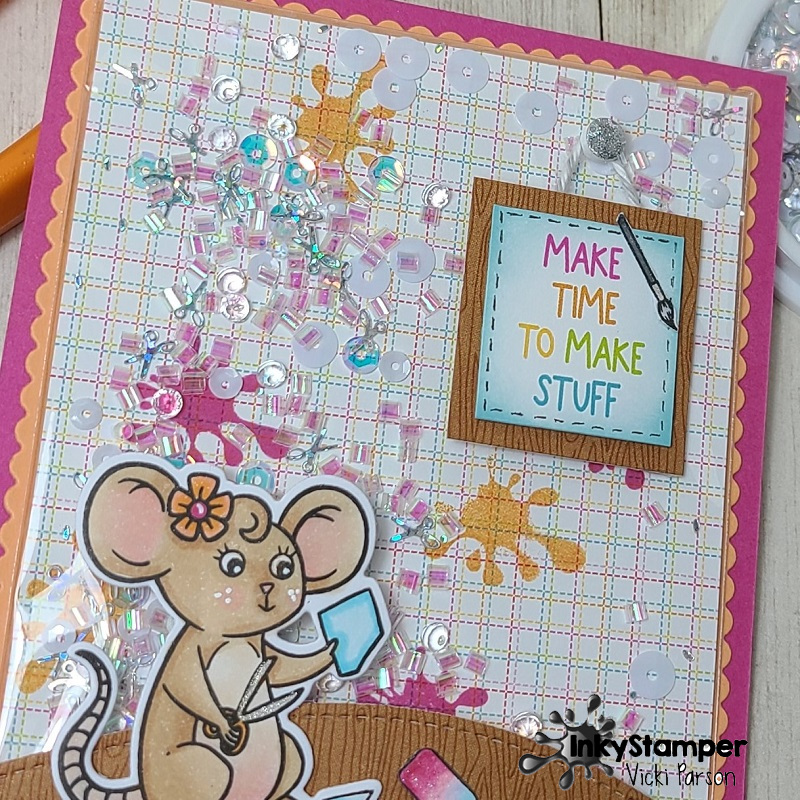
This was for the Winter Sampler SWAP and I went with a white shadow box for this one. I’ve placed some soft blue snowflake papers for behind my sampler as I thought it was soft enough to not look too busy. The square on the right is the one that I made. (I’ve used Inky Stamper products for my square.)
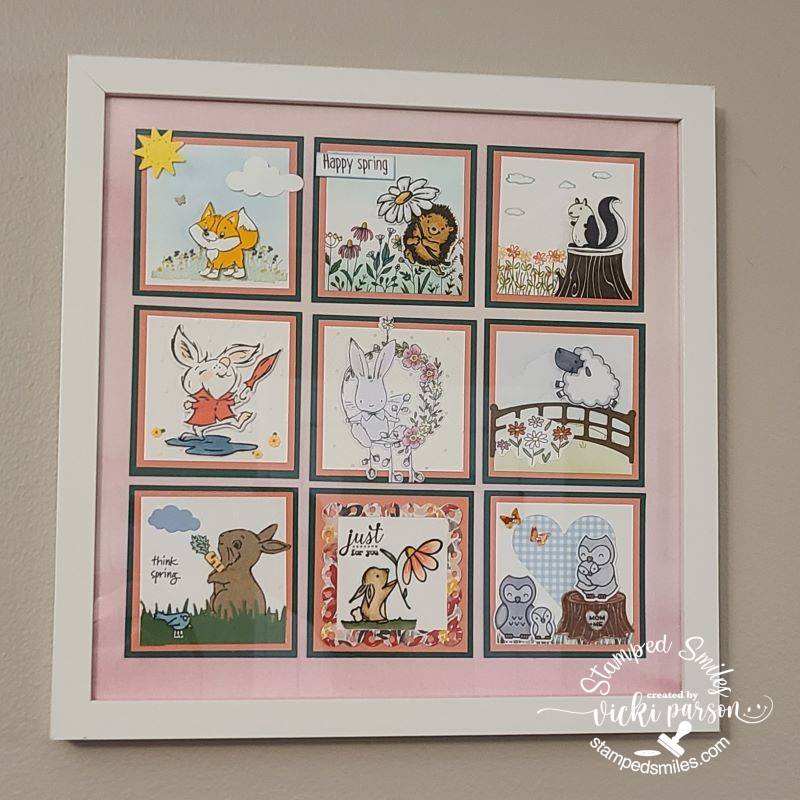
And recently we finished up our Spring Animals Sampler SWAP that I used another white shadow box for the sampler. I’ve added a piece of pink colored “Watercolor Wishes” paper from Lawn Fawn behind it. It looks a little off in the photo, but it looks better IRL. The square on the right is the one that I made. (I used Taylored Expressions products for my square.)
Not sure if we’re doing any more or not, but I had so much fun making the squares to swap with friends!
Lastly, I have a fun little thing to give to whoever is interested in these Taylored Expressions dies + foil-it panels package. (It’s not sold in stores anywhere as it was a free gift with purchase) I have an extra and so I thought I’d give it away to someone! Just leave me a comment below if you’re interested and I’ll pick someone from the comments.

That’s all I have for today! Thanks so much for stopping in! I’ll be seeing you soon!