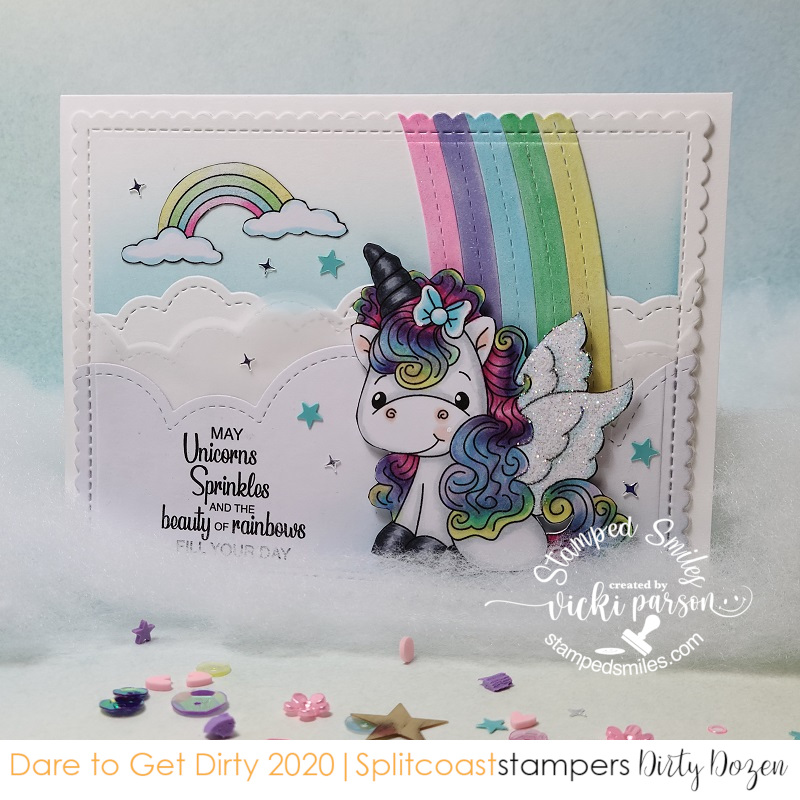
A Unicorn with Sprinkles & Rainbows for Dare to Get Dirty

Hello again today my friends! Yes, still posting and with another “twofer post” again today! It will calm down eventually, but for now I have lots of things to share with you!😀

As you may have read in my second post from yesterday, we kicked off the “Dare to Get Dirty” Event over at Splitcoaststampers and I shared the card I made for one of the challenges. I have another creation to share with you that I made for one of the challenges released today and this one is for the lovely Lori:

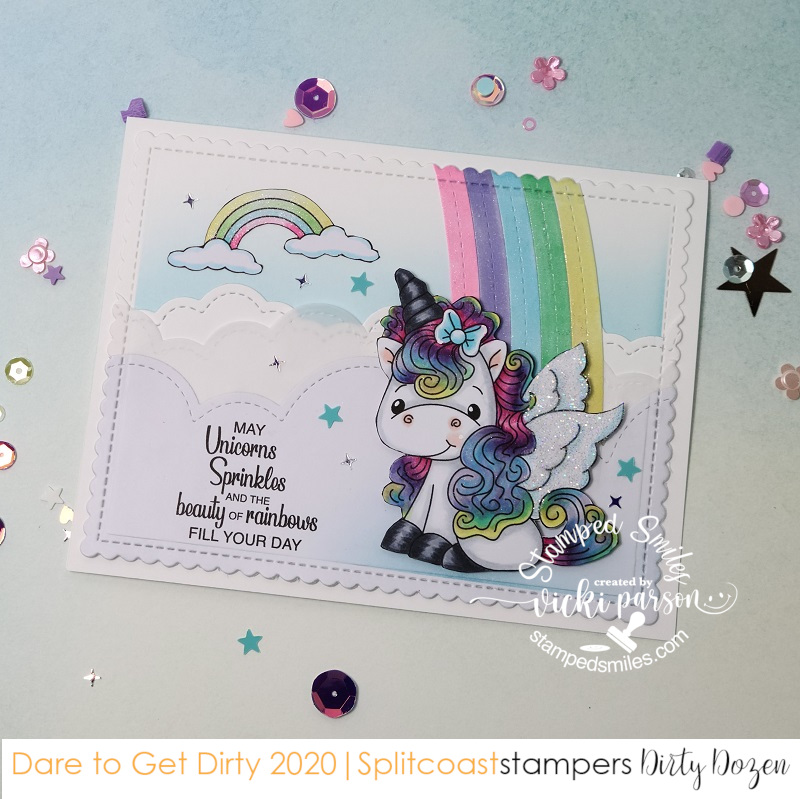
This really brought out the little girl in me when creating this card with the rainbow colors and magical scene! This sweet little unicorn image along with the rainbow in the background and the sentiment all come from the Digi Doodle Studios Unicorn Wishes Pairables set. I’ve printed them out, colored them with Copic markers and fussy cut them out with the exception of the sentiment which I left and cut out as a cloud with my Lawn Fawn Cloud Border dies. I’ve also used that die to cut some clouds from a piece of vellum and an additional piece of white cardstock.

I’ve used an older My Favorite Things Stitched Rainbow die from white cardstock that I colored with Copic markers to place behind the first set of clouds behind the unicorn. Before layering my clouds, I took some distress ink and blending tool to add a bit of blue shadow behind them. After attaching all the cloud and rainbow layers, I cut it out with the MFT Blueprints 27 die set .

Lastly, I’ve attached this layer over an A2 sized white top folding card base and popped up the fussy cut unicorn with foam tape. I took some random sequins to attach over the design.

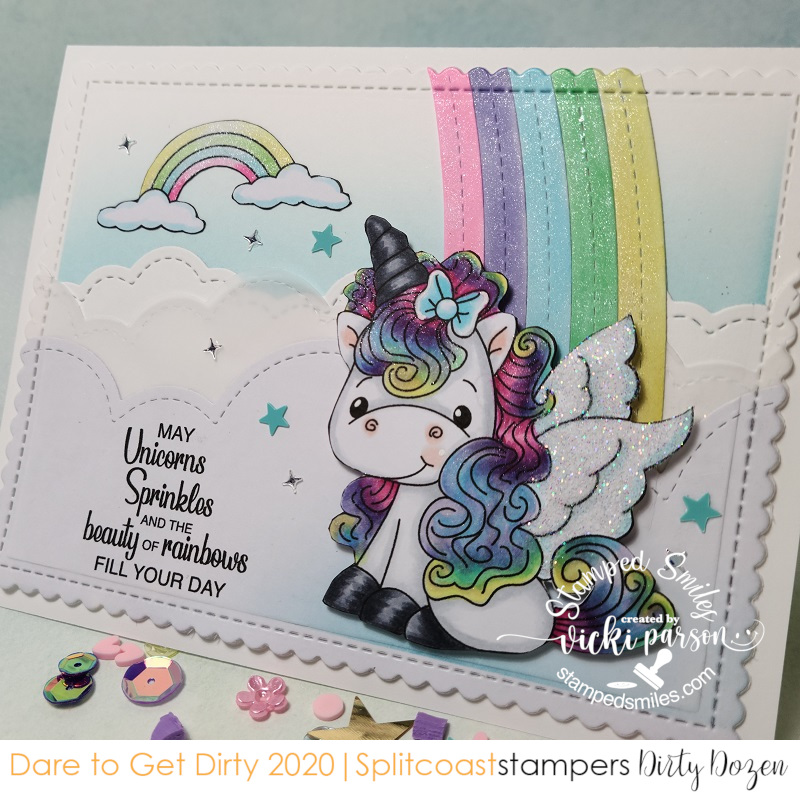
Here’s a closer view of some of the details in the card. I added some loose glitter over the unicorn’s wings with a 2-way glue pen and some loose glitter. Hard to tell, but I’ve also added some shimmer to the rainbows and the unicorn’s mane with a glitter brush pen. I also added a bit more blue cloud shadow under the unicorn’s feet before attaching him on the card.

This was really fun to create and I know it will make a fun card to share.

Thanks so much for dropping in!

Owl-rageous Thanks

Hello friends!  We’re finally on the last Friday of February!  Yay!

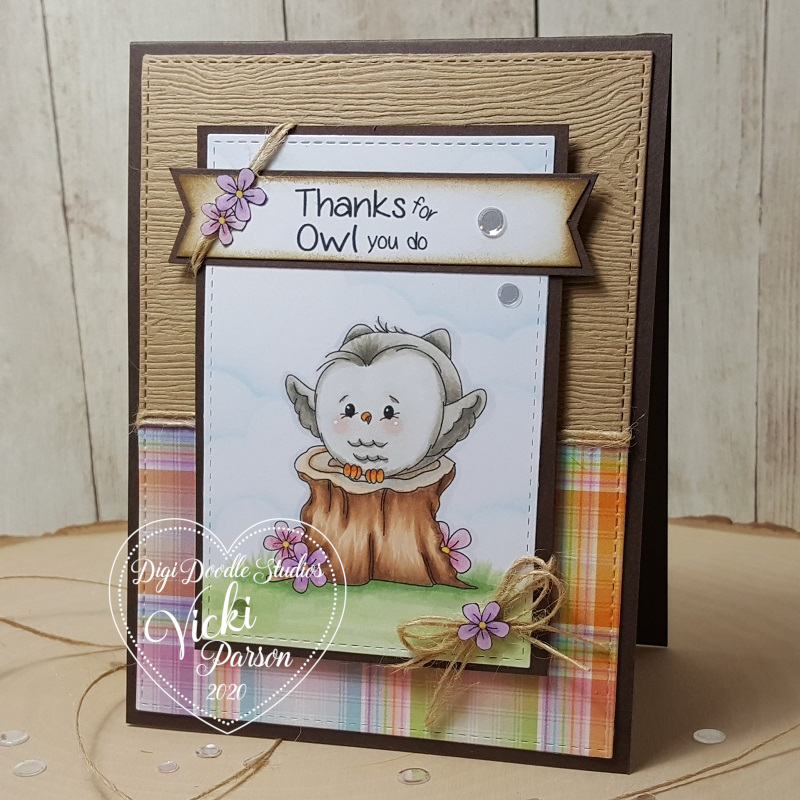
Although we’ve had snow in our forecast recently, I’m feeling Spring will be in the air soon and I really look forward to it along with all of the pretty flowers and green grass!  So today, I’m sharing a card I’ve made using this adorable Pairables set from Digi Doodle Studios:

Vicki-Owlrageous2

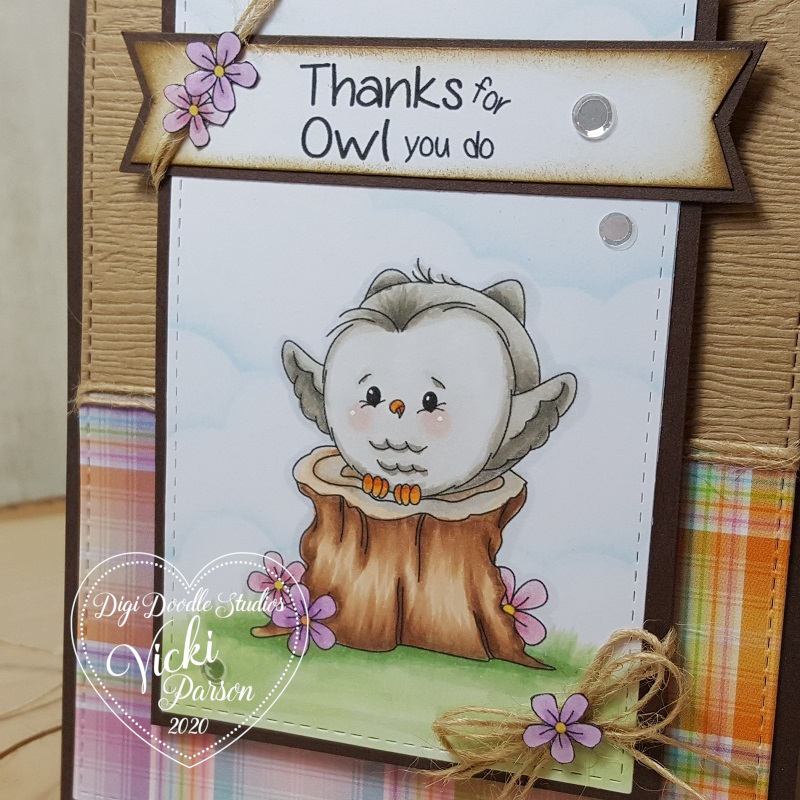
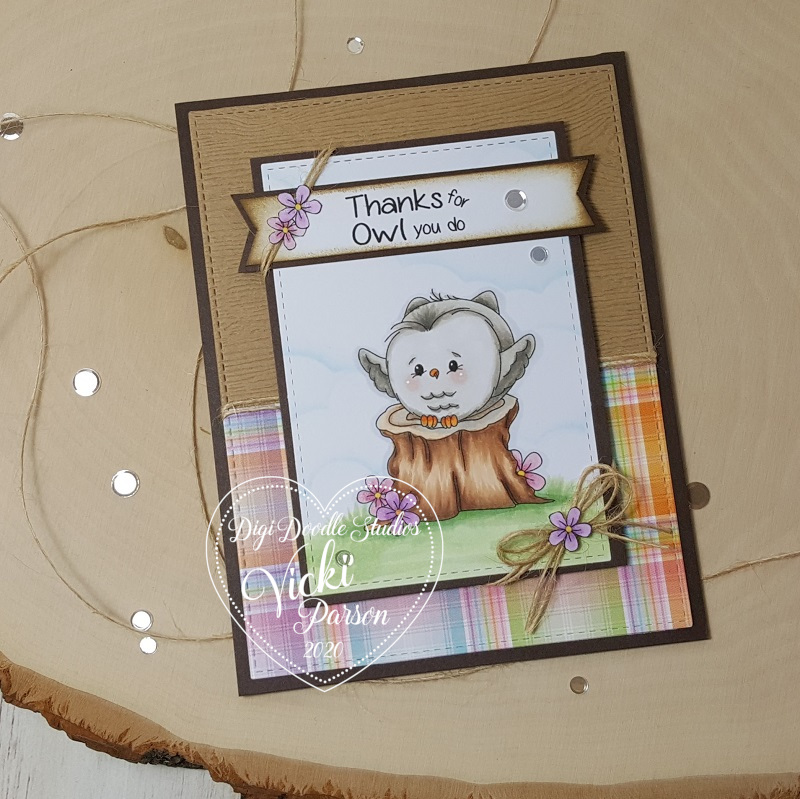
Isn’t this little owl the cutest?!  I love how he has his little wings out for a hug!  I’ve used several of the images from the “Owl-rageous” Pairables set to create the scene on my card.   I have used Word.doc on my computer to arrange and size the different images where I wanted them for my scene and printed it out to color.  I’ve also printed out the flower image from the set along with the sentiment separately to cut out for my design.

As you can see, I’ve taken the flower image and sized it differently and arranged it around the stump for the scene.  I’ve also used it to cut it out separately to attach to the twine next to the sentiment as well as the twine bow at the bottom.

I’ve printed out the sentiment, cut it out and then cut the fish tails on each end and ink blended with brown ink around it.  I’ve matted it with the same brown cardstock that I’ve layered the image panel on and it’s also the base of my top folding A2 sized card.

I’ve pulled out some textured woodgrain cardstock as well as the Spring Plaid papers from my Lawn Fawn stash.  I thought the woodgrain and Spring-like colors worked well for this cute owl.  I’ve finished it off with some clear sequins.

Vicki-Owlrageous2-close

Here’s a closer look at the coloring I’ve done on this cutie!  I’ve used the W tones to color him in and then the E20s to color the stump.  I also end up going for the G24, G21 and G20 for coloring my grass.  I love the bright Spring green it gives I think.  I highlighted his cheeks and eyes with a white gel pen.

You can also see a subtle cloud line behind him.  I’ve used the MFT Cloud Stencil with my ink blending tool and Tumbled Glass distress ink to create the background.

You can see that I’ve wrapped some twine around the center of the card where the two different papers meet as well as wrapped around each corner of the image panel.  This is where I decided to add the cut out flowers on each end.

Vicki-Owlrageous2-flat

I feel like this owl with my arms open and ready to take in all of Spring when it comes and thank Mother Nature for bringing it around! LOL!  How about you?

Thanks so much for stopping in today my friends!  I’ll be seeing you soon! 🙂

Challenges:

  1.  Creative Fingers – #180 Anything Goes
  2. Through the Craft Room Door – Anything Goes
  3. Pammie’s Inky Pinkies – PIP2008 Anything Goes
  4. Arty Divas – #16 Anything Goes
  5. Simon Says Stamp Wednesday – Anything Goes
  6. Cute Card Thursday – Spring Fever

It’s Going to be “Owl-right!”

Hello friends and welcome to the weekend!  I hope you have some great plans ahead of you and have some fun!

Today I’d like to share this card I’ve made with a darling feathered cutie and the punnyness that goes along with him….

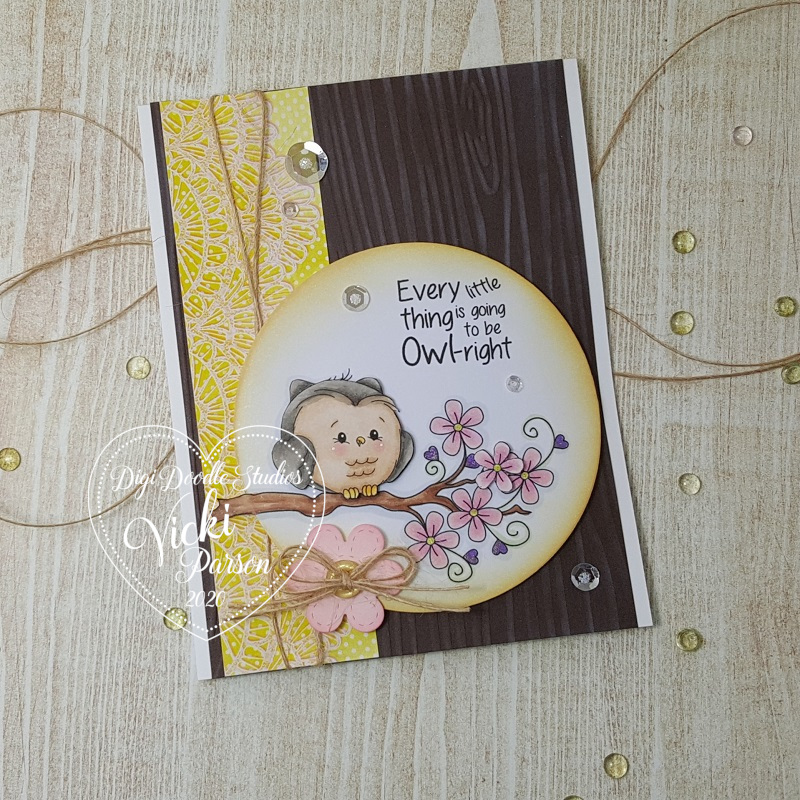
Vicki-DDSOwlright

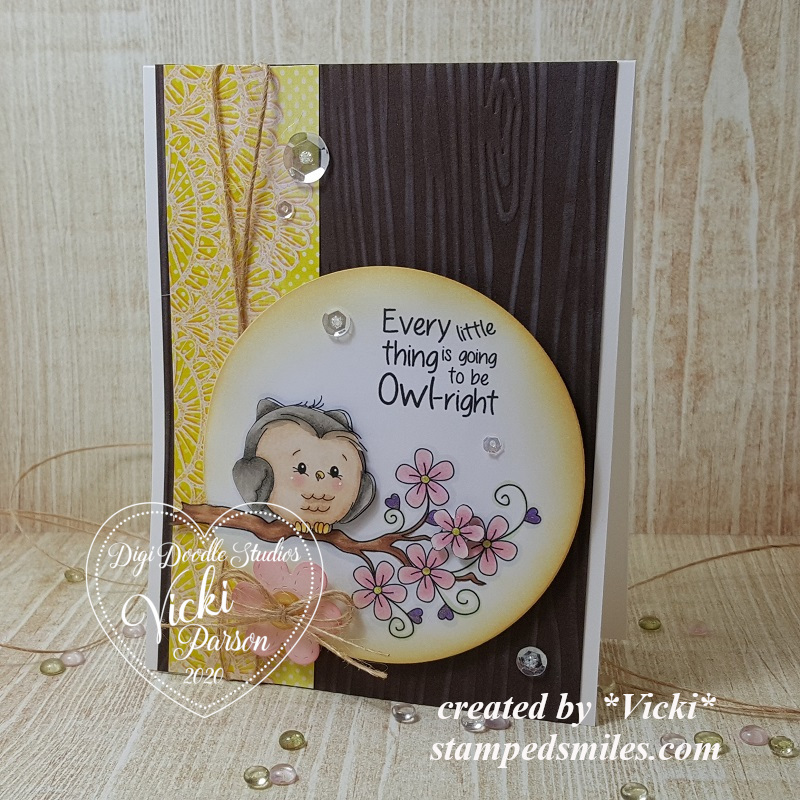
Isn’t this little guy the cutest owl you’ve seen?  This image was actually created on my computer with the “Owl-rageous” Pairables digital stamp set from Digi Doodle Studios.  The owl, the branch and the sentiment are all separate images, but I’ve pieced them together on my computer and printed it out to create this scene!

I’ve actually printed out an “extra” owl and flower to color in and pop up over the image for added dimension.  I used the “out-of-the-box” technique to circle die cut out the image.  The branch is sticking outside the circle.

I’ve used a woodgrain embossing folder and rubbed some white ink over it and also added a strip of yellow paper from my stash wrapped in twine along the edge.

I die cut a flower and rubbed some pink ink over it, attached a button and twine bow over it to pop up over the owl panel.  Then added some sequins filled with glitter glue in the centers.

Vicki-DDSOwlright-close

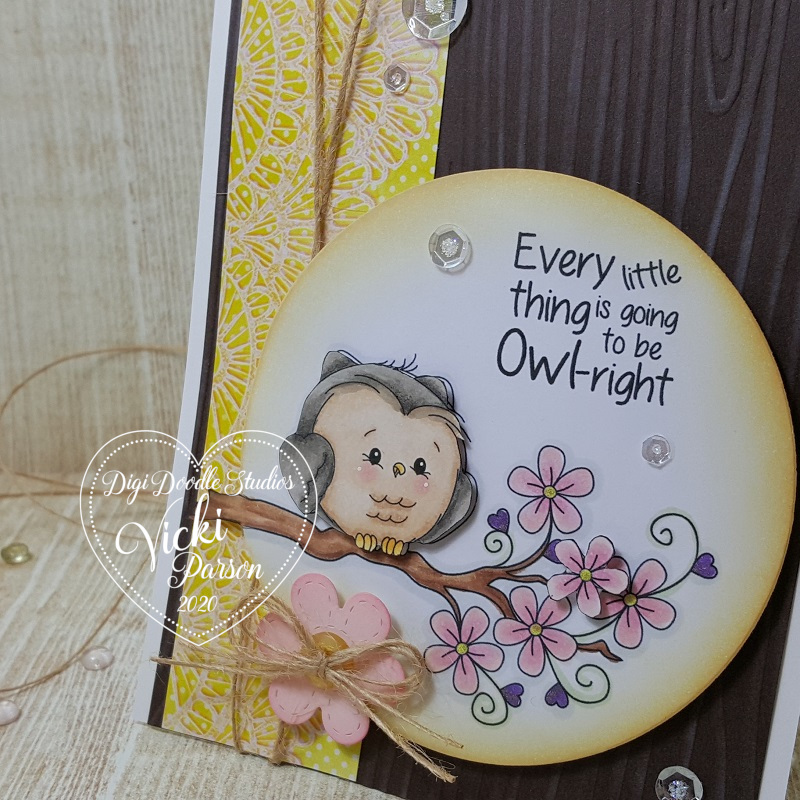
Here’s a closer look at the coloring I’ve done on the images.  I’ve used a purple glitter gel pen for the tiny hearts on the branch and then a yellow glitter gel pen for the centers of the flowers.  I’ve used some yellow ink to sponge around the circle panel.

Vicki-DDSOwlright-flat

This card actually has me longing for Spring to come with those flowers!  He’s letting us know that everything is OWLright!! ha ha ha!!  Hope you’ve enjoyed my creation today and I really appreciate you stopping in!  See you soon!

ETA:  Hubby said I should include the song….

Challenges to enter:

  1. Cheerful Sketches – Feb sketch
  2. Love to Craft – LTCCB43 Anything Goes
  3. Crafts Galore Encore – #72 Anything Goes
  4. Pammie’s Inky Pinkies – PIP2006 Anything Goes
  5. Not Just Cards – Feb Anything Goes
  6. Arty Divas – #115 Anything Goes
  7. Through the Craft Room Door – Anything Goes
  8. Alphabet Challenge – ‘W’ is for “Anything You Wish”

Oh BABY! It’s Shaping Up!

Hello friends!  Hope that you’ve enjoyed a fantastic weekend whatever it was you were doing!  It’s been SO freezing over my way and I’ve been covering up with electric blankets!  Brr!

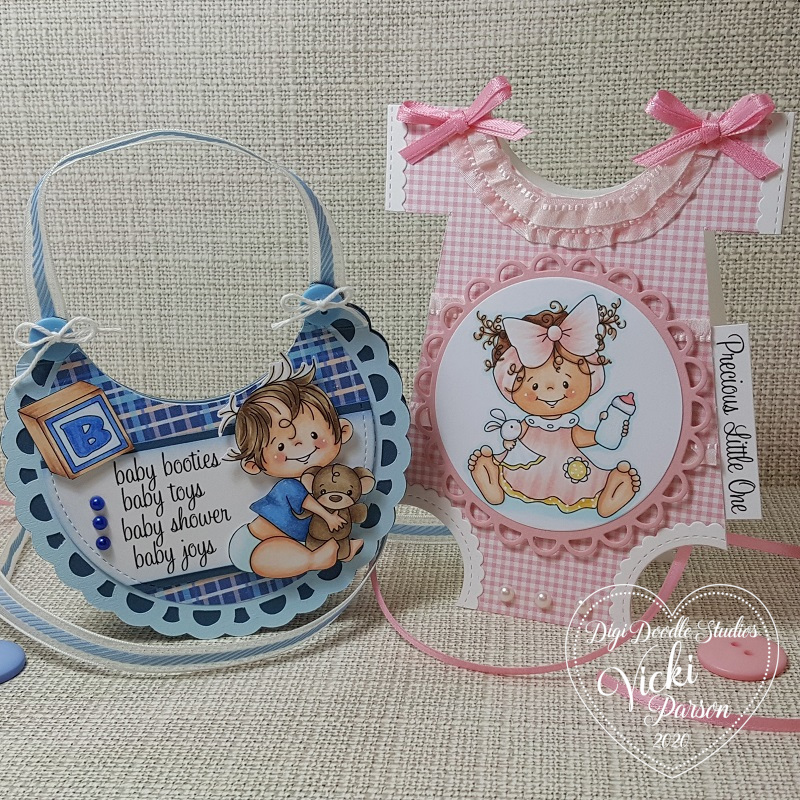
Today I’d like to share with you a couple of shaped baby cards made with a newly released and adorable Pairables set from Digi Doodle Studios along with a few other fun products from their store…
Vicki-DDSPeciousBabies-Jan21

Check out these shaped baby style cards I made with these ADORABLE little baby images from the Precious Babies Pairables set!  You may remember not too long ago the other baby card I made on THIS POST with the other new set called Little Ones Pairables.
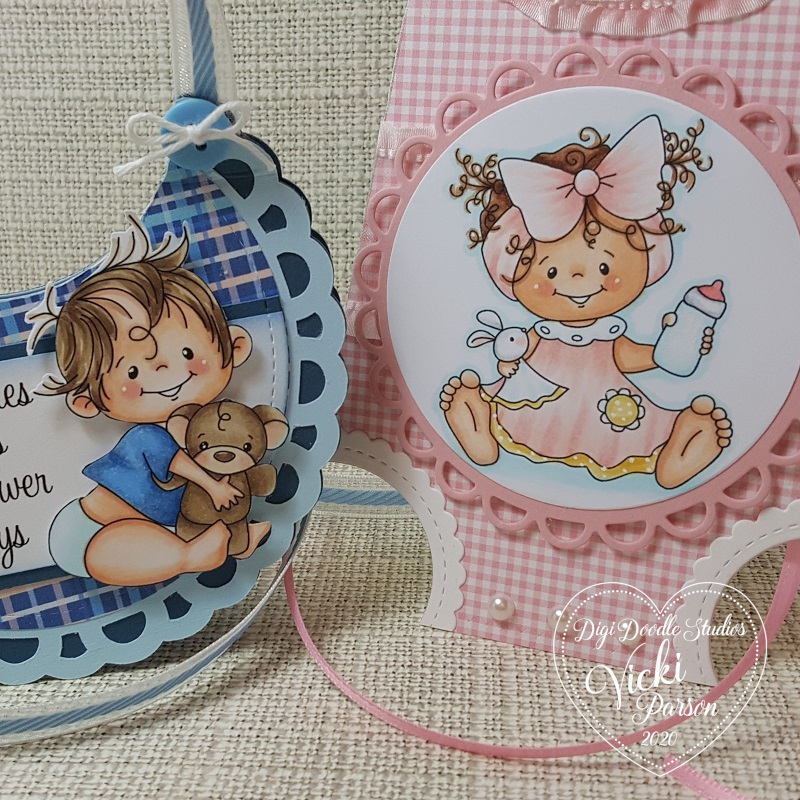
Vicki-DDSPreciousBabies-Jan21-close

I wanted to share a close-up look at the coloring I’ve done with these two sweet little baby images.  I’ve used Copic markers to color them with and then just used a white gel pen for highlights on the cheeks as well as creating polka-dots for the baby girl’s dress on the yellow portions.

It’s hard to tell in the photos, but I covered the baby bottle with a glitter brush pen.

The baby girl was cut out with a circle die and layered over another die cut scallop circle from pink cardstock.  I’ve used my scissors to fussy cut out the baby boy and pop him over the design with foam dots.
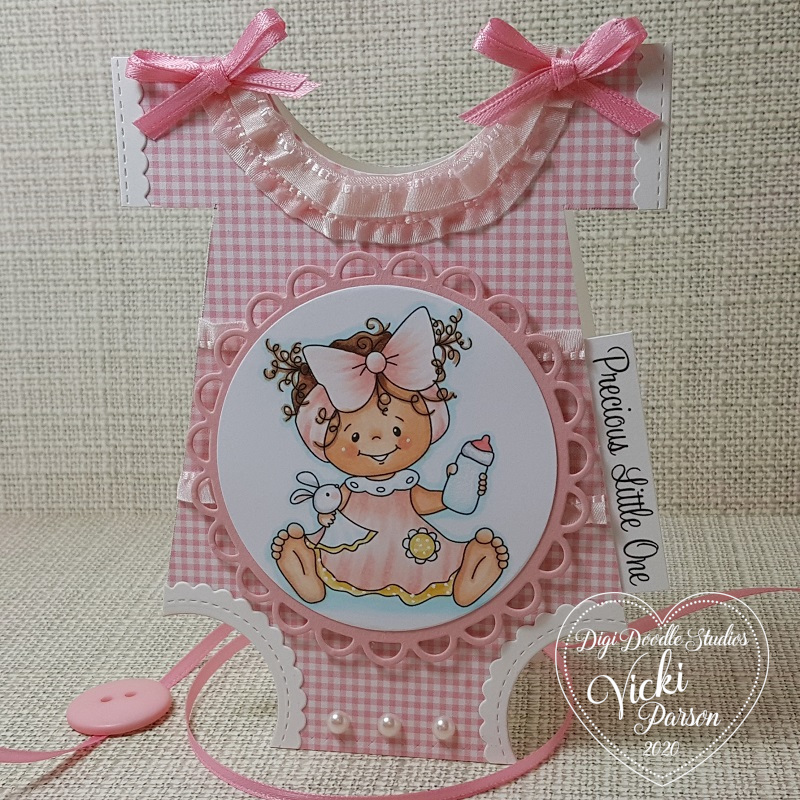
Vicki-DDSPreciousBabies-Jan21-girl

For this baby onesie shaped design, it’s actually REALLY simple to do!  It’s just a matter of measuring in, cutting and then circle die-cutting where you need to put the neck hole and leg holes is all!  It is a standard sized A2 top folding card and will easily fit inside a standard A2 sized envelope for mailing which I love!

The pink gingham paper that covers the entire front panel of this card comes from the Digi Doodle Studios Bundles of Joy Digi Paper Pack.

I’ve used the same ribbon for behind the circle panel as well as for the “ruffles” around the neck area.  I just folded up the ribbon to give it that look and attached it along the neck hole line.  I’ve attached a couple of pink ribbon bows on each side as well.

For the arm and leg hole areas, I’ve just used scallop style die cuts and sized them over the ‘openings’ and trimmed them down to fit.

I’ve taken the printed out sentiment from this same Pairables set and trimmed it down to attach along the side of the onesie, used some foam tape to pop up the baby girl image panel and added some pearls to the bottom of the onesie card.
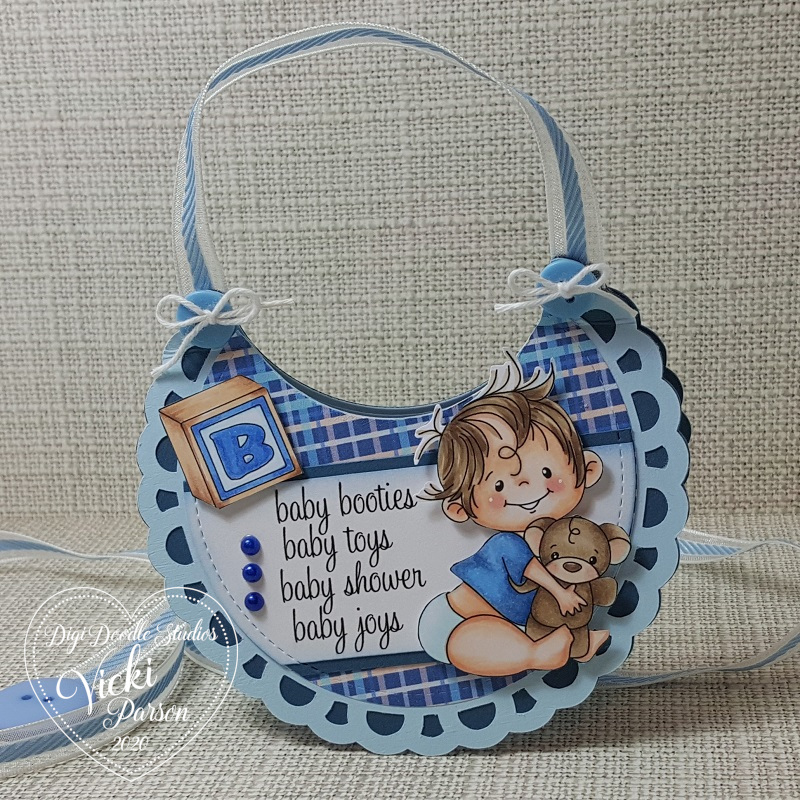
Vicki-DDSPreciousBabies-Jan21-lilboy

For this baby boy bib card, it’s just as simple!  You could use ANY circle die cut you have, but I didn’t happen to have a size that I was looking for, so this scallop circle design was cut from my Cricut machine.  It cut out the light blue and the dark blue layer behind it.  I ended up cutting out an additional dark blue panel to create my full shaped card design.  (This card measures exact size as above for regular A2 sized envelopes!)

The next step was using a circle die to die cut through all of these scallop circle layers for the neck opening on the bib.  I’ve used a score board to score a line on the top layer only (as the bottom was the back/inside of the card and didn’t need score lines.) and added the ribbon before securing the top two ends (behind the buttons) to the back of the card panel so that it opens like a regular top folding card.  (I also added an additional light blue circle panel to the inside for a message.)  The ribbon is secure and doesn’t interfere with the opening of the card.

I’ve used another circle die to cut a piece of paper from the Digi Doodle Studios Baby boy Digi Paper pack.  Obviously this was also cut out for the bib neck line as well.  I tied a bow with white twine on the buttons before gluing them down on the top ends of the bib.  I printed out the sentiment from the DDS Little Ones set and cut it out with the same circle die that I’ve used for the papers and trimmed it down into a strip and added another dark blue layer behind that to attach to the front of the bib.  I popped up the baby boy and the wood block with foam dots over the card and added some blue pearls along the side.

Thanks so much for joining me here today and I’ll see you again soon!

Challenges I’d like to enter:

  1.  Daring Cardmakers – Something ‘NEW’
  2. Arty Divas – Anything Goes #13
  3. Through the Craft Room Door – Anything Goes
  4. A Bit More Time to Craft – Anything Goes
  5. The Creative Crafters – Anything Goes
  6. Cute Card Thursday – What’s New?
  7. As You Like It – Anything Goes
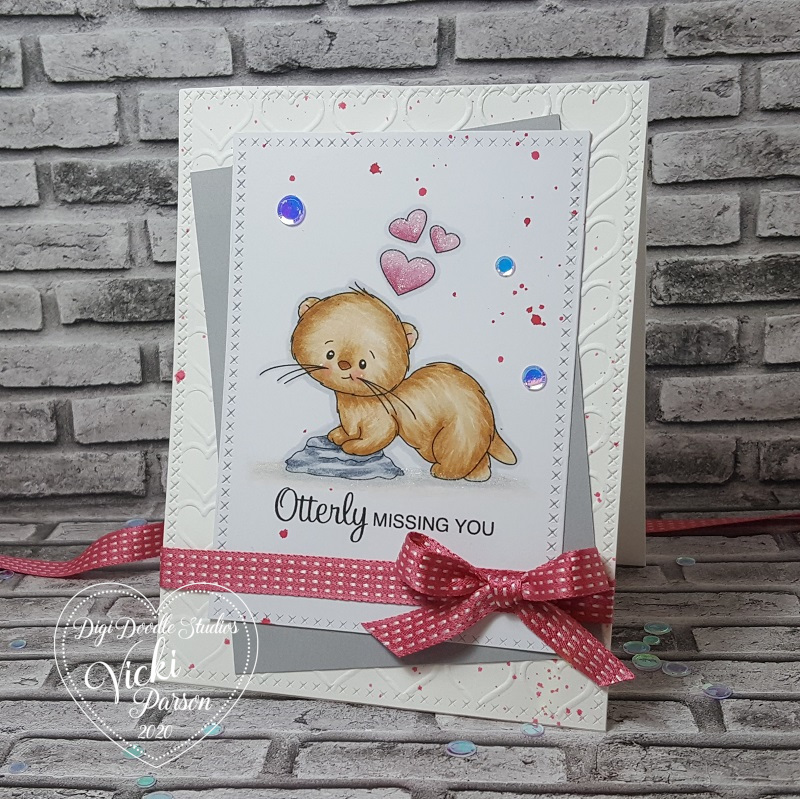
Otterly Missing You!

Hello friends!  I wanted to say thank you for adding your comments from my last post about the card kits! LOL!  I see that I’m not alone!  You’ve all actually really inspired me to get them pulled out and use them despite how old/new they are!  Loved the idea about making several cards and sending them along to charities too!  Always love reading your feedback! 🙂

Today I wanted to share with you another card I made with the oh so adorable Digi Doodle Studios “Otterly Love” Pairables set that you may remember my card from last week that I’ve posted HERE.  I’ve used it again for my card below:

Vicki-DDSOtterlyLove-Jan16

His sweet little face gets me every time! 🙂   As in the previous card I made with this set, I’ve arranged the digital images from the set how I wanted them to look on my design and then just printed it out.

After coloring up my image panel, I die cut it out with a cross-stitch rectangle die and set it aside.  I cut a white A2 sized top folding card base and then layered a white heart embossed (folder from Stampin’ Up!) card front panel that was also cut with the cross-stich rectangle die.  I used some watered down ink (Strawberry Slush from Stampin’ Up!) and a fan brush to splatter some color over it.  I also CAREFULLY took the image panel and splattered some more over that panel as well.

I then arranged the rectangle layers including the gray colored cardstock (Smokey Slate from Stampin’ Up!)  panel and attached them to the embossed card front panel.  I tied some of that triple stitched ribbon (from Stampin’ Up!) around all of these layers and added a bow with it before attaching it all to the card base.  Lastly, I’ve added some clear sequins.

Vicki-DDSOtterlyLove-Jan-close

Here’s a closer view of the Copic coloring I’ve done on this cute critter posing on his little rock.  (I thought he needed a bit of ‘water’ around him.)

You can see the hearts and along the bottom of his feet where I’ve added some shimmer with a clear glitter brush pen.  I’ve also used a white gel pen for his cheeks and eyes.

Vicki-DDSOtterlyLove-Jan-flat

It’s a super simple card, but oh so much fun to color him up!  I thought it was a nice card to send for a ‘miss you’ to someone you love!

Thanks so much for joining me here today friends and I’ll be seeing you soon!

Challenges I’d like to enter this card for:

  1. Creative Fingers – Anything Goes #177
  2. QKR Stampede – Anything Goes #380
  3. Not Just Cards – Jan. Anything Goes
  4. Lil’ Patch of Crafty Friends – Anything Goes (Happy 5th!)
  5. The Cutie Pie– Cute, Clean and Simple
  6. Pammie’s Inky Pinkies – Anything Goes PIP2002
  7. Crafty Cardmakers – Anything Goes #248

I’m Otterly In Love

Hello friends!  Happy Friday!  Do have any plans for the weekend?  I have plans to probably stay in and color since there’s snow predicted for us! Brr!

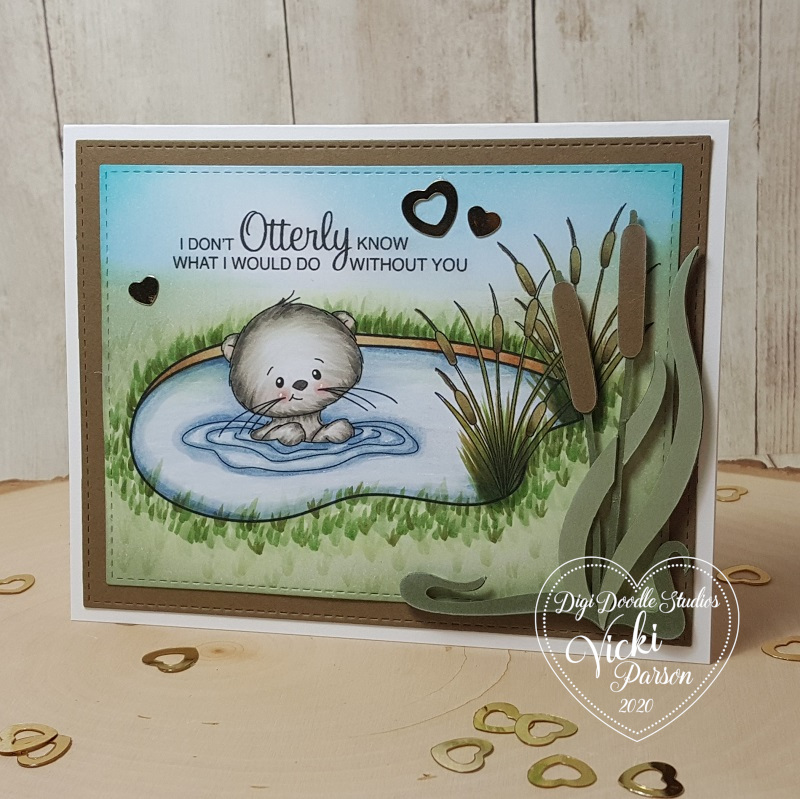
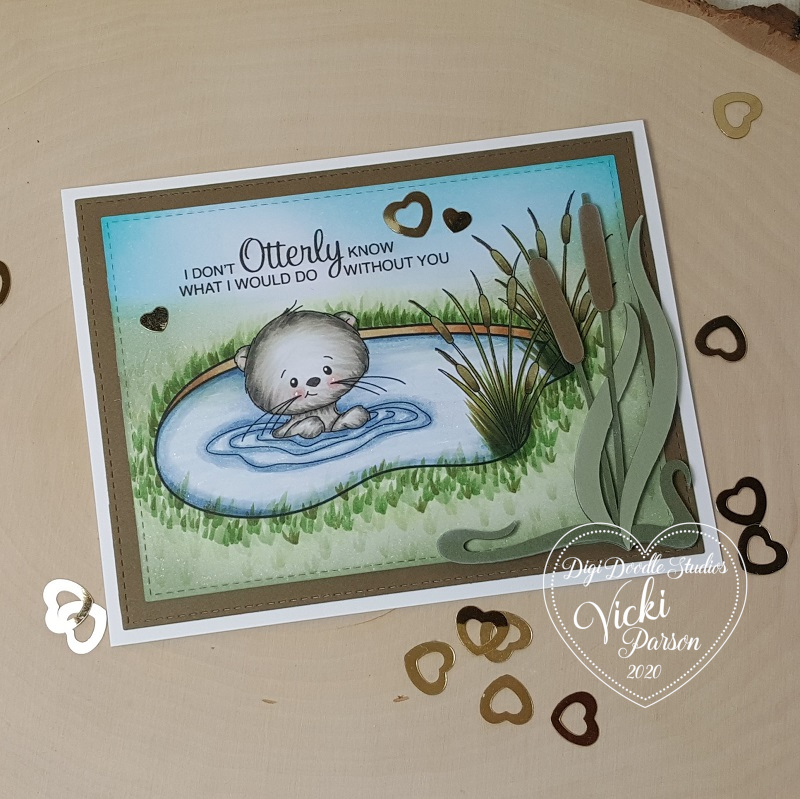
I wanted to share a card I’ve made with this “OTTERLY” adorable brand new Pairables digital set that has come out today from Digi Doodle Studios:

Vicki-DDSOtterlyLove-Jan10

Isn’t that the sweetest little face?!  This entire scene was digitally created on my computer using the Otterly Love Pairables set from Digi Doodle Studios!  If you’d like to take a look at what’s in the entire set, then check it out in the store link or see the bottom of this post!  I will have another card coming with this same set soon, so stay tuned!

*Tip*  The “thing” I love about creating scenes digitally as apposed to regular stamping is that there’s no masking involved!  Just create on the computer and you can resize and arrange/bring forward/bring back, etc all you want without the hassle and it’s easy to start over as it’s on your computer!  It’s easier than you think if you’ve never done it!

So as I mentioned, I arranged each image on my computer how I wanted the images to be and printed it out, colored it in and sponged in some distress ink along the edges so the whole panel has color over it.

I die cut it out with a stitched rectangle die and used the same die set to cut a larger piece in the brown cardstock that was layered over an A2 sized top folding white card base.

I used my Cricut to cut out the cattails along the right side.  I popped it up with some thin pieces of foam tape to add to my design.  Lastly, I finished out the card with some gold heart sequins around the sentiment.  (This is a nice flat design so it’s easily mailable too!)

Vicki-DDSOtterlylove-Jan10-close

Here’s a closer look at the coloring I’ve done on this cutie!  I’ve used my Copic markers to color most of the panel including all of the grass blades.

I took a white gel pen to give him extra highlight on his eyeballs and cheeks.  I also covered the pond water with a glitter brush pen for some shimmer.  Not sure you can see it, but of course it’s nice and glittery in person!

I’ve also used a sponge to lightly cover the cattails with white ink.

Vicki-DDSOtterlyLove-Jan10-flat

I hope you’ve enjoyed my card today using this darling new Pairables set from DDS!  I’m seriously looking forward to sharing more with it soon as I think this has easily become my favorite!

Thanks so much for stopping in today and I’ll see you soon!

Challenges:

  1.  Country View – Love
  2. The Paper Funday – Anything Goes with optional Friendship
  3. Crafts Galore Encore – Anything Goes #71
  4. Creative Knockouts – Anything Goes
  5. Let’s Craft and Create – Anything Goes with optional:  Love is in the Air
  6. Lil’ Patch of Crafty Friends – Anything Goes
  7. Pammie’s Inky Pinkies– PIP2001 Anything Goes

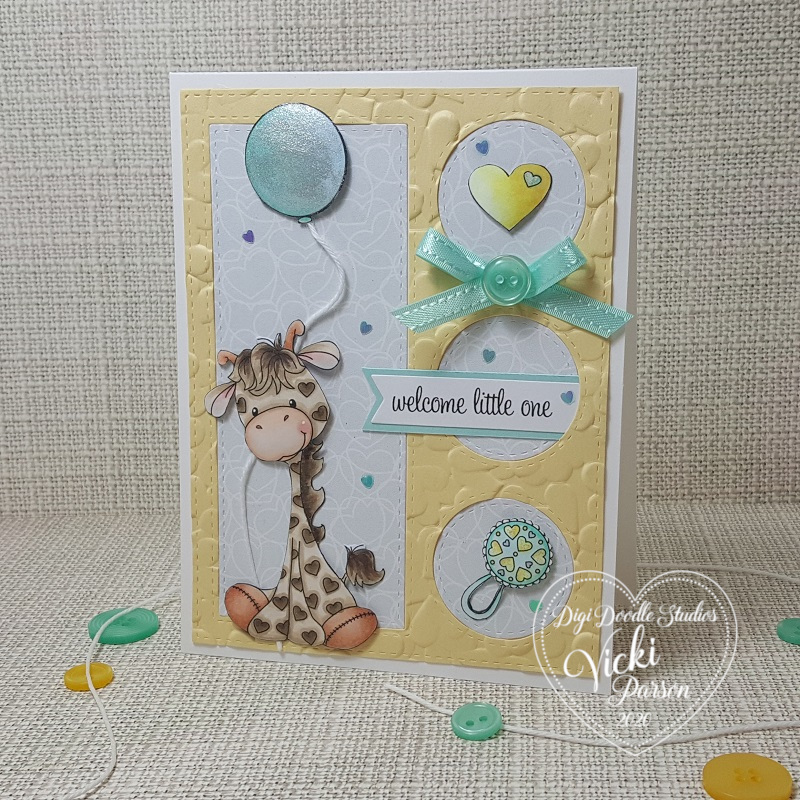
Welcome Little One From Digi Doodle Studios!

Hello friends!  So now that we have celebrated the Holidays and have started the year, it’s time to look at all things “new”, right?!  I have some new things to share with you today using Digi Doodle Studios products!

To me, there’s nothing better to celebrate “new” than new crafty items to play with as well as a new baby theme:

Vicki-DDSBOJ-Jan7

I hope you just said “Awe!” right along with me here!  Absolutely fell in love with this precious digital Pairables set that’s BRAND NEW at Digi Doodle Studios called “Little Ones“!

I started by printing out the images and coloring them up.  I colored the giraffe, balloon, heart and baby rattle and then fussy cut them out for my card design.  There is a very soft interlocking heart grey background papers from the Digi Doodle Studios Baby Boy digital paper pack that I’ve used for the background with the frame layout.

The frame was cut out using the Whimsy Stamps Peekaboo Window 3 die from some yellow cardstock.  I then took a brand new textured embossing folder from Sizzix that I got over the Holidays and embossed it.  Love the texture of the hearts!

I used some pop dots to lift the images up a bit and added some white twine to the balloon and giraffe.  The sentiment was printed out (also from the same Pairables set) and cut out with a banner die.  Lastly, I’ve added the ribbon bow, button and some tiny heart sequins in random areas.

Vicki-DDSBOJ-Jan7-close

Here’s a closer look at the coloring I’ve done on this sweet little giraffe.  I’ve used Copics to color all the images.  You can see how pretty that texture from the embossing is!  Lots of little hearts going on here! (Including on the giraffe in case you didn’t see that!)  🙂

You can see where I’ve added some shimmer to the balloon, tiny hearts on rattle and the tiny heart inside the yellow heart with a glitter brush pen.

Vicki-DDSBOJ-Jan7-flat

I hope you’ve enjoyed my “NEW” creation for you today!  Please be sure to stop in the store and check it out along with all of the other new items available!

Challenges I’d like to enter this card for:

  1.  Crafty Creations – Anything Goes #405
  2. Pearly Sparkles – Anything Goes
  3. Moving Along With the Times – All Things New (new digi stamps/papers/embossing folder and new baby)
  4. Simon Says Stamp Wednesday – Something New
  5. Craft Rocket – Something New
  6. QKR Stampede – Anything Goes #379
  7. Crafty Friends – Something New
  8. Crafter’s Castle – Anything Goes

Bringing You Joy With Digi Doodle Studios

Hello friends!  I hope you are having a wonderful weekend!  It’s getting closer to the big day now!  Only 11 more days until Christmas!  If you’re like me, then you wait until the last possible minute to mail out all of your Christmas cards!   So guess what MY plans are this weekend?! LOL!  Have you got all of your Christmas done and ready to go?  I keep telling myself that NEXT year I will be prepared! LOL!

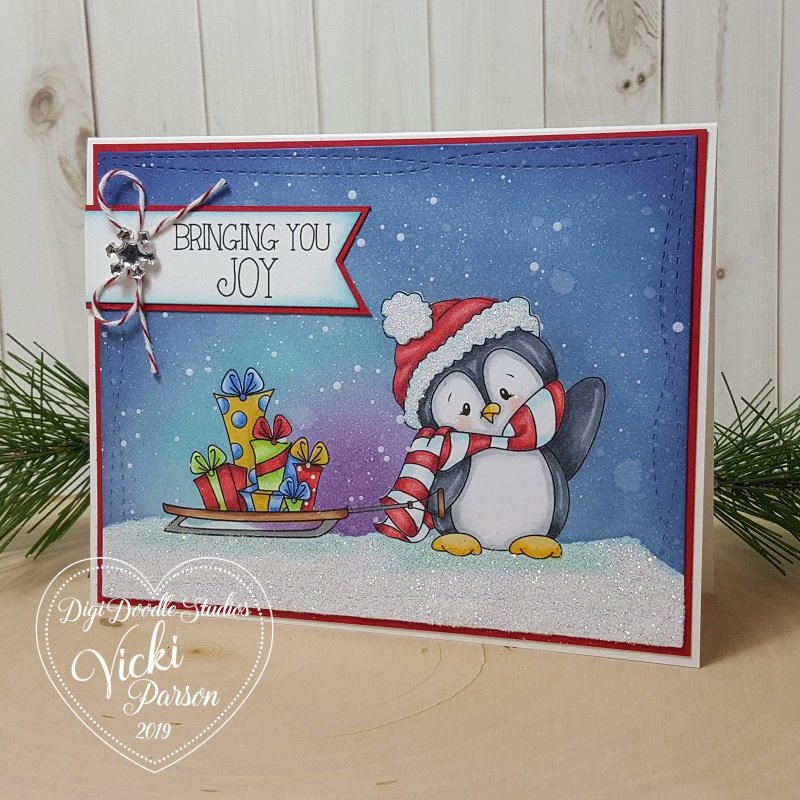
To help inspire those that are still looking for a fun and simple Christmas card, I have a cute one to share with you today using a Pairables set from Digi Doodle Studios:

Vicki-DDSWintertimePenguins-Joy

You probably remember not too long ago the fun tags I made on THIS POST.  I’ve used that same Pairables Wintertime Penguins digital set that I’m using on my card today!  I love that you can get a whole set of digital stamps that coordinate together so that you can use them to create fun scenes or have them doing different things!  Do you recognize the sled that this penguin is pulling full of gifts?  I took that same sled image and used it as “ice skates” for the penguins feet on my tags in the previous post!  That’s how fun and versatile this set can be!

This time my card is really simple.  I just arranged the images how I wanted them on my computer and printed it out.  I printed it again over some masking paper so that I could mask off the images to create my background.

To create the background, I ripped a piece of the masking paper to go along the bottom of the die cut panel after I masked off the images.  I used ink blending for the background and then spritzed with water and dried it with a towel.  I then took watered down white paint and splattered it for the snow effect.

Once it was dry, I removed the masks and colored up the images, made the sentiment (also from this same digital set) banner and mounted both pieces with some red cardstock which was mounted over an A2 sized white card base.  I added some glitter to the snow ground at the bottom and on the penguin’s hat.  Topped it off with some twine and a snowflake rhinestone.

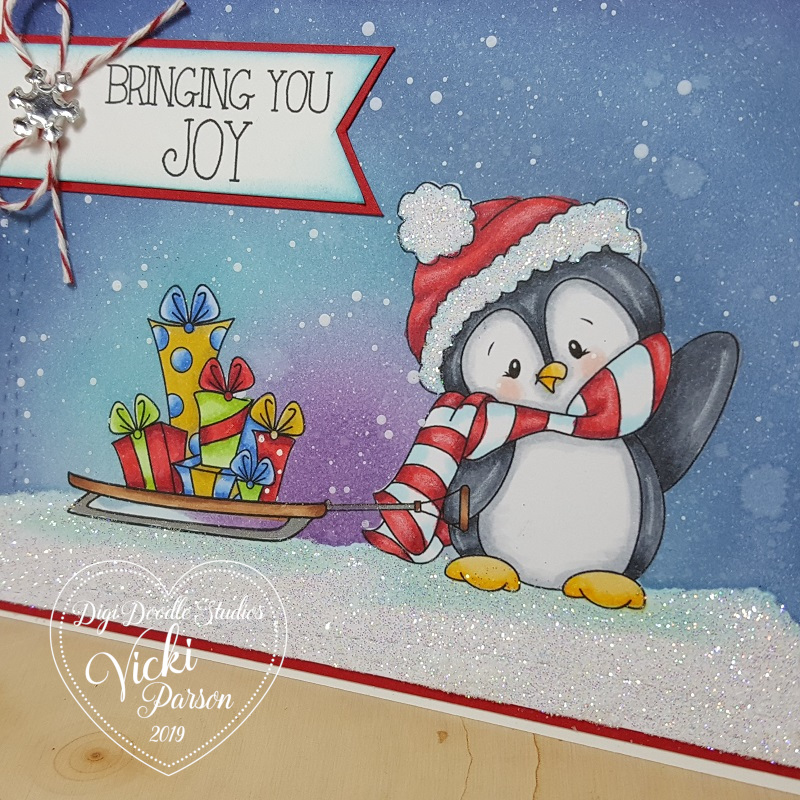
Vicki-DDSWintertimePenguins-Joy-close

Here’s a closer look at the coloring details of the penguin and his sleigh full of gifts.  I used a white gel pen for dots on the one present and his cheeks.  I also took some pencils for a few highlights.

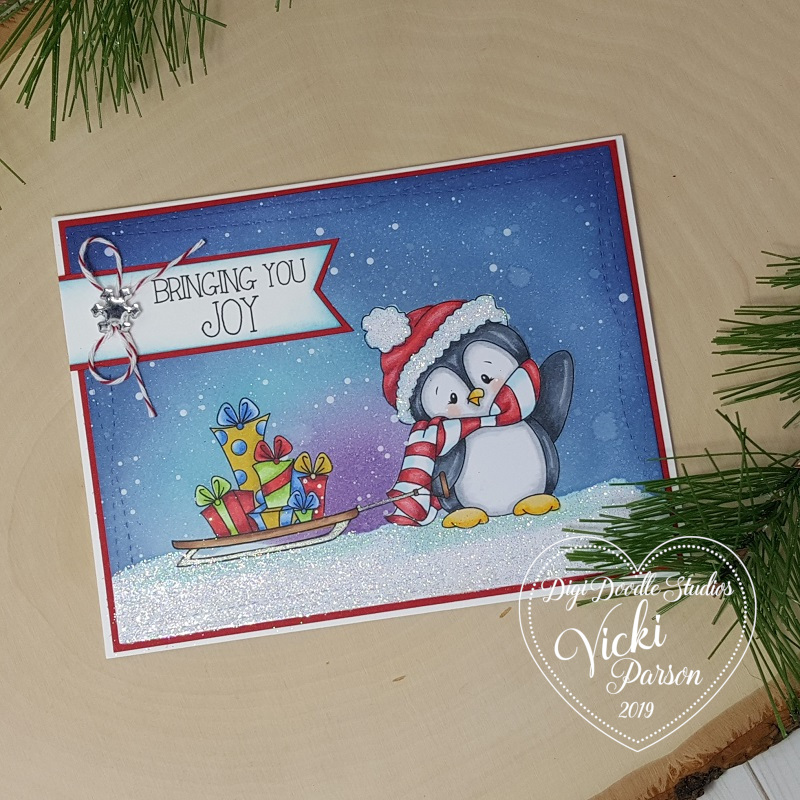
I kept this card flat except for the sentiment banner so that I can mail it better.  You could even leave it more flat than that if you prefer.

Vicki-DDSWintertimePenguins-Joy-flat

If you know me, then you know how much I love penguins.  I have a special collection of stamps and will probably always keep them around.

I hope you’ve enjoyed my card today and perhaps this little cutie has brought you some joy too!

Thanks so much for stopping in today friends!  See you soon!

Challenges:

  1.  Arty Divas – Anything Goes
  2. Tales From the Craft Room – It’s Christmas!
  3. Penny’s Paper Crafty– Anything Goes
  4. Cardz for Galz – Cute Christmas
  5. CRAFT – Christmas Present
  6. Let’s Craft and Create – Anything Goes with optional:  “Let it Snow!”
  7. Crafting With an Attitude – Anything Goes
  8. Winter Wonderland– Anything Christmas Goes

Wintertime Penguin Tags

Hello friends!  I’m on a roll with the tags and back again to share some more fun tags that I’ve been working on!

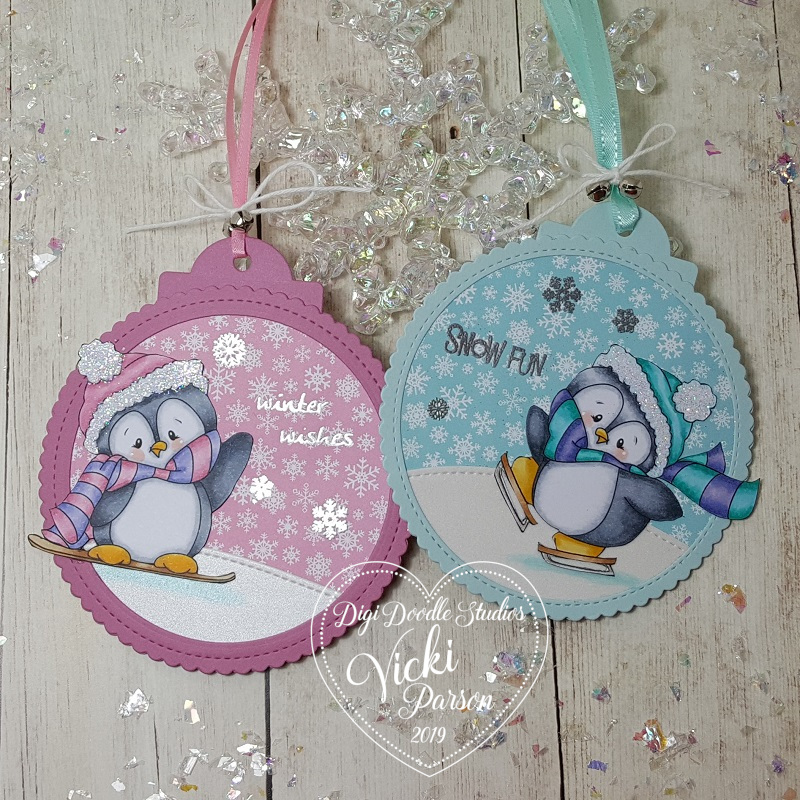
Vicki-DDSWintertimePenguins-tagsCheck out these adorable penguins having some fun doing winter activities!  Penguins are probably one of the top animals that I love!  I have SO many penguin stamps in my stash and seem to keep on collecting more of them…so of course I was super excited to be able to add this Wintertime Penguins Pairables set from Digi Doodle Studios to my collection as well!  🙂

There is seriously so much fun you can have playing with this digital set and if you like penguins as much as I do, then stay tuned in as I will be sharing even more creations using this same set in December!  You will see what I mean by all the different things you can do!

For both of the tags, I’ve used several dies from my stash to create my own tags.  I took a stitched scallop circle die (MFT) and cut two of them out in the blue and pink colors along with a small tag cut with the same colors for the very top.

On one of the scallop circles, I used a circle die (Hero Arts) to cut out the center to create the “frame” for the front.  I then took some snowflake papers (MFT) and cut out another circle that was slightly larger than the opening to attach behind it.  I also took some pretty shimmer white paper and cut a “snow slope” for both penguins with a stitched border die (Lawn Fawn) and then cut it out with the same circle die as the snowflake papers.

I silver heat embossed the sentiments along with some snowflakes and then added my colored penguins over top.  Then when I flip it on the back side I can put my “To: and From:” on it.

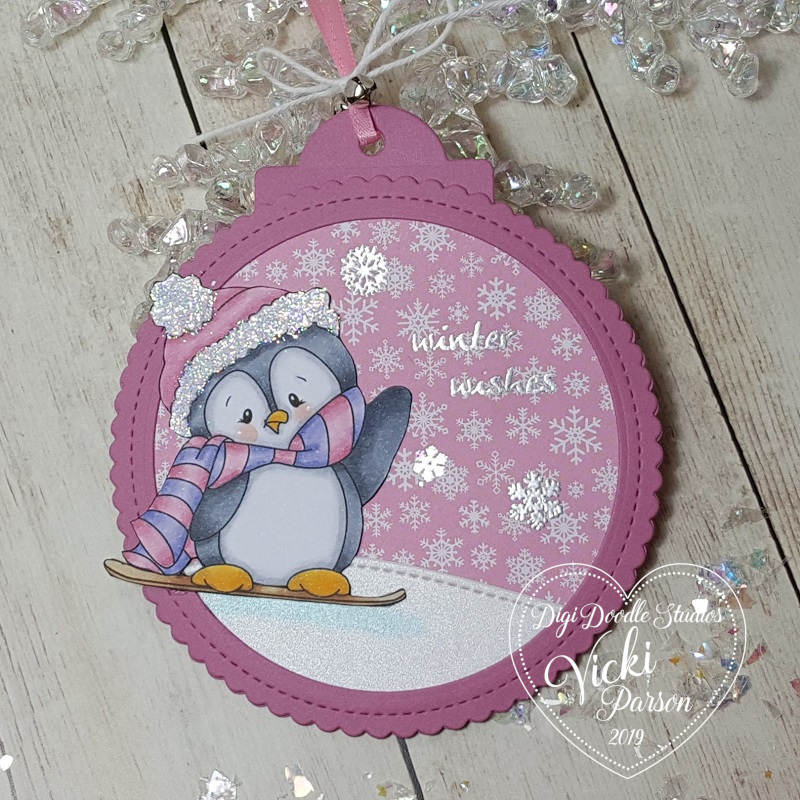
Vicki-DDSWintertimePenguins-tag-pinkHere’s a closer view of the pink tag.  For the digital image, I used Word on my computer to add the penguin and place it over one of the “ski” images from the set and enlarged it to make it look like a snow board instead of a ski!  Then printed it out.

I’ve used my Copics to color her up and fussy cut her out.  I even added some shadow on the snow hill for her.  I took a glue pen and covered her hat trim with glitter.

Lastly, I found some more pink ribbon and tied some silver bells over it with some white twine in a bow.

Vicki-DDSWintertimePenguins-tag-blue

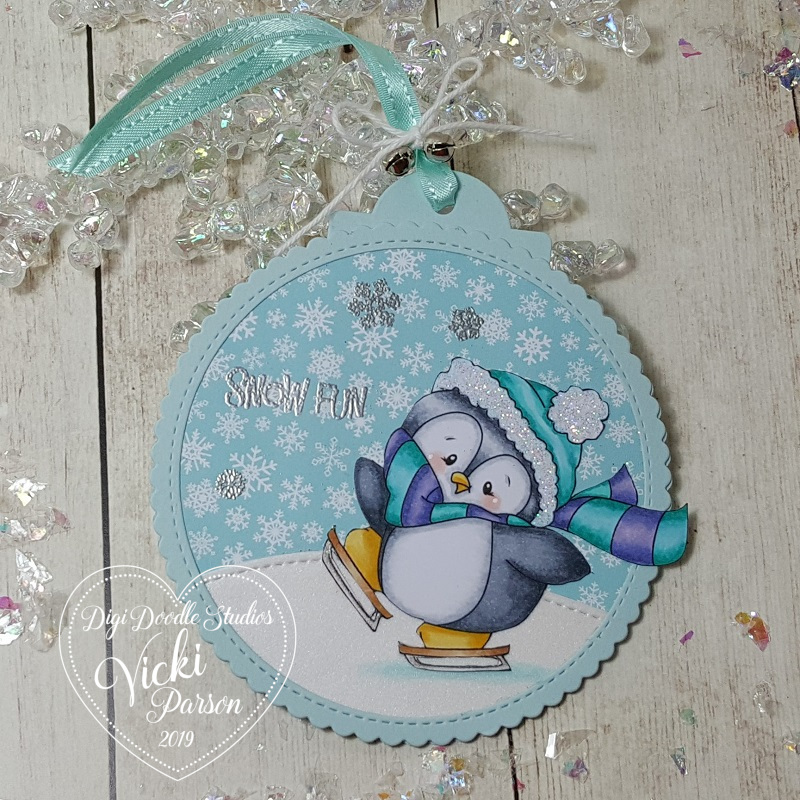
And for this little guy…he cracks me up….I made him using Word again, but this time I actually took the “sled” image and sized it down so that it would fit on the penguin’s feet to make it appear as if he is ice skating!  I did it for each foot.  LOL!

I’ve colored him up with the Copics again only using more blue tones instead of the pinks and did the similar traits to it like the other one.  I did use a clear metallic gel pen to color the “blades” of the ice skates.

Hope you’ve been enjoying my tags so far!  Thanks so much for dropping by.

Challenges:

  1.  Digi Choosday Crafting – Anything Goes
  2. The House That Stamps Built – Anything Goes N2719
  3. Simon Says Stamp Wednesday – Anything Goes
  4. Aud Sentiments – Christmas or Winter Sentiment
  5. Krafty Chicks aka 4 Crafty Chicks – #483 Monochrome

Naughty or Nice for Digi Doodle Studios

Hello friends!  Hoping you all had a wonderful weekend!

Today I’m sharing a fun circle shaped design using a cute new Pairables set from Digi Doodle Studios:

Vicki-DDSChristmasElves-Nov4

This cute little elf is sitting atop of an ornament, getting out the list for Santa and marking down who’s naughty or nice! LOL!  This image and sentiment are apart of the Christmas Elves Pairables Digi stamp set.   On my computer I actually expanded the ornament image to make it larger and then added the cute little elf from the set right on top of the ornament.  I printed it out as one image and colored it up with Copics.  I’ve also stamped some snowflakes around the image and cut him out with a circle die.  I used some Broken China distress ink to sponge around the edges.

I layered him onto a brushed gold die cut circle and added some gold stickles around the edges.  I then layered these onto a red die cut circle that was embossed with an embossing folder, which is also the same one that I used for the green piece on the inside of the card.

I made a circle easel card and then cut out the sentiment from the digi set in a strip  (also sponged with Broken China ink) and mounted it over another piece of red cardstock and attached it on the inside right above the green embossed layer.  (This strip is what helps keep the front layer propped up.)

Vicki-DDSChristmasElves-Nov4-side

Here you can see the side view of the card design.  These are very simple to make with die cut shapes and I love how they nicely display for the recipient.

I’ve add some green saddle stitch ribbon to the center of the red circle before attaching it to the easel card backing and then added a bow that I’ve tied 2 gold bells on with a piece of twine.  I then used the twine to make a double bow to go behind the green one and glued them on my card.

I added some snowflake accents and placed a blue rhinestone in the center of each.

Vicki-DDSChristmasElves-Nov4-close

Here’s a closer view of the details on this cutie.  I actually have lots of thing going on with this image.  First, I covered the bottom of his ornament with glossy accents.  It’s a fairly thick layer and you can see the details of it in the photo below, but I had to let it dry over night!

I have taken a gold gel pen and colored the “bells” on the elf’s outfit.  I then took a white gel pen for his cheeks.  On top of the ornament, I used a glue pen and covered it with some clear loose glitter.

For the trim on his hat, I took some Brutus Monroe Snow Paste and a small brush to apply it.  It’s REALLY thick stuff, so for a small area like that, I had to be a bit careful.  Love the sparkle in it and you can see, in the photo above this one, the side view of how thick it actually is!  I heat set it with my heat gun because it “puffs” up a bit when you heat it.

Vicki-DDSChristmasElves-Nov4-flat

Here’s what the card looks like when it is closed up.  I think this would also make for a really cute ornament too!  You can really see the shine on the glossy accents from this photo and why it took all night to dry! LOL!

I hope you’ve enjoyed my easel card today and gotten some inspiration and/or a smile!  Thanks so much for stopping in today!  I’ll be seeing you again soon!

Challenges:

  1.  Merry Little Christmas – November Anything Christmas Goes
  2. Pearly Sparkles – Christmas
  3. My Time to Craft – No Rectangle or Square Cards Allowed
  4. Stamping Sensations – Traditional Christmas Colors (Red, Green, Gold)
  5. A Bit More Time to Craft – Anything Goes
  6. Crafts Galore Encore – Anything Goes