Hello friends! Welcome to the weekend and I hope you are having a great one so far!
Today I’m sharing this adorable image from the November Digital New Release for Whimsy Stamps! Be sure to check them all out in the store! They’re so cute!!!!
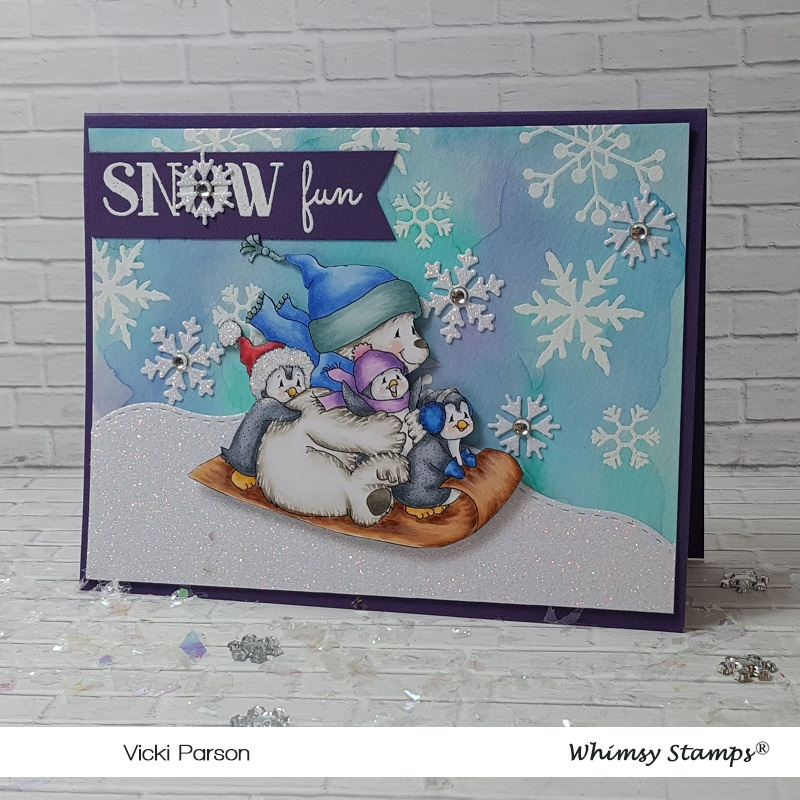
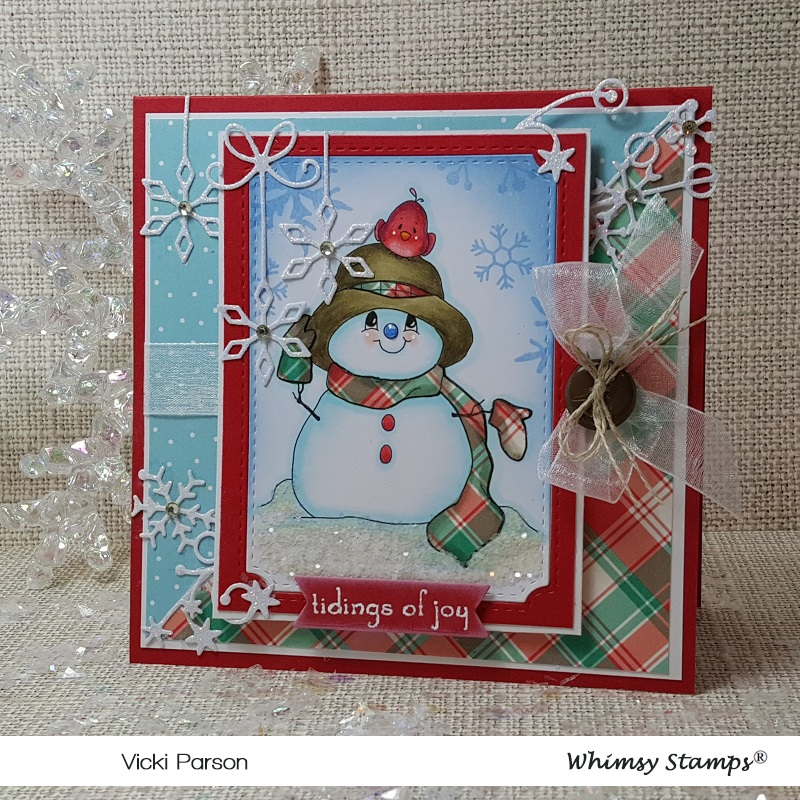
How fun and cute are these guys?!! I’m using the Penguin Snow Fun image for my card today! Now you already know how I love these penguins, but how cute are they especially that one in the middle with the mouth open! LOL!
For my card I started with a watercolor panel and then white heat embossed the snowflakes over it from the Whimsy Stamps Snow Flurry stamp set. I then went over this panel with water and added some colors over it with Distress Oxide ink pads smooshed down on my glass mat and picked up with a brush and water. I’ve used Peacock Feathers, Stormy Sky, Dusty Concord, Chipped Sapphire and Salty Ocean for the colors. I tilted my panel to get the water to run down a bit and heat set it.
I cut a piece of glitter cardstock with the Kinetic Curved Hills die set as well as some snowflakes from the No-See All Seasons Tree die set. I placed the hill at the bottom of the watercolor panel and randomly attached the snowflakes to the background.
For the sentiment banner, I white heat embossed it from the same WS Snow Flurry stamp set and added a snowflake in the center of the ‘O’. I trimmed it into a banner with my scissors and added to the card.
I then took some foam tape and popped up the image over the hill and then added some gems to the center of each die cut snowflake.
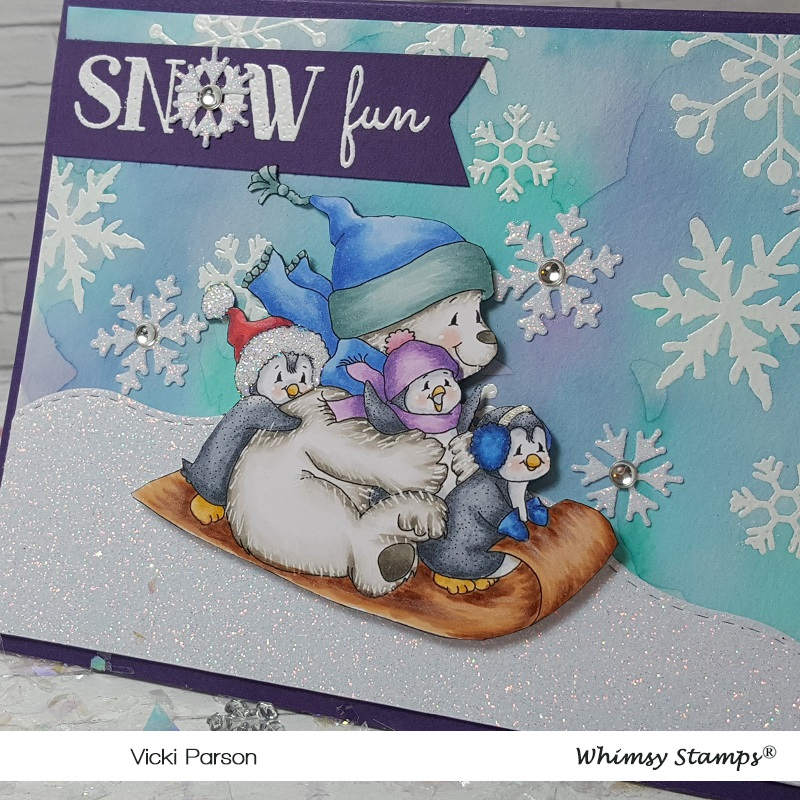
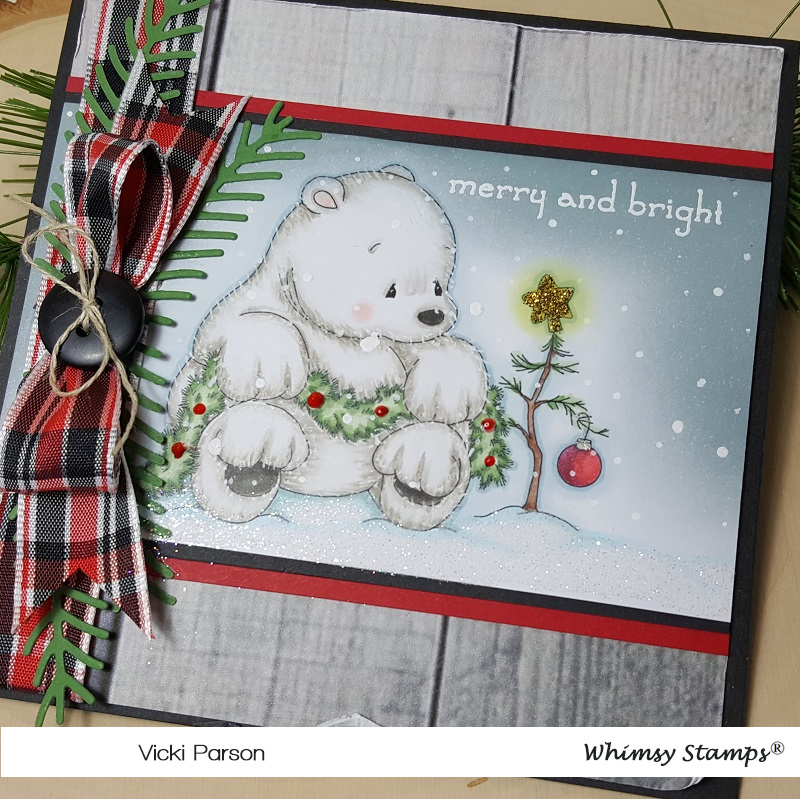
Here’s a closer look at this adorable image that I’ve got all colored up with Copic markers. For the bear and everyone’s cheeks, I’ve used a white gel pen and for the band on the penguin’s earmuffs, I used a clear glitter gel pen.
For the penguin’s red hat trimmings, I used a glue pen and some loose clear glitter over top. I fussy cut out the image and popped it over top of the glittery snow hill.
OOPS…a bit of the snowflake staging stuck to the glittery snow hill a bit! LOL!

Really had a great time coloring this sweet image and getting messy creating the background too! Hope you’ve enjoyed my creation today as well!
Thanks so much for checking in with me today my friends! I appreciate it very much and I’ll be seeing you soon!
Challenges:
- Happy Little Stampers Watercolor Challenge – Anything Goes (using watercolor) + optional: animals
- Christmas Crafts All Year ‘Round – Stockings or other Winter Clothing
- Crafty Animals – Anything Goes + animal
- Crafty Catz – Anything Goes with optional: snow
- Brown Sugar – November Anything Goes