Snow One Like You for Whimsy Stamps

Hello friends!  I hope you’re having a wonderful week so far!

Today I have creation to share with you using this really sweet image from Whimsy Stamps:

Vicki-WSTawny-Nov12

I really adore this digital stamp that came out this month for Whimsy Stamps called Tawny.  It’s one that I picked to make something with as it was a bit personal to me.  That little owl with those big eyes is so sweet and really reminds me of my grandma who passed several years ago.  She was an owl lover….so she’s like a sweet little angel with me here!  There was SNOW one like her either!

To create my card, I started with some watercolor paper and Distress Oxide Inks in Seedless Preserves, Dusty Concord, Stormy Sky and Broken China (from bottom to top order.)  I spritzed it with a water bottle and soaked it up with a paper towel.  I then took some white paint watered down and splatter it with a fan brush over the panel.  I also took some shimmer spray and covered the entire panel.  You can see it better in the photo below.

I took a Lawn Fawn die to create the tree border with woodgrain paper and then die cut a snow border with glitter cardstock and glued it behind the frame.  I also took the sentiment from the Whimsy Stamps Snow Flurry clear stamp set and white heat embossed it over a strip of vellum that I’ve attached over top of these layers (with the inked background also) by using my Xyron Sticker machine.  These pieces were die cut with a stitched rectangle die, layered over a piece of white cardstock and then mounted onto a purple A2 sized top folding card base.

Lastly, I’ve added my image and some snowflakes that were cut out with some more glitter cardstock and each snowflake was dotted with some Nuvo White Blizzard Glitter drops.
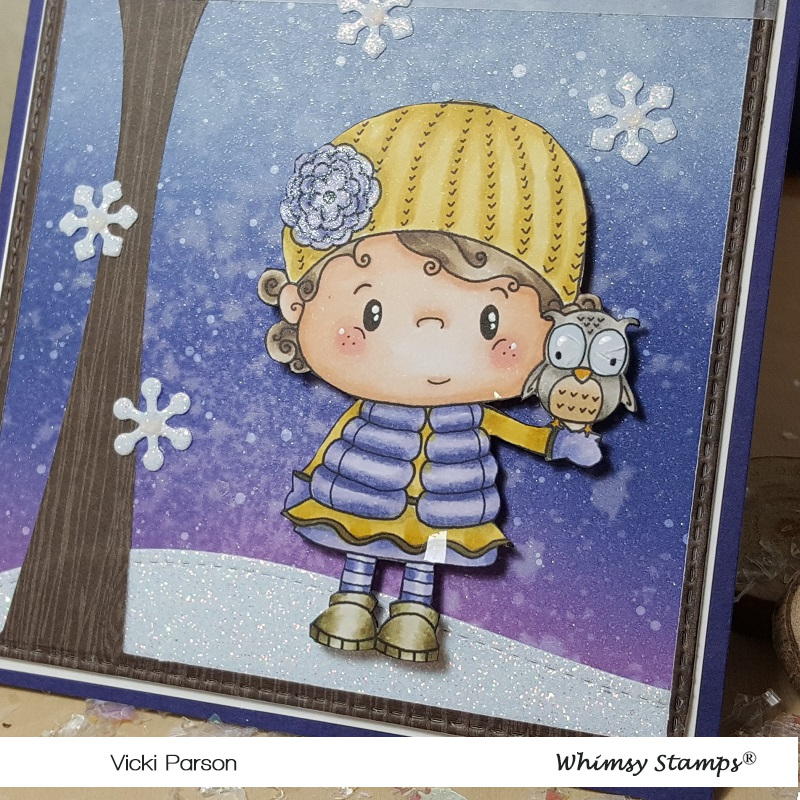
Vicki-WSTawny-Nov12-close

Here’s a closer view of the image and how I’ve got her colored up with Copic markers.

If you take a good look at the top portion of the background, you can sort of see the shimmer from the spray.  It’s really sparkly in the light.

I accidentally got a piece of the “faux snow” photo prop on her skirt. LOL!  I covered the flower on her hat with a glitter brush pen and I’ve used some Nuvo Morning Dew Crystal Drops over the owl’s eyes, but it cracked.  I don’t like it as much as the glossy accents as it doesn’t crack so easily like this does.

She was fussy cut out and popped up over the snow border with foam dots.
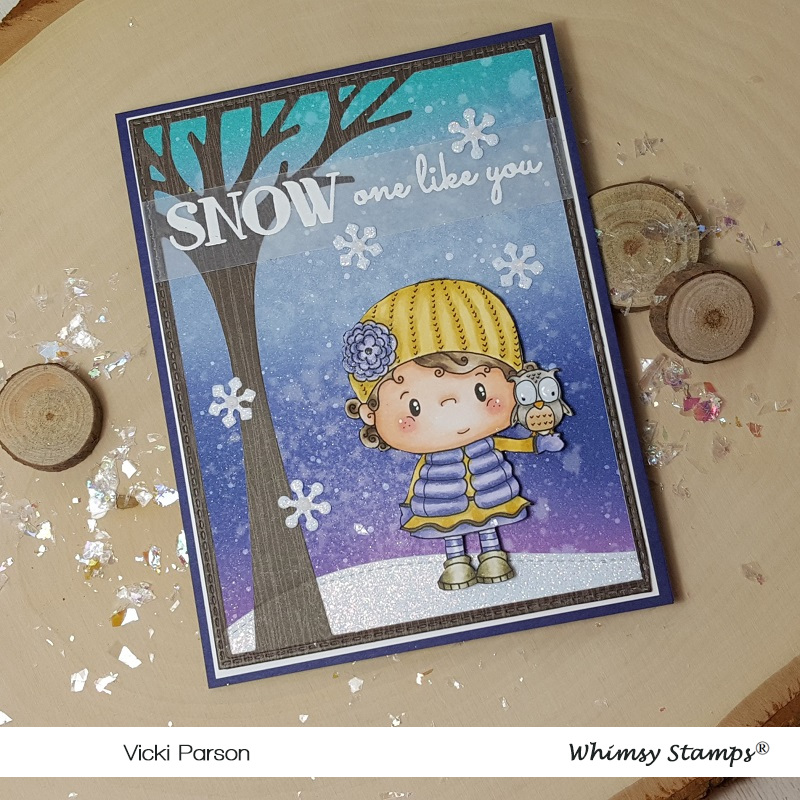
Vicki-WSTawny-Nov12-flat

I really like how this one turned out with the colors and I hope you like it too!  The inked snowy backgrounds are really fun to play with!

Thanks so much for dropping into today and I’ll see you again soon!

Challenges:

  1.  Shopping Our Stash – Snowflakes
  2. Crafting By Designs – November Anything Goes
  3. Cardz 4 Galz – Let it Snow
  4. Moving Along With the Times – Snowflakes
  5. Creative Moments – Anything Goes with Optional:  “Baby it’s Cold Outside”
  6. Krafty Chicks – Winter
  7. QKR Stampede – #371 Anything Goes
Anything Goes for Cute Card Thursday!

Hello friends!  And here we are almost the first week in October coming to a close!  Wow, time goes so quickly I can’t keep up with it! LOL!

It’s Thursday and time for a brand new challenge over at the Cute Card Thursday Challenge blog!  The challenge for this week is our monthly “Anything Goes” theme with our sponsor Whimsy Stamps!

Vicki-CCT602-Oct3

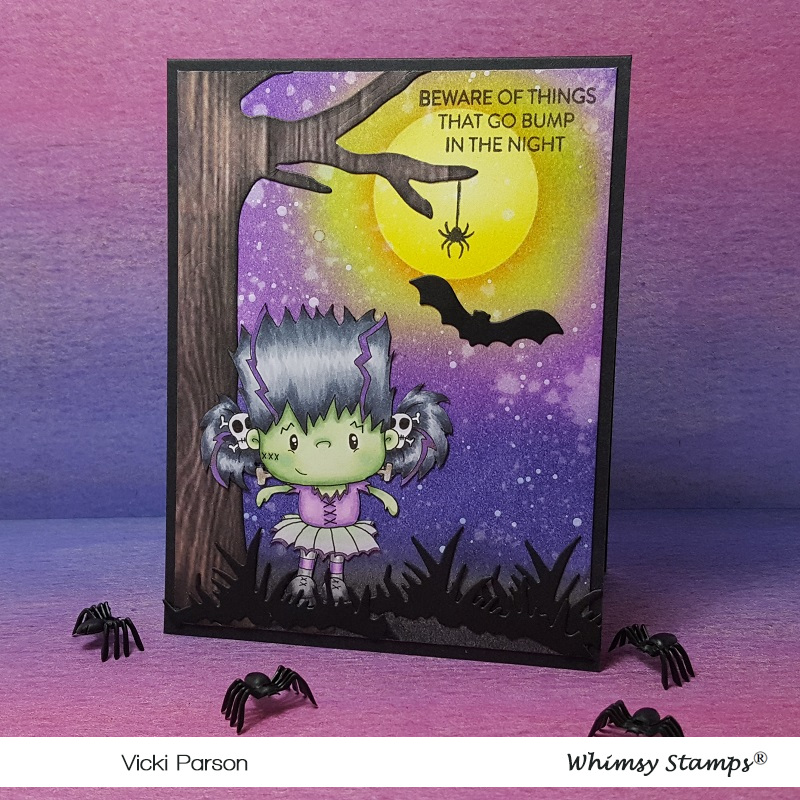
Now how cute is this little Frankenstein girl?!  She could be a trick-or-treater coming around the tree with her arms out trying to walk like a Frankenstein to scare you, but I’m giggling! 🙂    This digital cutie is called, of course, Frankie by CC Designs for Whimsy Stamps.

I wanted to create a spooky scene for her (you know, to help with her trying to be scary and all!)  So I took a piece of Bristol Smooth cardstock and made a circle mask for the glowing moon and placed it where I wanted it go and began ink blending around it with some Carved Pumpkin distress ink.  I then went over that a bit with some Twisted Citron and then worked my way with Wilted Violet, Dusty Concord and Black Soot for the bottom portion.  I removed the mask and went over circle with some Squeezed Lemonade.  I wanted lots of stars in the sky, so I first sprayed the background with water and picked up the colors, then I added some “dots” with a white gel pen.  I know it won’t show up in the photos, but I sprayed the background with some shimmer spray which really makes the background so sparkly.

To finish the scene I took the Whimsy Stamps No-See All Seasons Tree die set and cut the tree out from the Whimsy stamps Rustic Wood and Brick digital papers and then sponged around the edges of it with some Black Soot distress ink.  I also took the grass die from that set and cut out 3 pieces of it with black cardstock for the ground.  I took the sentiment and spider image from the Simon Says Stamp Spook Up Some Fun stamp set and added it to the scene.  I had an older Whimsy Stamps Halloween die cut set that I cut the bat from black cardstock and added to the scene too.

Vicki-CCT602-Oct3-close

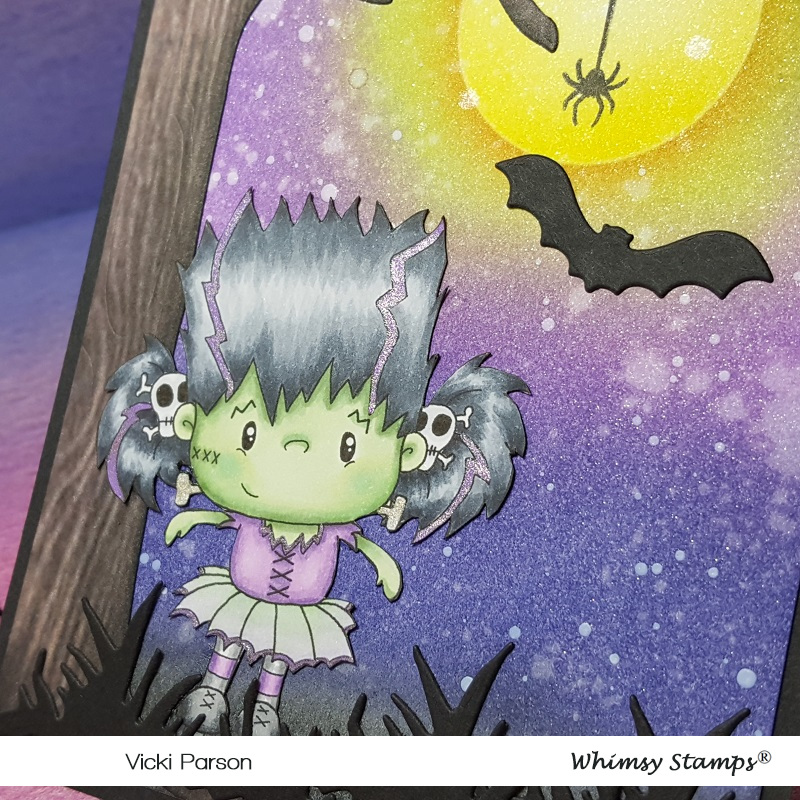
Here’s a closer look at the image and how I’ve colored it in.  I tried to capture the sparkle in the background, but it just doesn’t show up like it does in person.  You can see for the “streaks” in her hair that I’ve used a purple gel pen so it’s glittery.  I’ve also used that same gel pen for the trim on her outfit.  I used a silver gel pen for the “bolts” from her neck/face area.  She was fussy cut out and attached to the scene.  I took a glitter pen and went over her skirt too.

I’ve used Copic markers to color her in with and they’re listed below:

  • Frankie’s Hair and Shoes – C8, C7, C5, C3, C1
  • Frankie’s Skin – YG67, YG63, YG61
  • Frankie’s Outfit – V20, V17, V15, V12, YG11, C3, C1

Vicki-CCT602-Oct3-flat

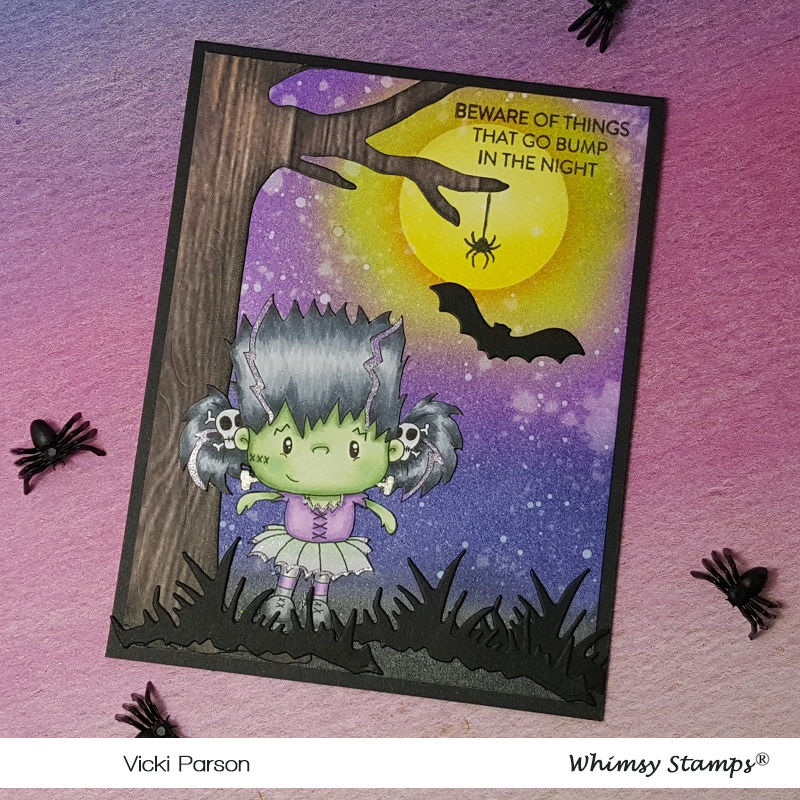
Of course, I needed to make it even more spooky by adding some plastic spiders to the scene!  And yeah…. if I see a real spider…you’d be hearing a very high-pitched scream coming from me!! LOL!!  Not a fan…but pretend is just fine!  Let’s just hope I don’t drop one on the floor and see it later and scream! LOL!

I hope you’ve enjoyed my spooky Halloween card today!

Challenges I’d like to enter for this card:

  1.  Creatilicious – Anything Goes with optional: use a punch
  2. Pearly Sparkles – Spooky and/or Cute
  3. A Bit More Time to Craft – Anything Goes
  4. Addicted to Stamps and More! – Anything Goes #361
  5. Crafting by Designs – Anything Goes

Windy Day Cinnamon For Whimsy Stamps

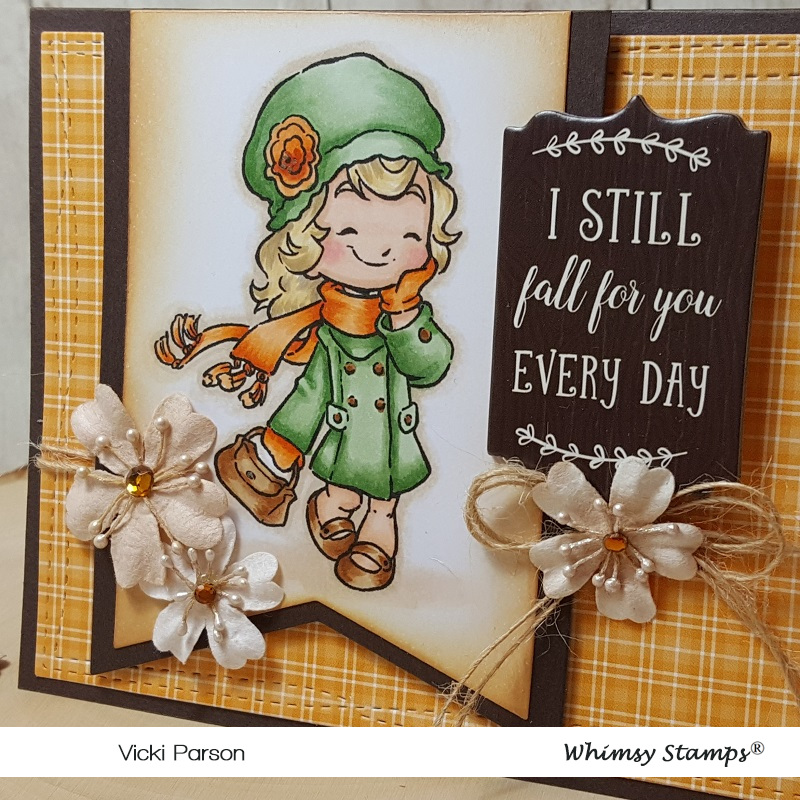
Hello friends!  Can you feel it in the air?  Autumn is on the way along with the crisp cool air and blowing leaves!  I know that some of you had said you’re not looking forward to Fall when I asked, but I absolutely love everything about it including the sweater weather season & flavors like pumpkin spice and cinnamon!  Speaking of which, I have a fun Autumn color inspired card o share with you today:

Vicki-WSWindyDayCin-Aug13

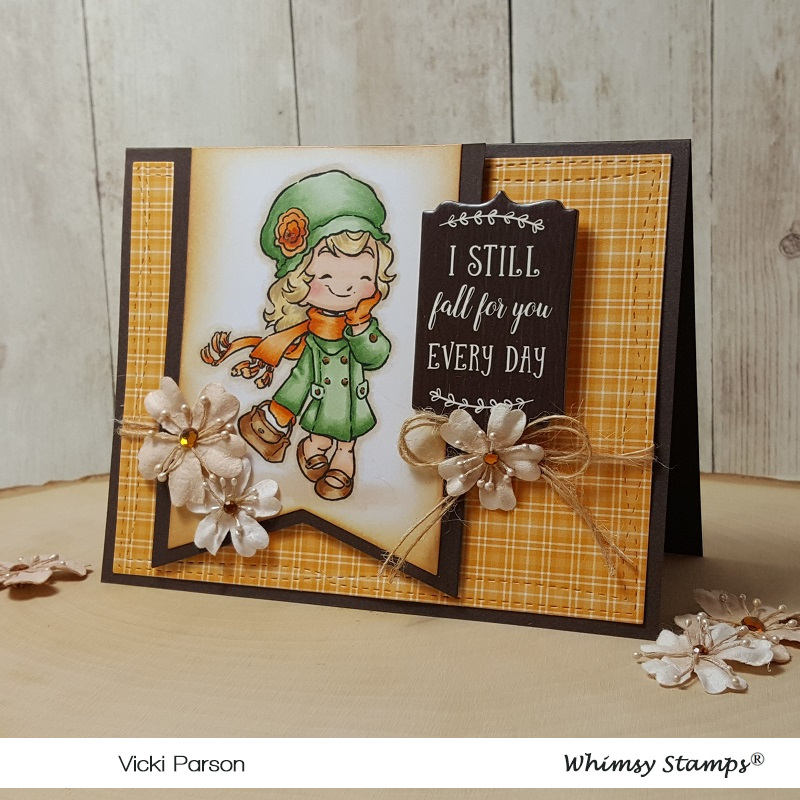
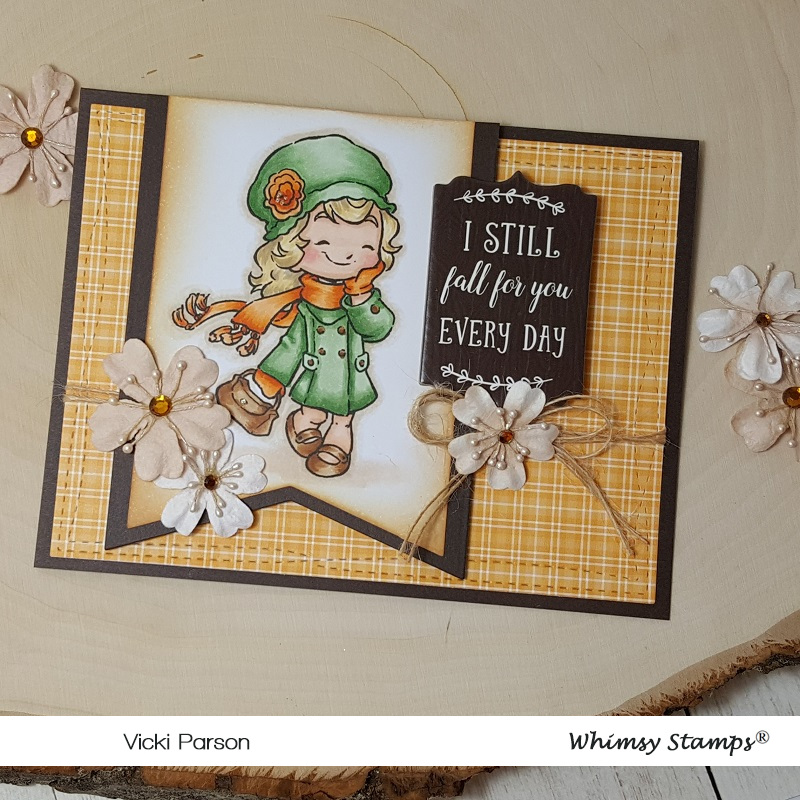
This cute image is called Windy Day Cinnamon from Whimsy Stamps.  I thought she looked as happy about Fall coming as I do, so I went with those colors in mind when creating this card.  After coloring her in with my Copics, I cut her out with a banner shaped die and went around the edges of it with tea dye distress ink and layered her onto another banner layer and set it aside.

For my card base, I took some orange colored plaid pattern paper and die cut it out with a wonky stitched rectangle die.  I took a double layer of twine and wrapped it around this piece and tied a bow towards the bottom thirds of the piece and then attached it down to the brown A2 sized top folding card base.

I took the image banner panel and added a piece of craft foam to pop her up over the card base.  I took a chipboard sentiment from my stash and added some foam tape to one side of it and glued the other side to the image panel.  I added a flower to the center of the twine bow along with a few others along the side.

Vicki-WSWindyDayCin-Aug13-close

Here’s a closer view of how I’ve colored Cinnamon with Copic markers:

  • Coat, Hat:  YG61, YG63, YG67
  • Shoes, Purse & Coat Buttons:  E31, E33, E35, E37
  • Scarf, Mittens, Hat Flower:  YR12, YR14, YR18
  • Hair:  YR30, Y32, E43
  • Skin:  E000, E00, E11, E21, R20, R00
  • Shadows:  E41, E42, E0000
  • Used a gel pen for the center of the flower on her hat and the purse closure button

Vicki-WSWindyDayCin-Aug13-flat

I hope you’ve enjoyed my Autumn color inspired card today!

Thank you so much for dropping by and I’ll see you again soon!

Challenges I’d like to enter this card for:

  1.  Creative Inspirations – Something Seasonal
  2. QKR Stampede – Anything Goes #358
  3. Pammies Inky Pinkies – PIP1932 Anything Goes

Russell is Rustling in the Leaves!

Hello friends!  Can you believe that Fall is right around the corner already?!  I so look forward to this every single year! What’s your favorite Season? Fall is my favorite season and I just love everything Fall related!   I’m excited to share this really cute and fun Autumn style card with you today using some Whimsy Stamps products!

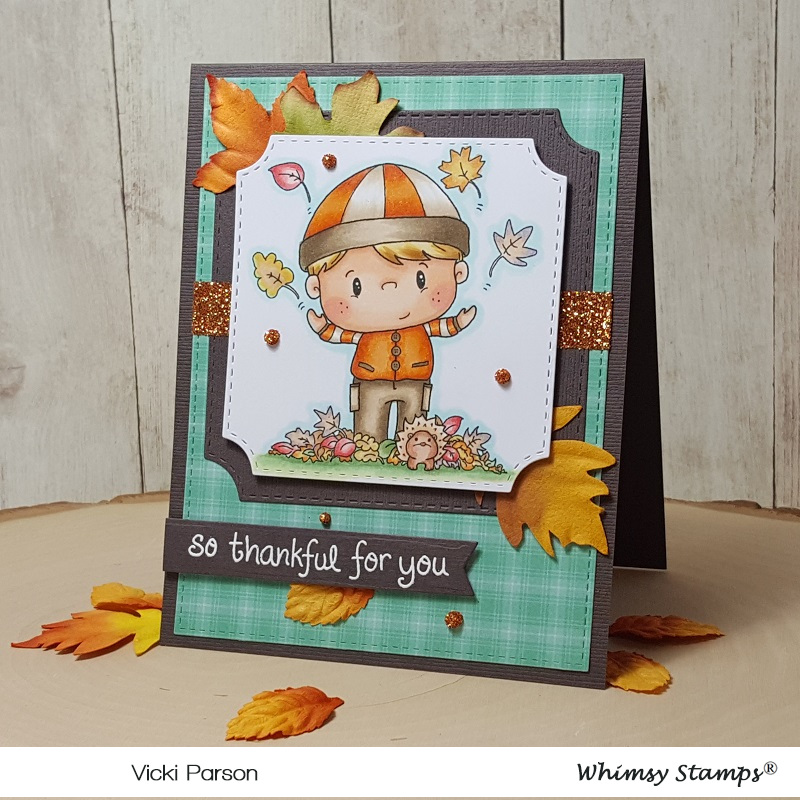
Vicki-WSRussell-Aug6

I think he’s just having too much fun in the crisp cool Autumn air, don’t you?!  This is Russell from the Whimsy Stamps August digital release just in time to start your Autumn makes!  I can picture him colored up in all sorts of fun Autumn colors, right?!  I’ve colored him up with Copics over some X-Press It Blending Card.  (See photo below for Copic list details.)

After coloring him, I’ve cut him out using the Whimsy Stamps Notched Square dies and then cut another piece of brown cardstock to layer behind him.  I took some fun plaid papers for the background that was cut out with a rectangle stitched die.  Then I took another piece of the brown cardstock and white heat embossed a sentiment from my stash that was cut out with the Whimsy Stamps Quick Strips die set.

I took the plaid background and the brown layer behind Russell and attached them together.  Then I took a strip of score tape and wrapped it around both of these layers.  I sprinkled some pretty Autumn colored glitter over the tape and burnished it in.  Then I glued the leaves down and then popped up the image as well as the sentiment banner with foam tape.  To finish it off, I took some dimensional glue to create small “dots” randomly on the design and then I sprinkled some more of the same glitter I used for the strip over them and let it dry.  A little glitter never hurts!

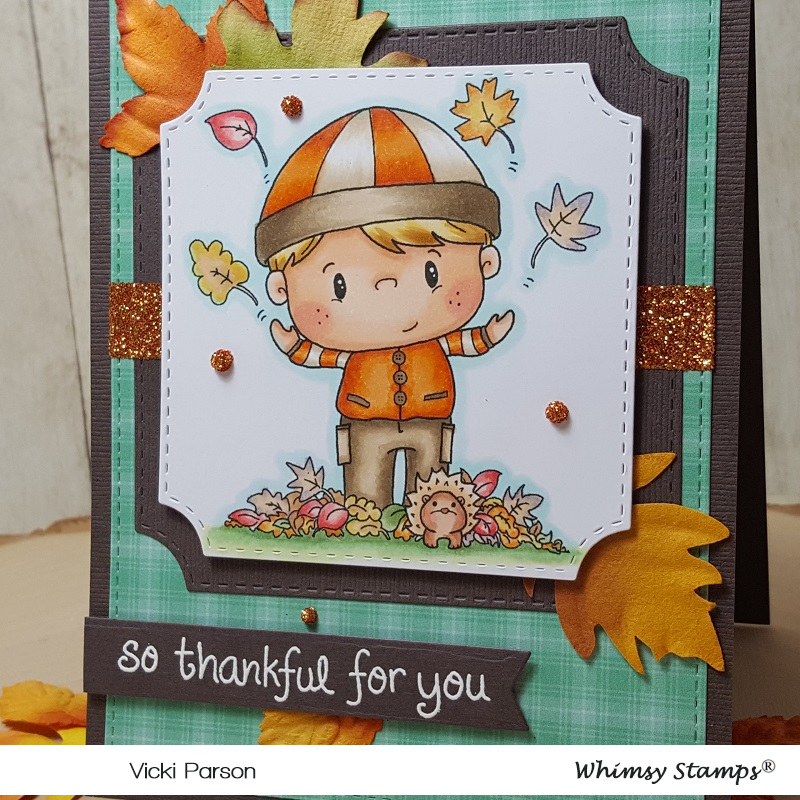
Vicki-WSRussell-Aug6-close

Here’s a closer look at Russell and how I’ve got him colored up.  Here’s the Copic markers I’ve used to color him with below:

  • Leaves – R22, R24, V95, V01, YR14, YR12, Y23, E33, E31, E30, YG63, YG61
  • Grass – G24, G21, G20
  • Squirrel – E15, E13, E11, E53, E51
  • Russell’s outfit – YR18, YR15, YR12, E44, E42, E43, E41
  • Skin – E000, E00, E02, E11, E21, R20
  • Hair – Y21, Y32, E43
  • Shadows – BG10, BG000

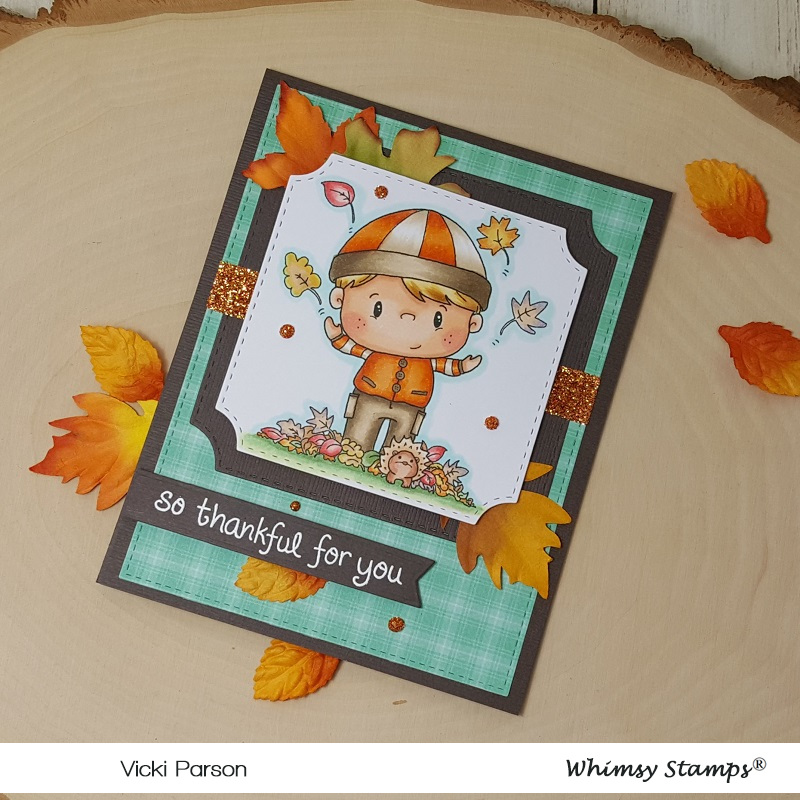
Vicki-WSRussell-Aug6-flat

This was a really fun card to put together and color up!  Now I’m excited for all things Fall coming soon!  I hope you liked my card today and inspired you in some way!

Thanks so much for stopping in!  I’ll see you soon!

I’d like to enter this card for the following challenges:

  1.  Creative with Stamps – Dad/masculine
  2. Crafting With an Attitude – Anything Goes
  3. Love to Craft – LTCCB37 Aug Anything Goes
  4. Brown Sugar – Anything Goes
  5. Simply Create Too – Anything Goes
  6. Send a Smile 4 Kids – Thank you for Kids or Anything Goes

Anything Goes at Cute Card Thursday With Curly

Hello friends!  I hope you’re all having a wonderful week so far!!  It’s really starting to feel like Summer now with the warmer temps!

Today is a new challenge this week over at Cute Card Thursday!  This week we have our “Anything Goes” challenge with our sponsor Whimsy Stamps!  So of course, I am using a cute image from Whimsy Stamps for my card today:

Vicki-WSCurly-June6

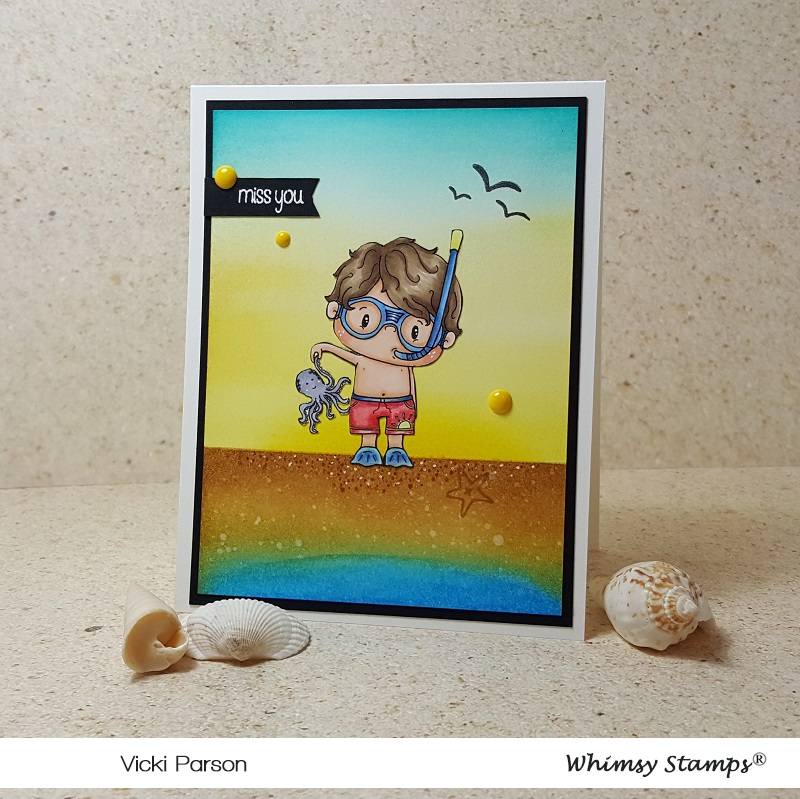
Tee hee!  This little guy holding the tiny “sea creature” makes me smile and giggle!  I’m not really sure what reaction he has about it!  His name is just as cute too!  This is Curly from Whimsy Stamps.  I thought he needed a scene, so I made one for him.

I started with some Bristol Smooth watercolor paper and masked off the line between the sky and the sand.  I used my Distress Inks to blend in the colors.  After doing the sky, I thought that it was a bit too dark, so what I did was take a baby wipe and swiped it across which lightened up the colors the way I wanted them for the sky.  The bottom “sand” portion was also masked, and I blended the bottom blue color into the sandy colors which created a nice shoreline.  I then took a water bottle and spritzed some water droplets over it to create “texture” for the sand.  I also took some Copic markers to create more texture with the pointillism technique, plus added some white ones with a gel pen.  the water at the bottom was covered with a glitter pen.  (You can see better details in the photos/description below.)

Vicki-WSCurly-June6-close

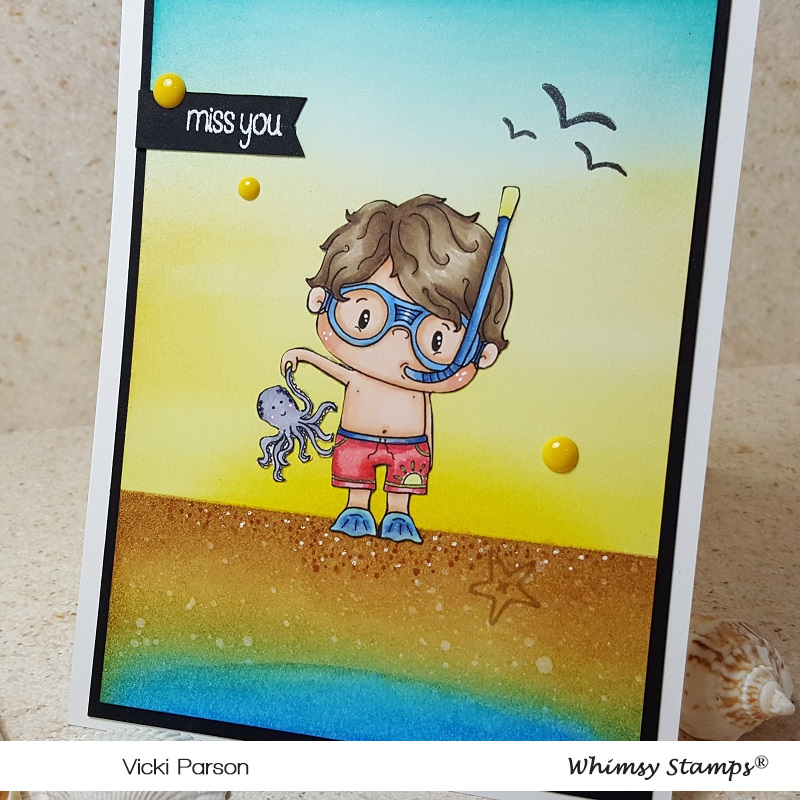
So, I’ve got him all colored up in the following Copic markers:

  • Flippers/water gear – B32, B34, B37, Y11
  • Swim Trunks – R32, R35, R37, Y11, Y15
  • Sea Creature – BV23, BV29
  • Hair – E41, E43, E44, E47
  • Skin – E000, E00, E02, E11, E21, R20
  • I used gel pens to color lines on trunks and cheeks, I’ve used a glitter pen over the “sea creature” and his flippers along with the bottom water area.

I fussy cut this image and used some liquid glue to attach over my scene.

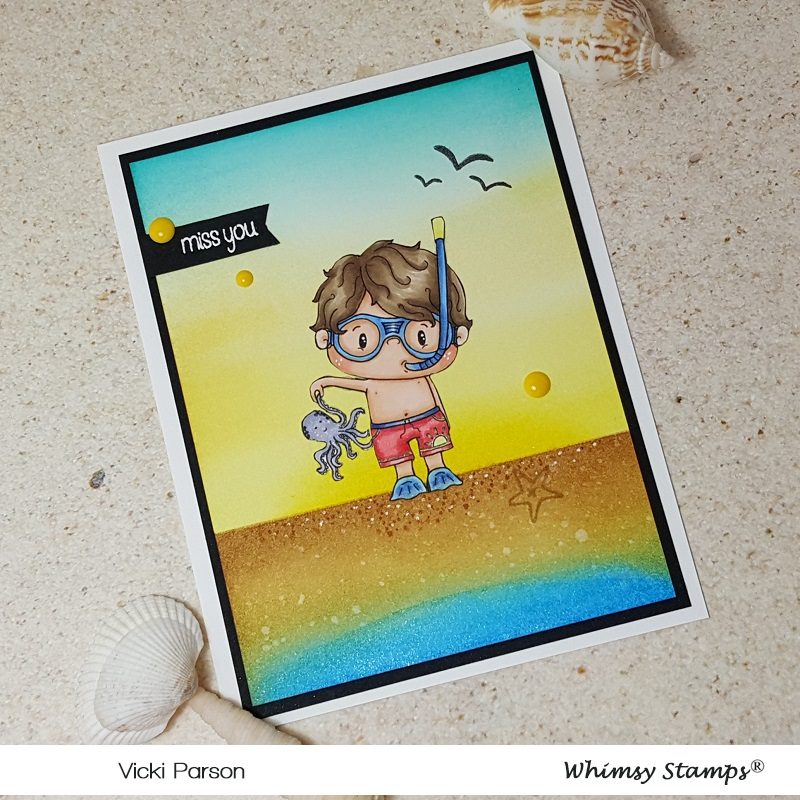
Vicki-WSCurly-June6-flat

For the scene, I stamped the birds in the sky and a star fish image from an older Whimsy Stamps clear stamp set. I then took the sentiment from the WS Everyday Mini Sentiments and white heat embossed it over a black strip of cardstock and then used my scissors to cut out a banner to attach over the scene.  I layered this over another piece of black cardstock that was attached to an A2 sized top folding white card base.

Lastly, I’ve taken some WS It’s a Party enamel dots and added them to the card.

Hope you’ve enjoyed my card today! Thanks for stopping in!  I’ll be seeing you tomorrow for some fun news!

Challenges for this card:

  1.  A Bit More Time to Craft – Anything Goes
  2. Crafty Friends – Men/Boys
  3. Sweet Stampin’ – World Ocean’s Day/Anything Goes
  4. Use Your Stuff – Summer Fun
  5. Always Fun – Summer Fun
  6. Unicorn – For the Men/Boys

Thinking of You with Fleur

Hello friends!  I hope that you had a lovely weekend!  Here we are with the last week of May already and Summer is showing itself in many ways right now.  I do love seeing the flowers everyone has been sharing posts of with their yards full of blooms coming up everywhere!

Today I have this card using a cute Whimsy Stamps Digital stamp:

Vicki-Fleur-May28

This cutie was released this month by CC Designs called “Fleur“.

I just love the ring of flowers in her hair!  I’ve actually printed her out twice so that I could cut a few extra flowers to add to the accents of my design!

For my card, I’ve taken a panel from the Rustic Woods and Brick digital papers and used that for the background of my design.  I took a marker and added some dash marks for a stitch look.  I added this piece to a 5″ square top folding suede card base which I sponged around the edges with some white ink.  I did the same for the die cut fence panels and the circle layer behind the image.

I’ve taken a piece of decorative paper from my stash and sponged some ink around it and also wrapped some organdy ribbon around it before attaching to the card front base.  I then die cut some grass to go over my fence border.  My image was cut with a stitched circle die and sponged around the edges with the same ink as the decorative paper.  This was layered over top of the suede circle panel, and these were popped up with some craft foam.  I’ve added the bow and the cut-out flowers from the extra printed out image and then I’ve added a flower gem in the center of the bow.  Each flower including the ones on the image were filled with some Nuvo Honey Gold Glitter Drops.  I stamped a sentiment from the Whimsy Stamps Everyday Mini Sentiments clear stamp set with the same suede color ink.

Vicki-Fleur-May28-close

Here’s a closer look at the coloring on this image.  I’ve used the following Copic colors to color her in with:

  • Hair – Y00 (used for base), Y11, YR21, YR24, YR27
  • Skin – E21, E11, E00, E000, R20
  • Outfit/Shoes – E89, E87, E84, E81
  • Flowers – BG000, BG10
  • White gel pen used for cheeks and around hair flowers.
  • Ground/shadow – C1, E0000

You can also see the details from the Nuvo Glitter Drops that I’ve used in the center of the flowers including the one in the center of the bow.

Vicki-Fleur-May28-flat

Thanks so much for stopping by!  I enjoy reading your thoughts! 🙂  See you soon!

Challenges:

  1.  Little Red Wagon – Flower Frenzy #498
  2. The House That Stamps Built – M2219 Anything Goes
  3. Pammies Inky Pinkies – PIP1921 Anything Goes
  4. Crafting From the Heart – Anything Goes

Whimsy Stamps March New Release!

Hello friends!  I don’t think I ever remember being so sick before! WOW!  I was literally stuck in the bed for a couple of days there!  I’ve been taking some meds from doctor and starting to feel a bit better now, just regular cold and not so much the fever and chills any more.  Thank you SO MUCH for the very kind get well thoughts as I truly appreciate that!  So glad that’s over with now!

Have you checked out the new release over at Whimsy Stamps yet?  There are lots of really adorable digital stamps this month and I’m excited to be sharing one of those with you today:

Vicki-WSBunny-NewRelease

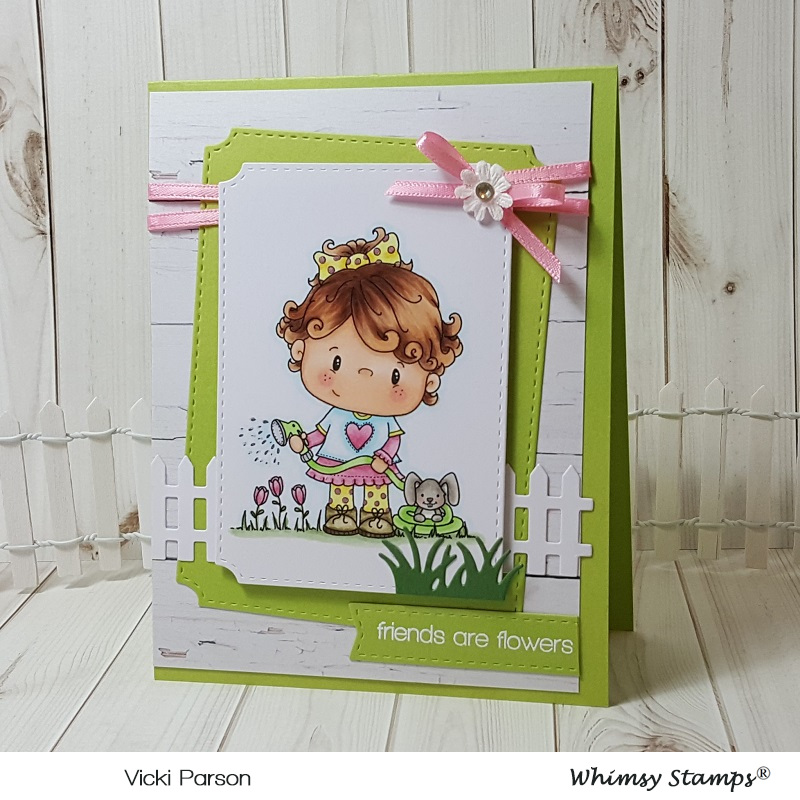
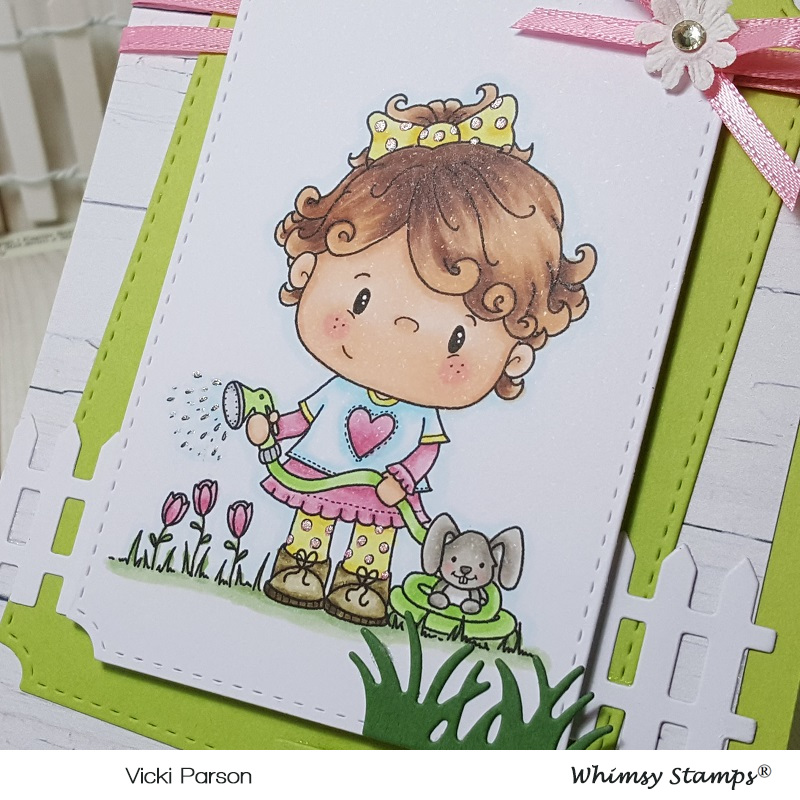
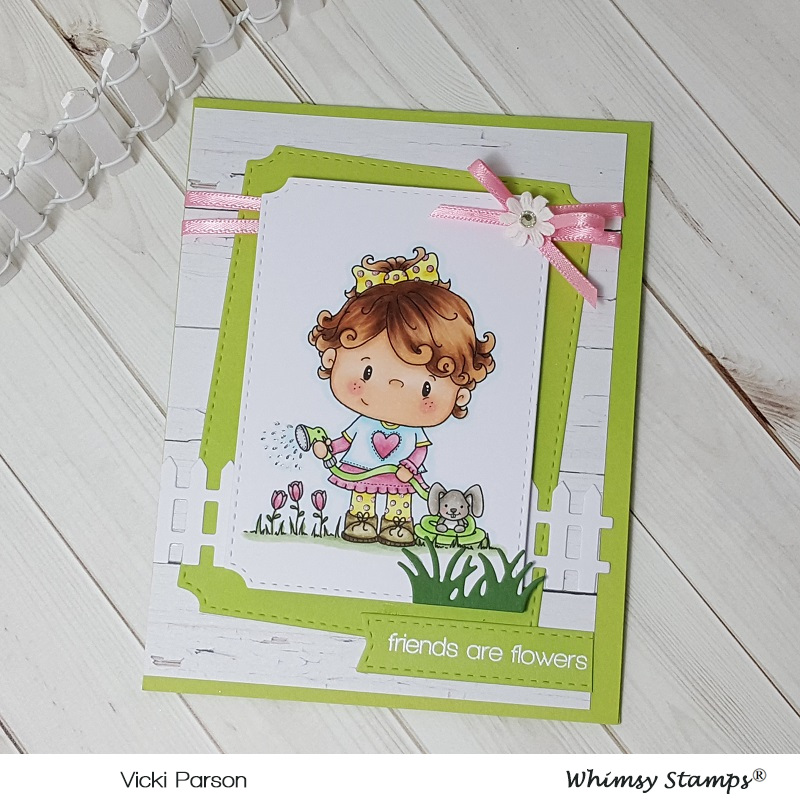
I have used this sweet little image by C.C. Designs for Whimsy Stamps called Bunny.  (And that little bunny is too cute wrapped up in the garden hose!!)

I have also used some fun new digital papers for the background on my card here too!  I’ve printed out a piece from the Whimsy Stamps Rustic Wood and Brick Papers digital collection and used it on the background of my green card panel.

I also used some die cuts to add some fun elements to my design as well as wrap some ribbon at the top and add a white flower with a rhinestone in the center of it.  I heat embossed a sentiment in white EP over a piece of the green cardstock and cut it out with a stitched die cut banner.

Vicki-WSBunny-NewR2

I have it all colored up with my Copic markers and then I’ve used some metallic gel pens for the dots and for the water sprinkling from the hose.

Here you can better see how I’ve colored in the image and the details of sparkle with the gel pens.  I’ve used some craft foam behind the image panel for a bit of dimension too.

Vicki-WSBunny-NewRflat

I hope you’ve enjoyed my card for today and have been inspired to go check out the rest of the new release at Whimsy Stamps!

I’ll be back again tomorrow for some more inspiration!  Thanks so much for dropping in!!  Have a great day!

Sweet Anniversary Wishes

Hello friends!  Hope you’re having a great week so far!  It is really cold in our area right now as we are experiencing a “Polar vortex” with a high of -11 degrees F and low of -23 degrees F without wind chill for tomorrow.  Brr!  Many schools in the area as well as city workers are taking the day off due to the severe cold weather.   Please stay warm and safe wherever you are!

Not sure if you saw that Whimsy Stamps has started carrying this new adorable line of digital stamps from CC Designs in their store.  Here’s the card I’ve made today using one of those images:

vicki-pcaimeevalentino-jan29

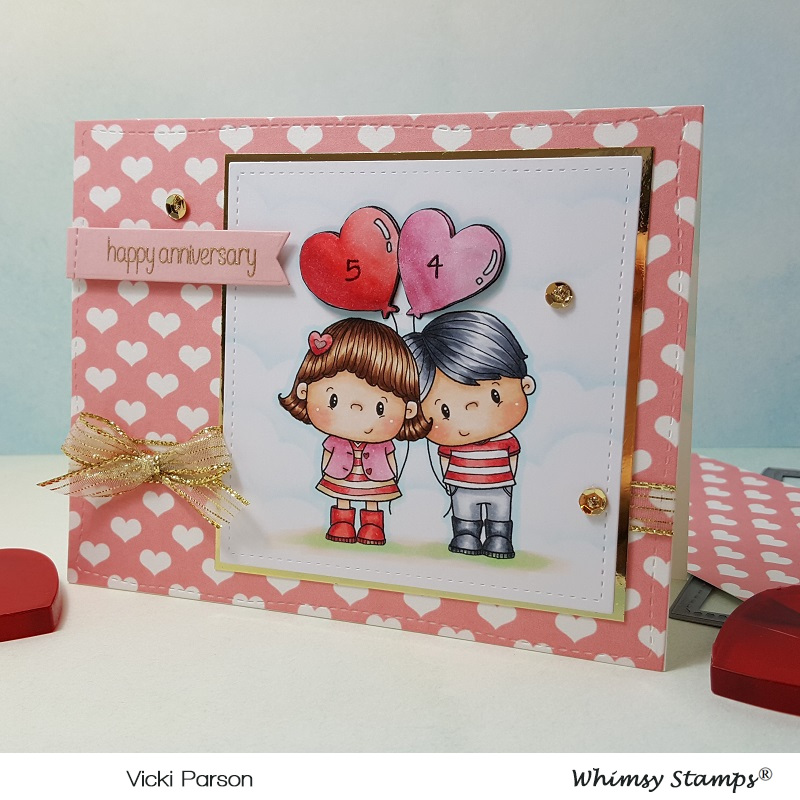
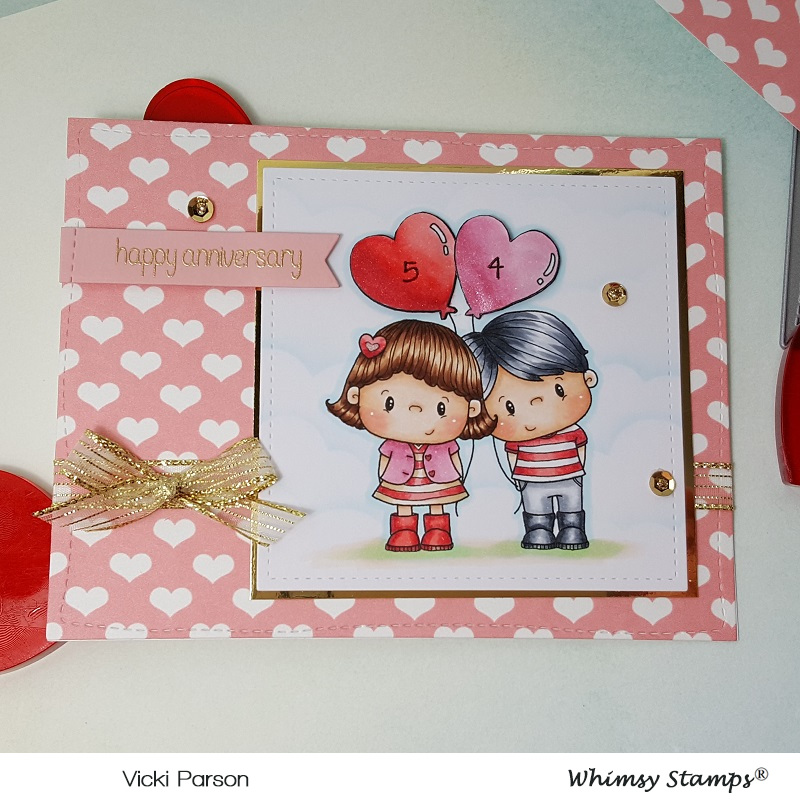
I’ve used this super cute image called Aimee & Valentino for a special anniversary card.

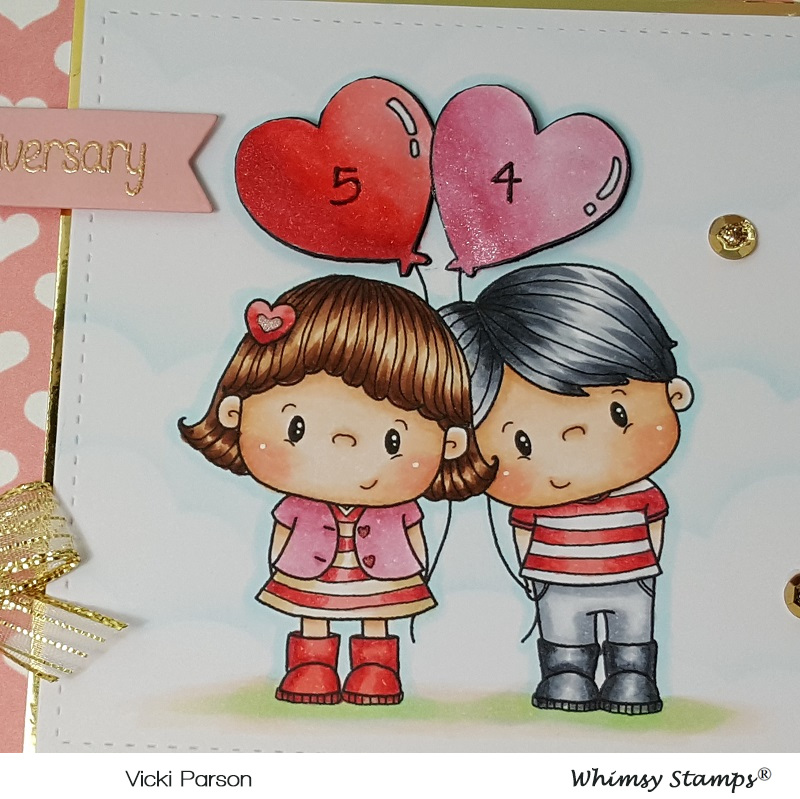
I decided to print it out twice so that I could cut out the balloons and pop them up over the image.  I have used the following Copic markers to color it in:

  1.  reds on outfits, boots, hair clip and balloon – R37, R35, R32
  2. Pink on outfit and balloon – R85, R83, R81 (girl stripes on dress – E53, E51, E50)
  3. Boy’s outfit, boots and hair – C8, C5, C3, C1, C0, C00 (stripes on shirt – BG000)
  4. Girl’s hair – E27, E25, E23, E21
  5. Skin tones – E21, E11, E00, E000 (cheeks – R20)
  6. Grass/shadows – G24, G21, G20, E0000 (around image – BG000)
  7. I used metallic gel pens to color in the middle of hair clip, buttons and cheeks

I cut this image out with a stitched square die cut and then used a cloud stencil with Tumbled Glass distress ink and ink foam blending tool to add clouds behind the couple.

As mentioned above, I cut out the heart balloons on the second print out of the image and heat embossed the stamped numbers on them.  I used a stylist tool on the back of them to curve them in a bit and popped them up over the image with some foam dimensional dots.  I then added some shimmer over top of them with a Wink of Stella glitter brush pen.

vicki-pcaimeevalentino-jan29-upclose

Here’s a closer look at the coloring on the image.  You can see a bit of the shimmer over the balloons and where I’ve added some metallic color on the heart hair clip.  I took this image panel and layered it over a piece of gold mirror cardstock.

vicki-pcaimeevalentino-jan29-flat

I thought that the January released Hearts a Flutter digital papers were the perfect backdrop for this cute couple, so I printed the pink with white hearts one out and cut a piece out using the Whimsy Stamps Hand Stitched Nested Rectangle dies for that.  I found some coordinating card stock and gold heat embossed the sentiment from the WS Everyday Mini Sentiments clear stamp set and cut it out with a banner strip die.  I also placed it where I wanted it to go and used the Hand Stitched rectangle die again to create the stitch marks over it.

I took some gold ribbon and wrapped it around the heart design paper card front, placed the image panel over top and then layered on the sentiment banner with foam tape.  This was mounted over an A2 top folding white card base.  Lastly I added a gold bow and some gold sequins filled with some Stickles Tinsel glitter glue.

I hope that you’ve enjoyed my card! 🙂  Thanks so much for dropping by today!  See you soon!

Here’s some challenges I’d like to enter this card for:

  1.  CCEE Stampers – CCEE1904 Gold
  2. Aud Sentiments – Anything Goes + sentiment
  3. CRAFT – Love/Valentines (it fits with this theme as it’s about love!)
  4. Crafty Catz – Anything Goes with optional twist:  ribbon/lace
  5. My Time to Craft – All You Need is Love

A Snowy Shaker

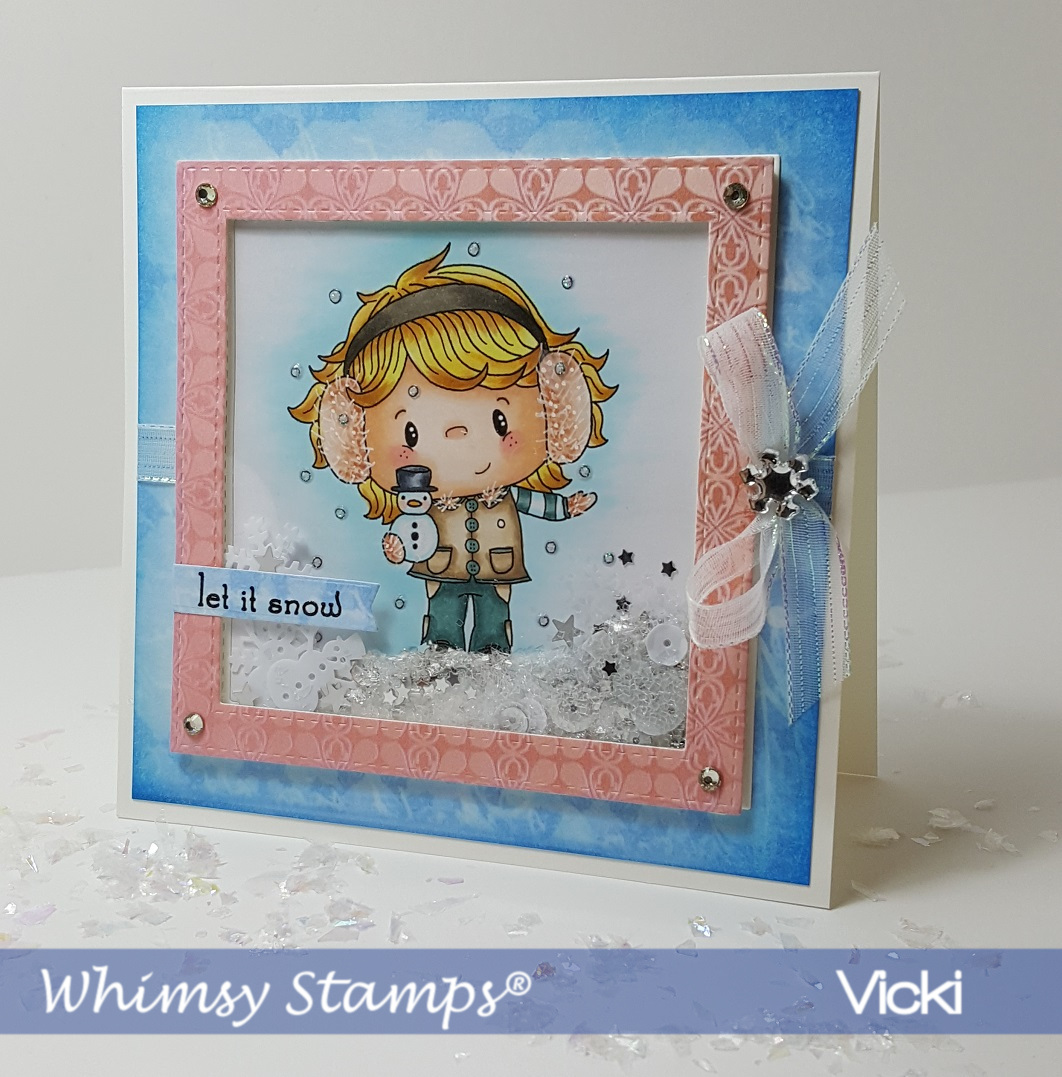
Hello friends!  I’m back again today to share a shaker card I’ve made using the CUTE digital stamp from Whimsy Stamps called “Snowy“!

Vicki-WS-Snowy Shaker-Nov25-blog

I had “snow” much fun making this shaker card!  Hope you’ve enjoyed it for inspiration as well!

Thanks so much for stopping in at my blog today!  I appreciate your kind thoughts and encouragement more than you know!  I’ll see you soon!

Challenges I’d like to enter this card for:

  1.  Simon Says Stamp Monday – “Let it Snow”
  2. Creative Moments – Anything Goes optional twist:  put sentiment on creation.
  3. Simon Says Stamp Wednesday – “Baby It’s Cold Outside!”
  4. Aud Sentiments – Winter or Christmas Sentiment
  5. Creative Knockouts – Snow Much Fun
  6. Winter Wonderland – Christmas or Winter Characters (people only)
  7. Crafty Catz – Anything Goes with optional twist:  “All Wrapped Up”

SNOW Place Like Home

Hello friends!  Hope you are having a great week so far!  Well I have to say that this card certainly does feel like home where I’m at right now as it’s pretty cold and a bit snowy over my way!  I tried to hold onto Fall for as long as possible!

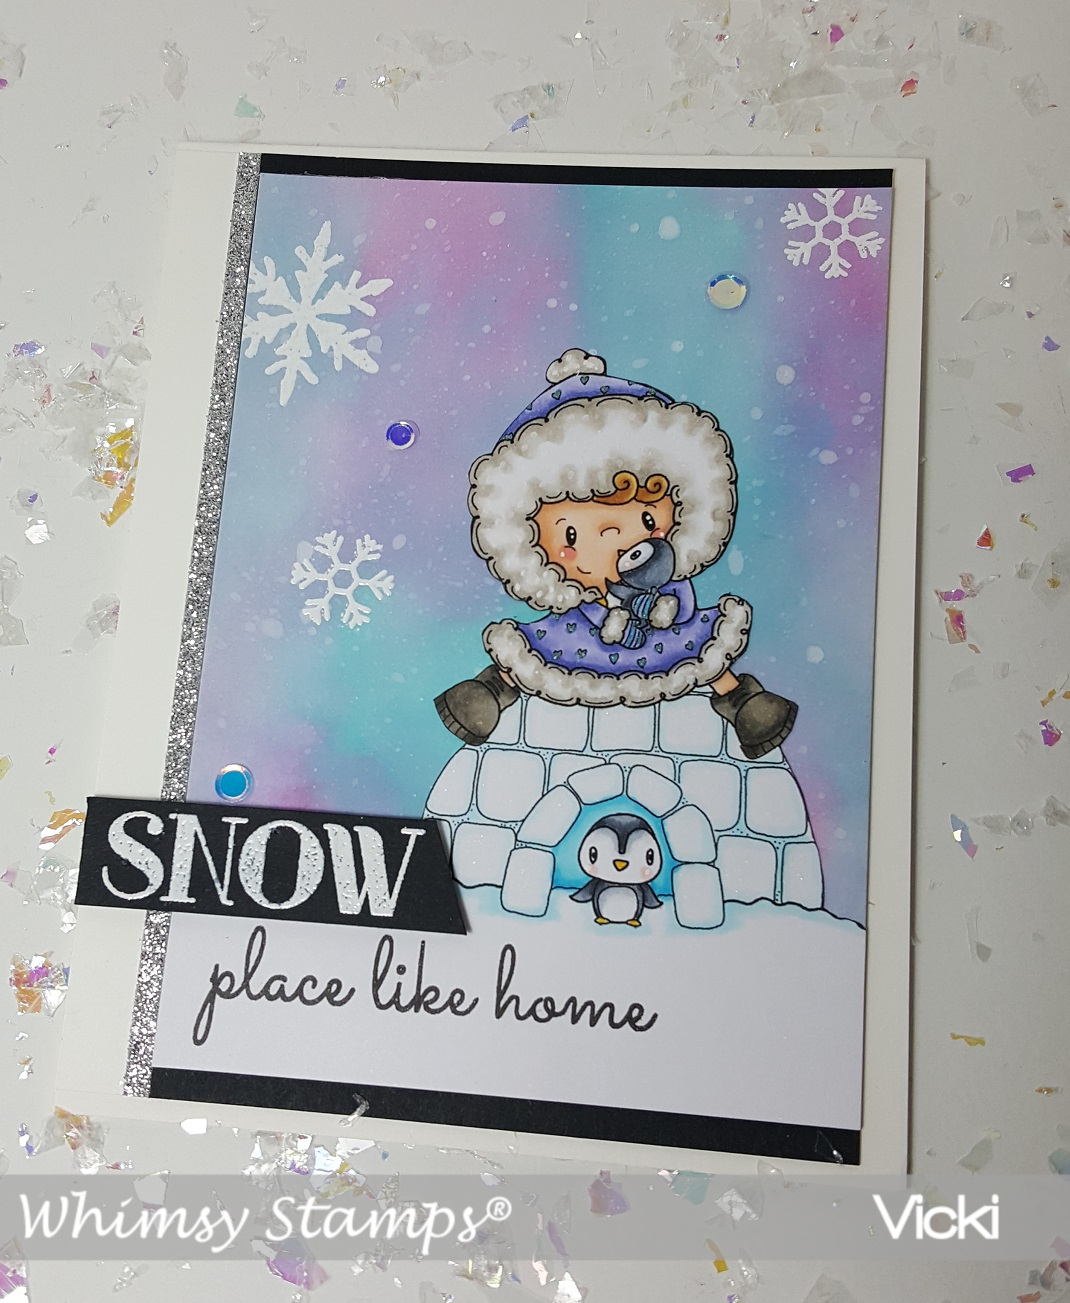
Whimsy Stamps has come out with another line of really cute digital stamps from CC Designs and this is the first time that I’ve colored one from the new line and I think they’re really cute!  Check out this card I’ve made for you today:

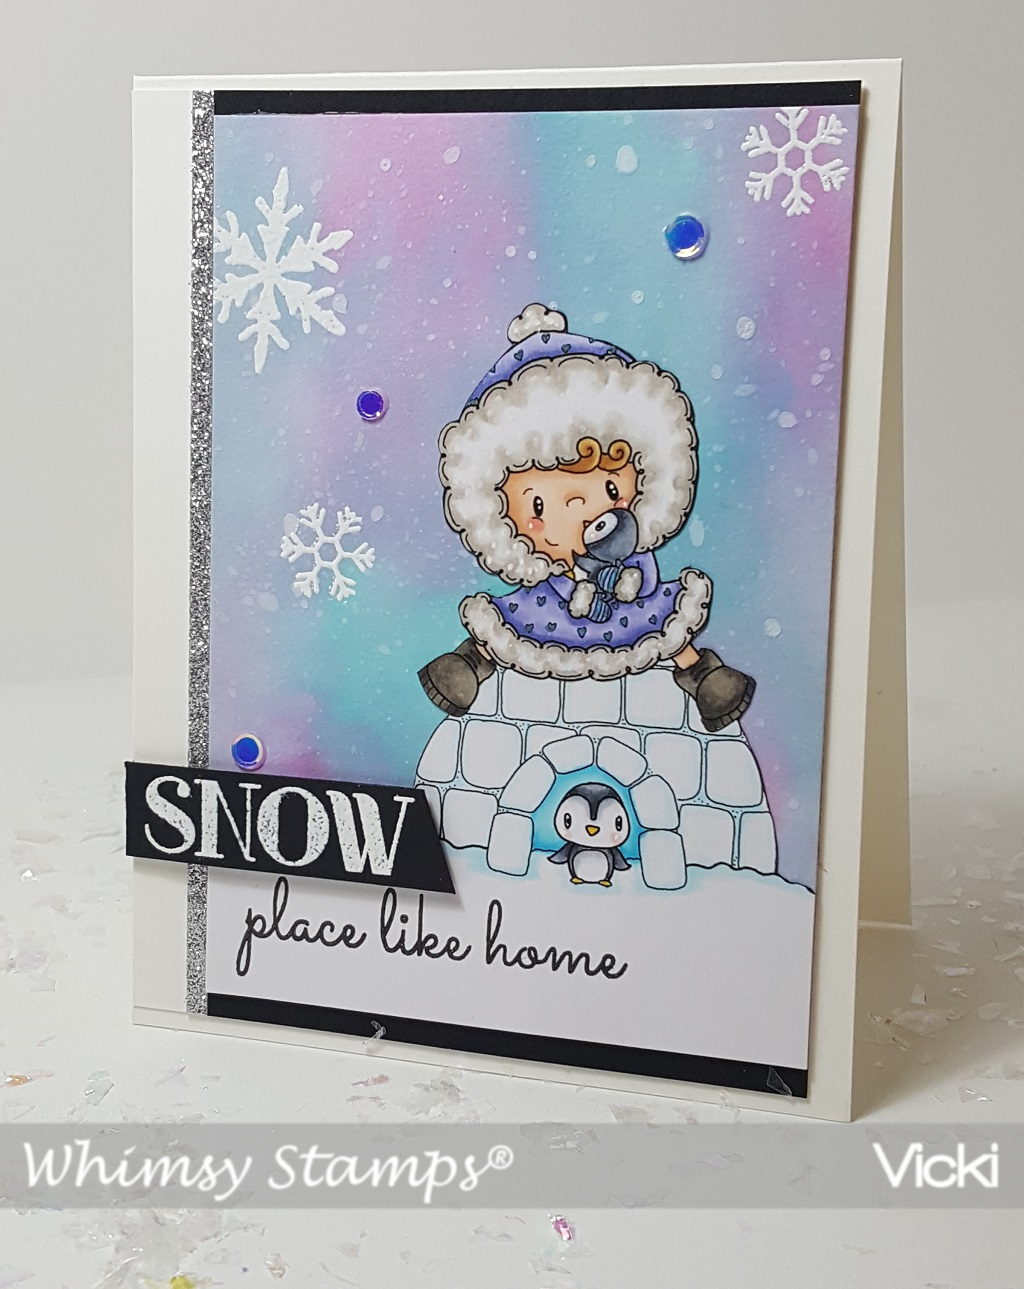
Vicki-WS-Iggy-Nov13

This darling image is called “Iggy” and I just love these sweet little penguins with her! 🙂  Here are the Copics that I’ve used to color her with:

  1.  Coat/fur trimming – BV04, BV02, BV01/W3, W1, W0, blender, white gel pen for dots, blue gel pen to color hearts
  2. boots – W9, W7, W5
  3. Penguins – C8, C5, C3, C1, Y17, R00
  4. Skin/Hair – E23, E21, E11, E00, E000, R20, R00, white gel pen for cheeks
  5. Igloo/Snow – B04, B01, B00, B000

I fussy cut the image long with the ‘ground snow’ and left a spot at the bottom for the sentiment.  I outlined the image with a black marker and attached it to my winter snow background that I’ve made.

To make the background, I took the Stormy Sky, Peacock Feathers and Dusty Concord Oxide inks and a water brush to swirl a pretty winter sky pattern.  I dried it and then took a toothbrush to flick some white paint over it for the snow.  I then took a couple of the snowflake images from the Whimsy Stamps Snow Flurry clear stamp set and white heat embossed them in places on the background.  I’ve also used this same set to heat emboss the “snow” sentiment over a piece of black cardstock that was popped up with foam tape over the image panel and then the rest of the sentiment was stamped in black ink right below the image.

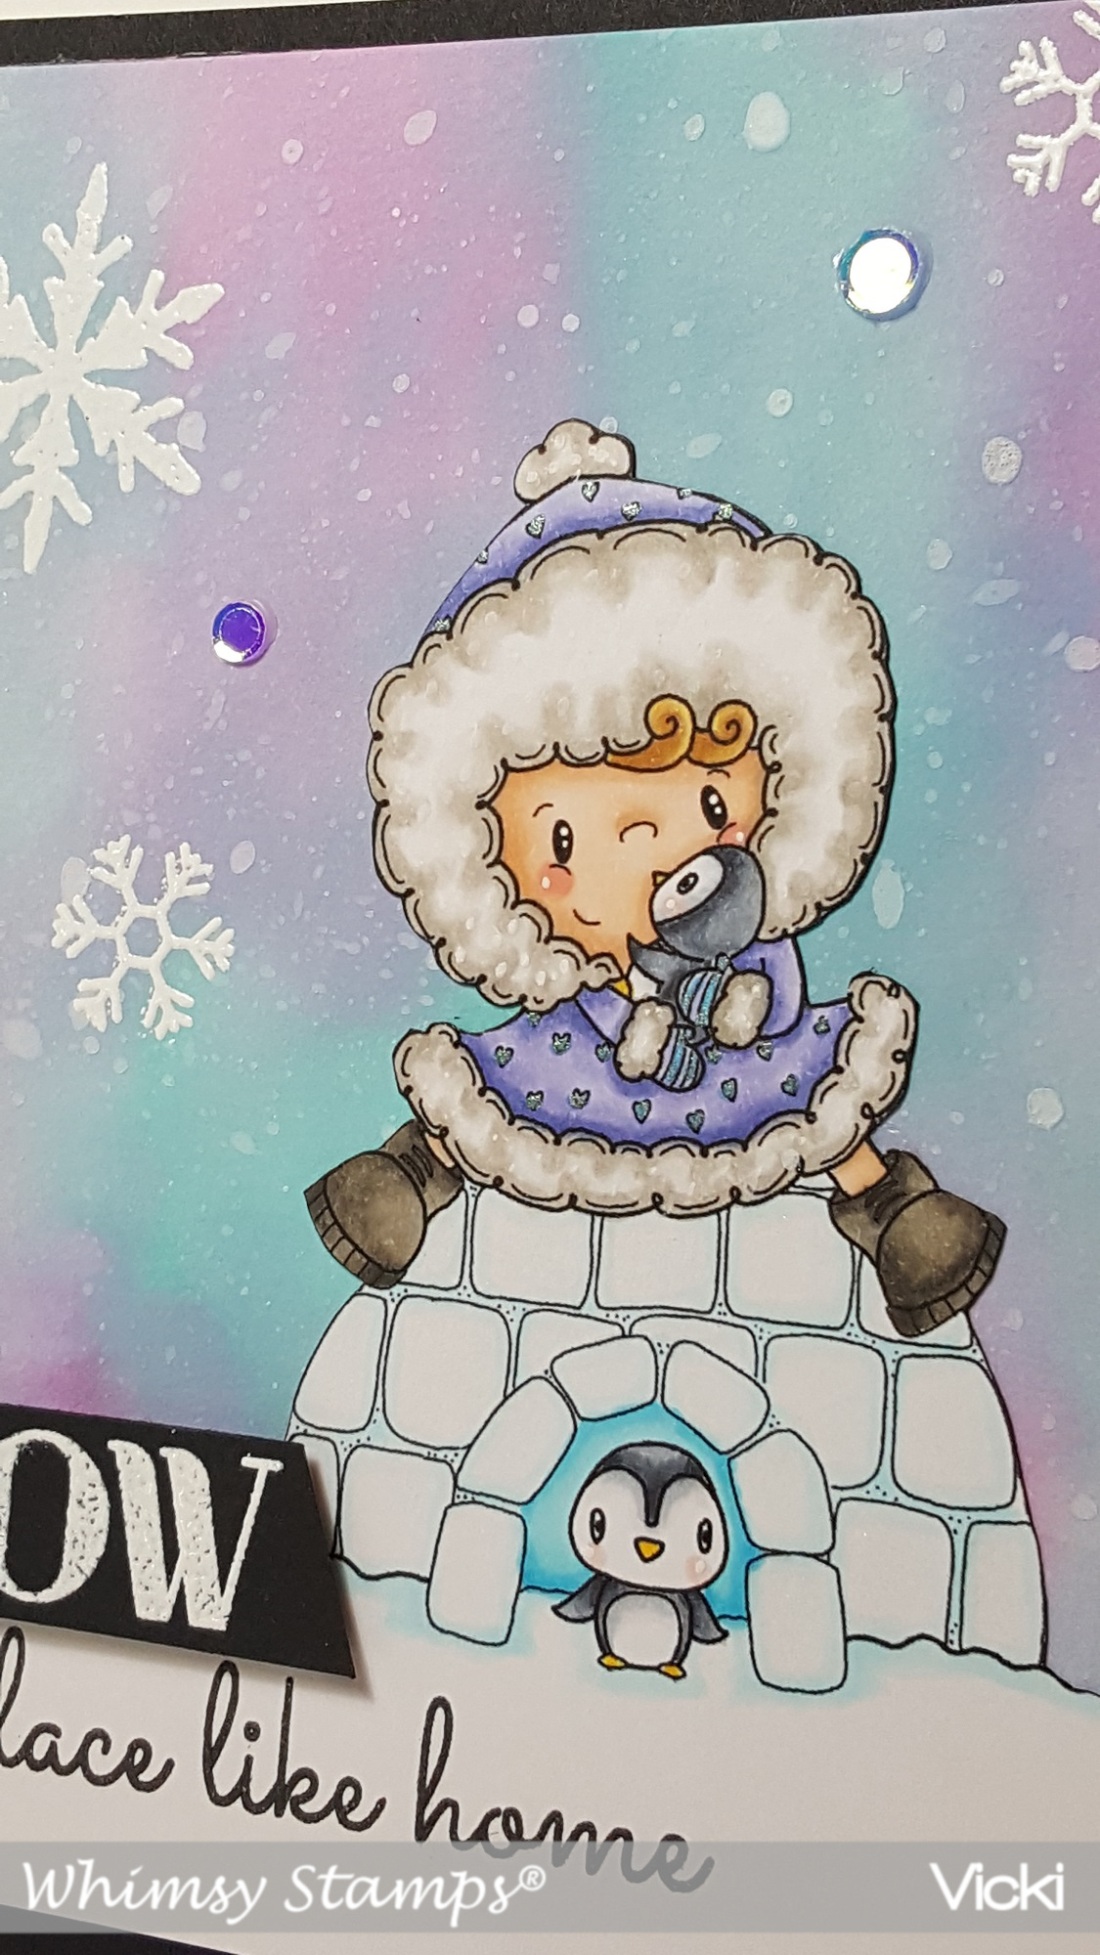
Vicki-WS-Iggy-Nov13-close

Here you can better see a closer look at the details of the coloring.  I’ve also put some shimmer over the entire igloo with a Spectrum Noir glitter brush pen.    Thought I could see it when I took the photo, but of course it’s not showing up!

Vicki-WS-Iggy-Nov13-2

I took the snowy image panel and mounted it over a piece of black cardstock and then took a very thin strip of silver glitter cardstock to lay right next to it over a piece of white card stock.  I took this white card front base and attached it to the left side of a top folding A2 #110 card base.  Lastly, I’ve taken some sequins and attached them to the snowy background for a bit more sparkle.

I hope you’ve enjoyed my card today!  Thanks for dropping in!

Here are the challenges I’d like to enter this card for:

  1.  Creative Inspirations – November Chill
  2. That’s Crafty – Winter Wonderland
  3. QKR Stampede – #321 Anything Goes
  4. Crafting From the Heart – Anything Goes
  5. Artistic Inspirations – Anything Goes