Hello friends! It’s that time of year when we turn over a new year and then realize that we need a calendar to keep track of our days…at least I do anyway! I don’t feel ready for the year ahead until I’ve got my calendars up and ready to roll! Usually, I’m ready to go by the end of the year, but I ran out of time with the Holidays, and I had planned on giving calendar gifts which I sent late, but I did get them done! I still feel in Holiday mode because of this…Ugh!
So this month I’ve been working on several calendars and spending most of my time coloring them up. It’s been very cold over my way, so I actually enjoyed doing them. Here are a few sets that I sent out for gifts:

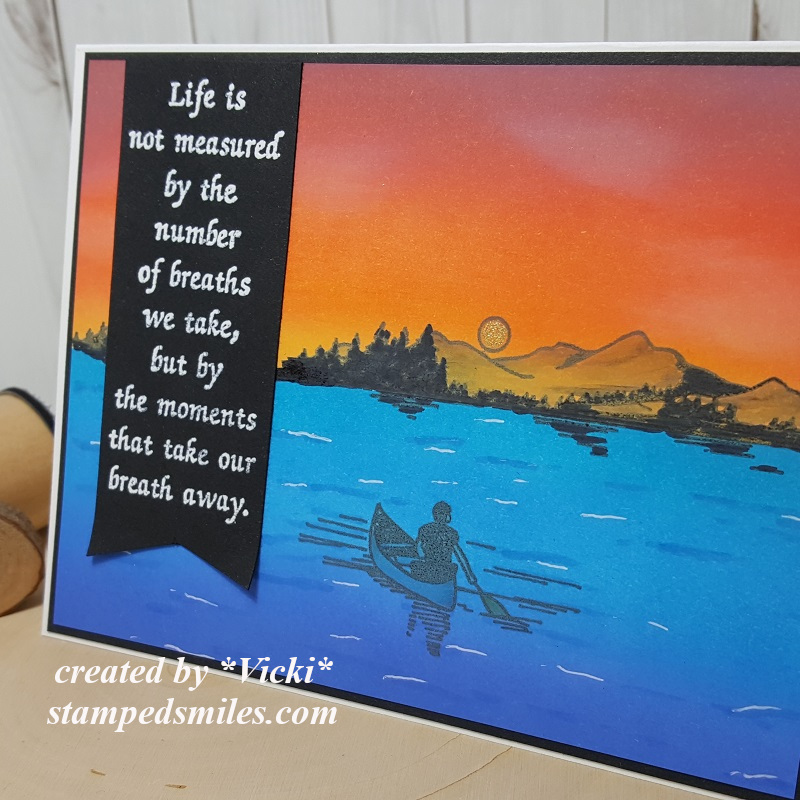
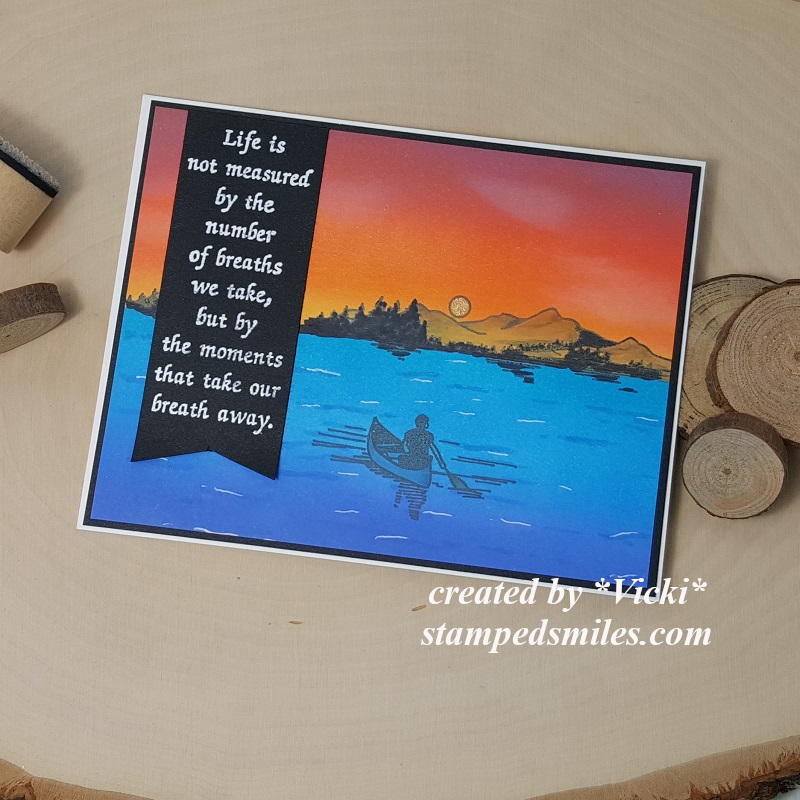
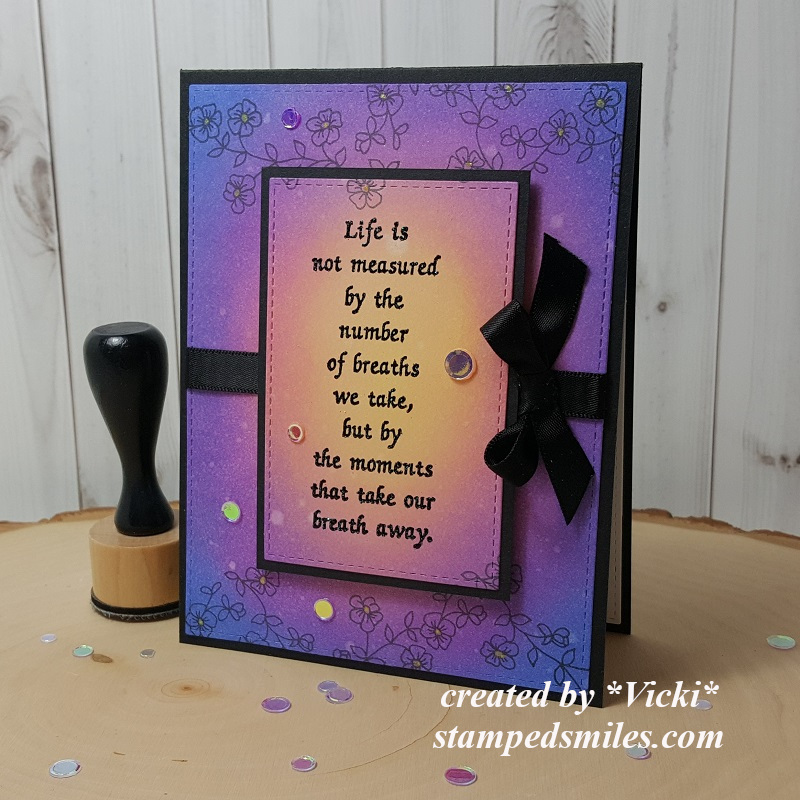
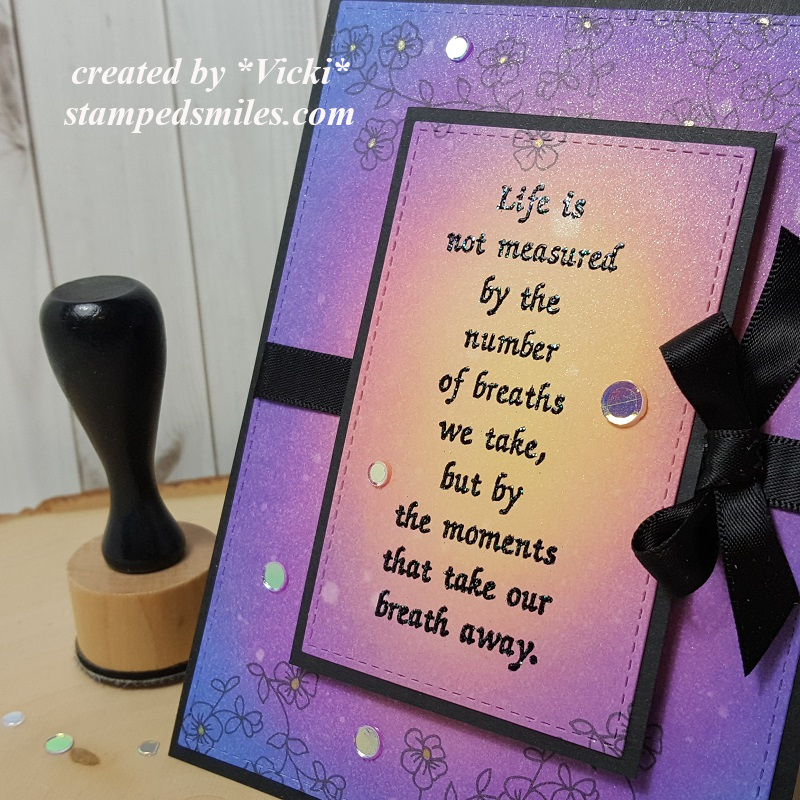
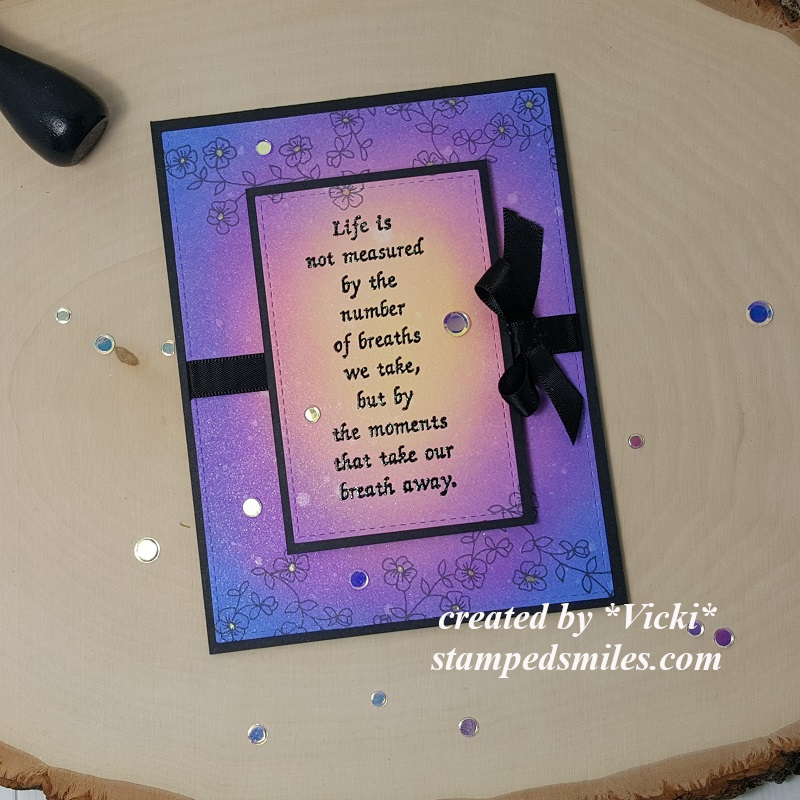
I think these Taylored Expressions Feisty Square Calendar Cards are my favorite!😆 I was laughing at each one as I was coloring them up! The cards are already printed and makes it easy to get them colored up and attach them to the Desk Calendars. All of the image cards are blank so that you can use them however. I decided to just create my own background with each one using my markers in different ways while I was coloring them up.
I gave this set as a gift and wasn’t sure how they would choose to be displayed, so I added a magnet on the back of each one and also included a Walnut Wood Display, so they had a couple of options to use.
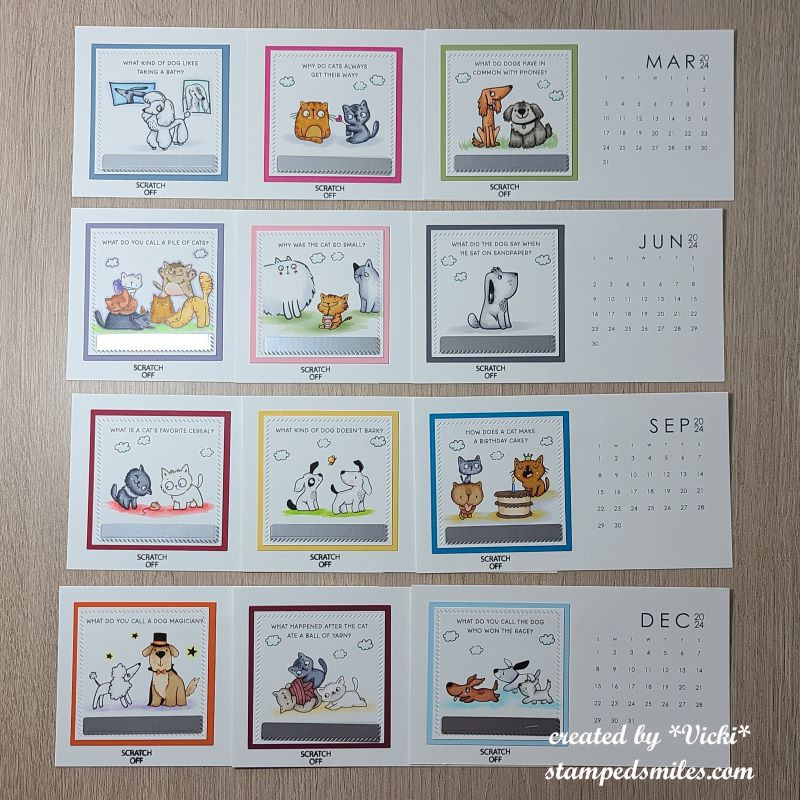
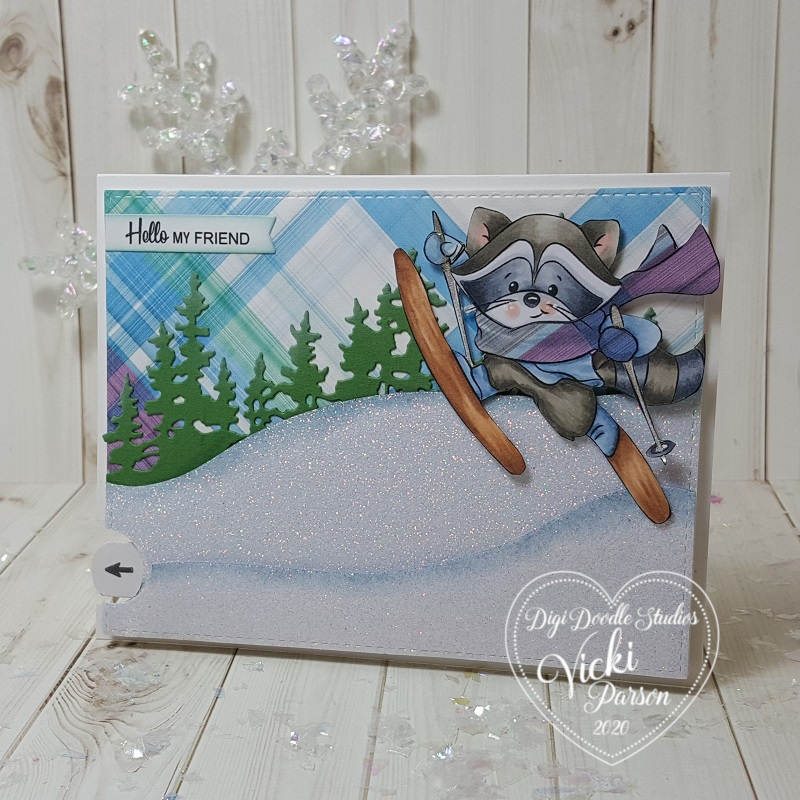
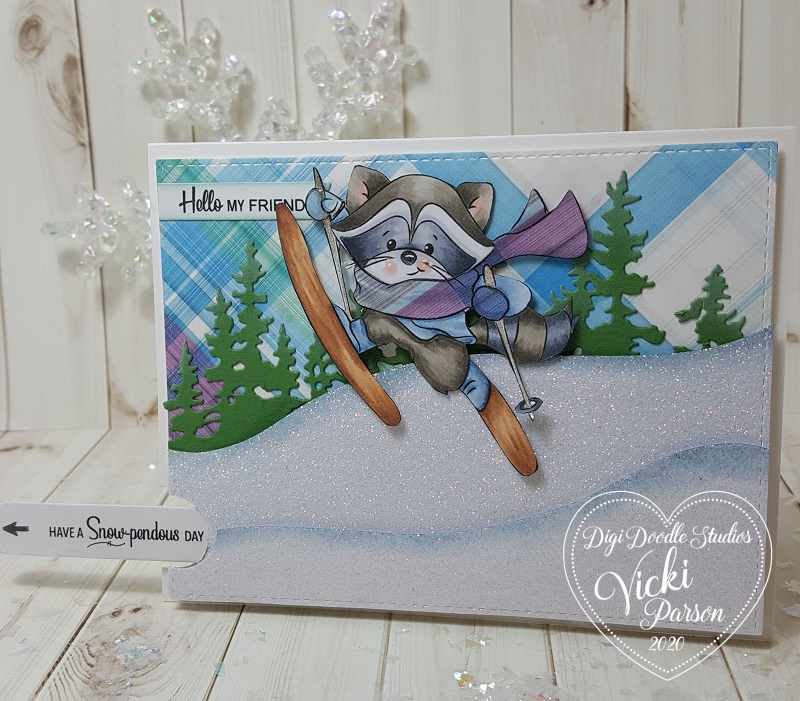
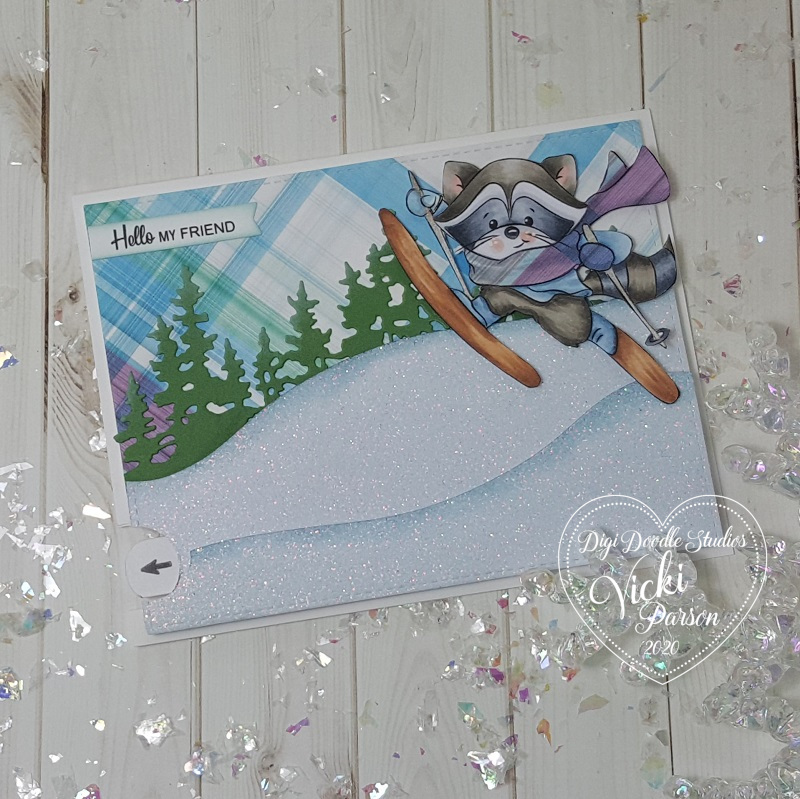
This next set was put together the same way I did the calendar above, expect these are the Taylored Expressions Scratch-Off cards. (This one is not available in the store because I received the entire set with my Advent Calendar purchase.) I thought these pups and cats were too cute and a perfect gift for someone that has both a dog and cat in their family.
After I colored them in, I added the Taylored Expressions Scratch Off Stickers to cover up the joke punch line. I then used the TE Square Tear Off Calendar dies to create the design around the edges and a layer of cardstock to coordinate behind each one before placing on the calendar cards. I also stamped “scratch off” under each card so that the person can scratch off the joke punch line for every month and see a new joke.
I also added a magnet on the back of each one as well as include a Walnut Wood Display so the recipient can choose how to display the calendar.
- Click on the photos to enlarge on website!
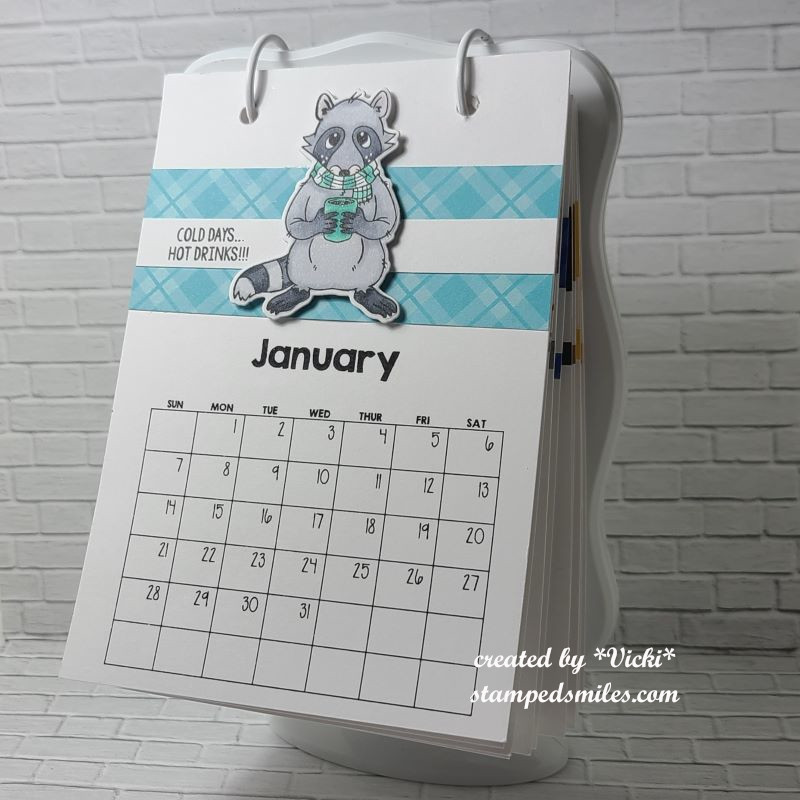
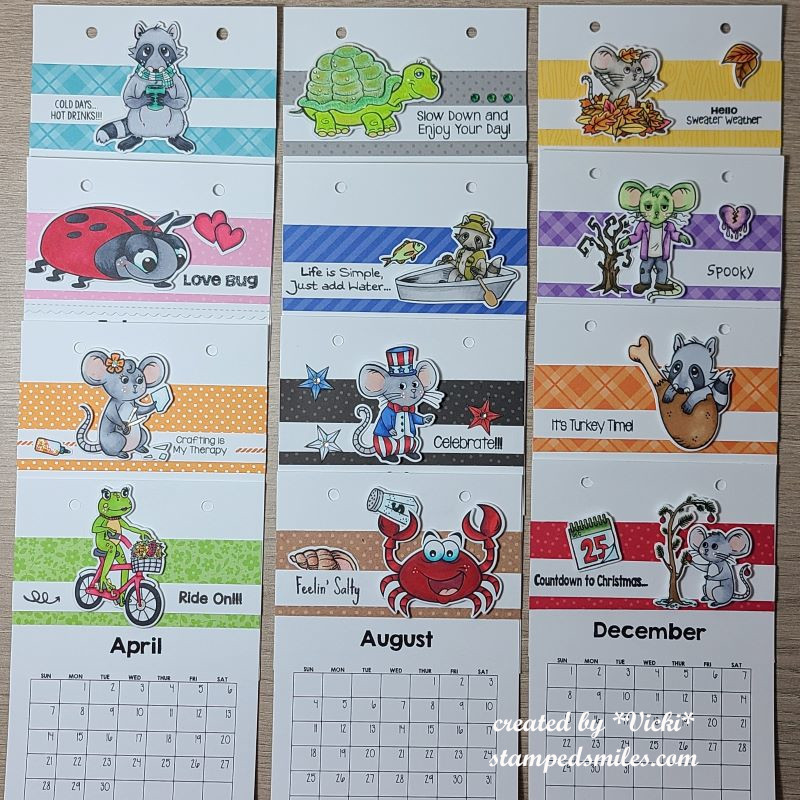
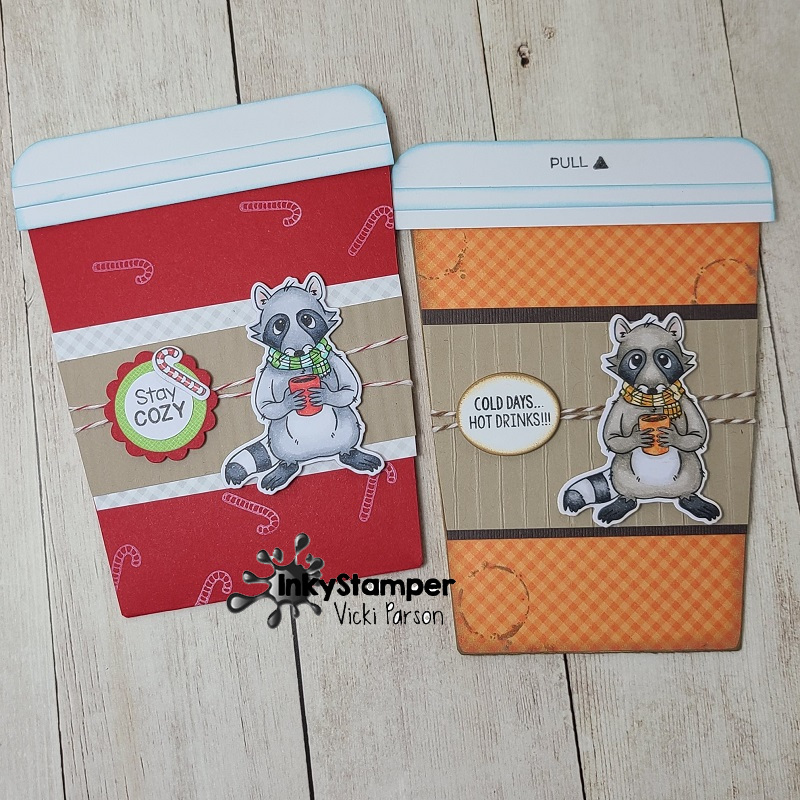
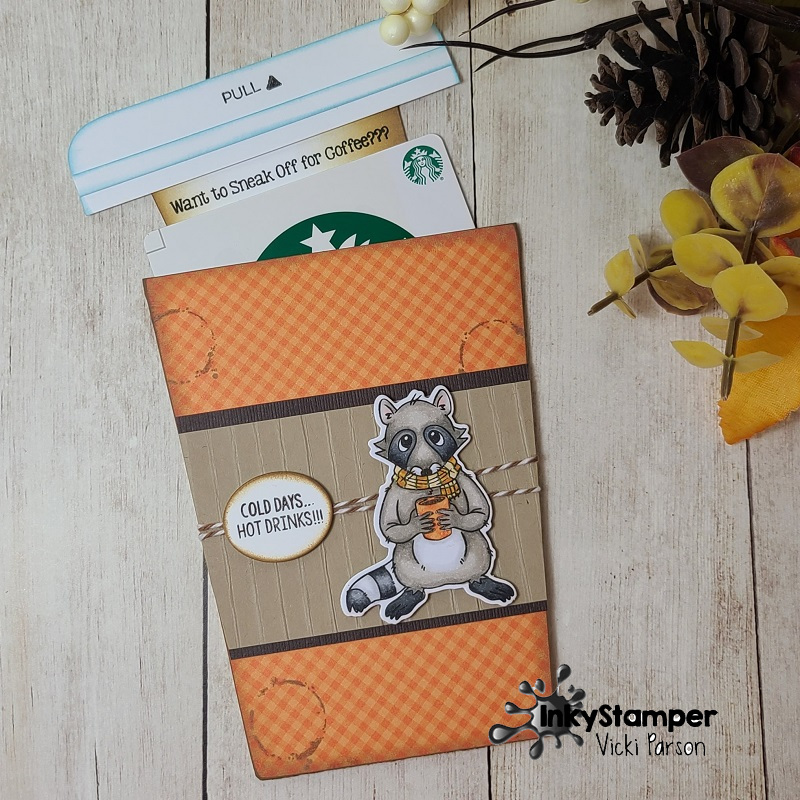
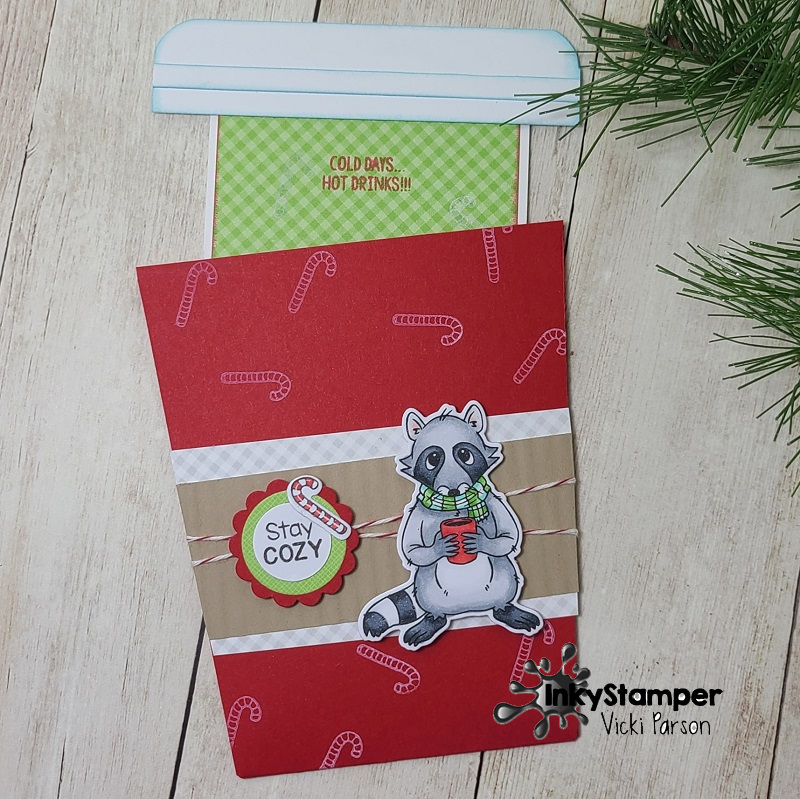
Every year I always get the Inky Stamper Calendar kit that gets put together at the end of each year. There is usually a number limit on how many are available each year, so if you are interested, you might want to click on the link to get one because I’m not sure how many more there are left.
These were also fun to put together and color. I chose to stamp my own images and cut them out. You still get the pattern papers and white sentiment strip with each month.
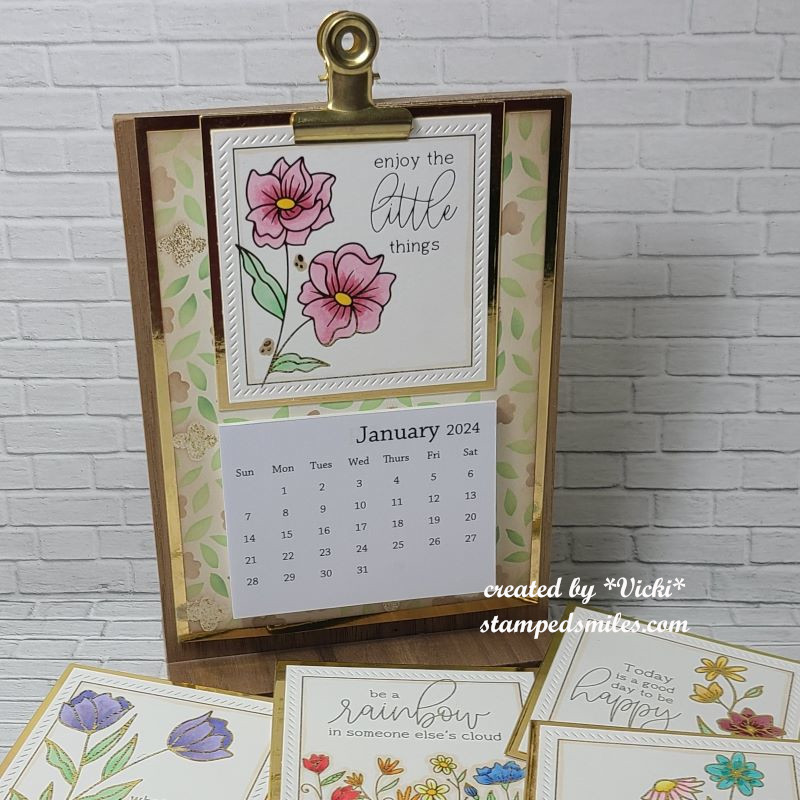
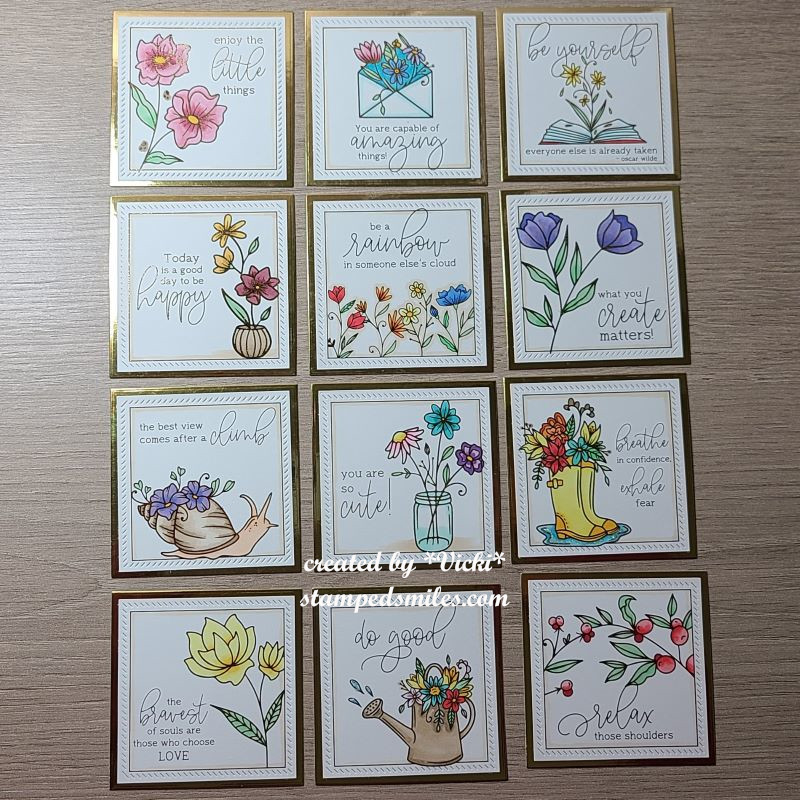
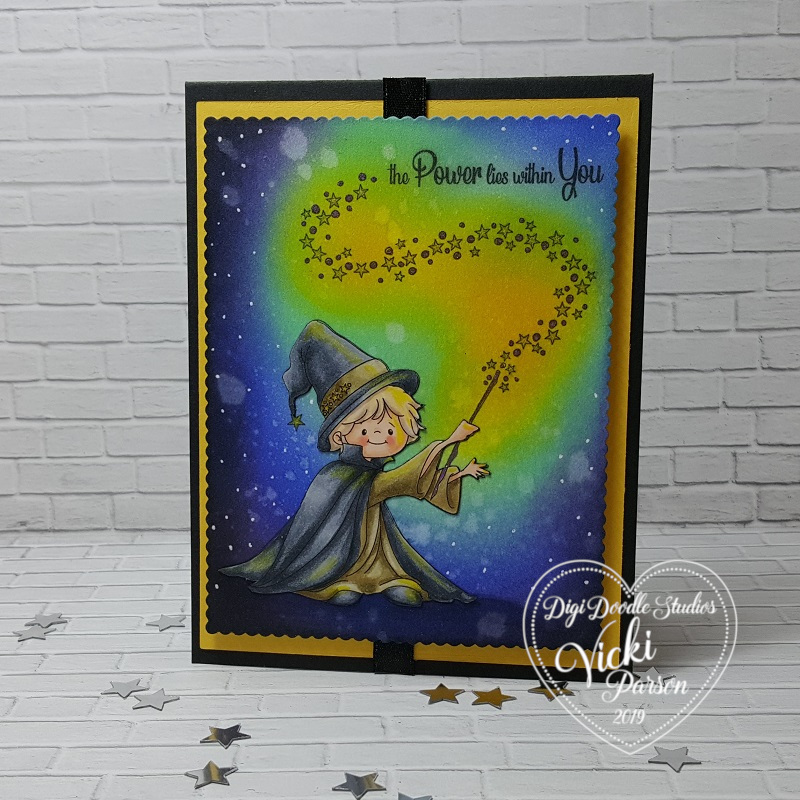
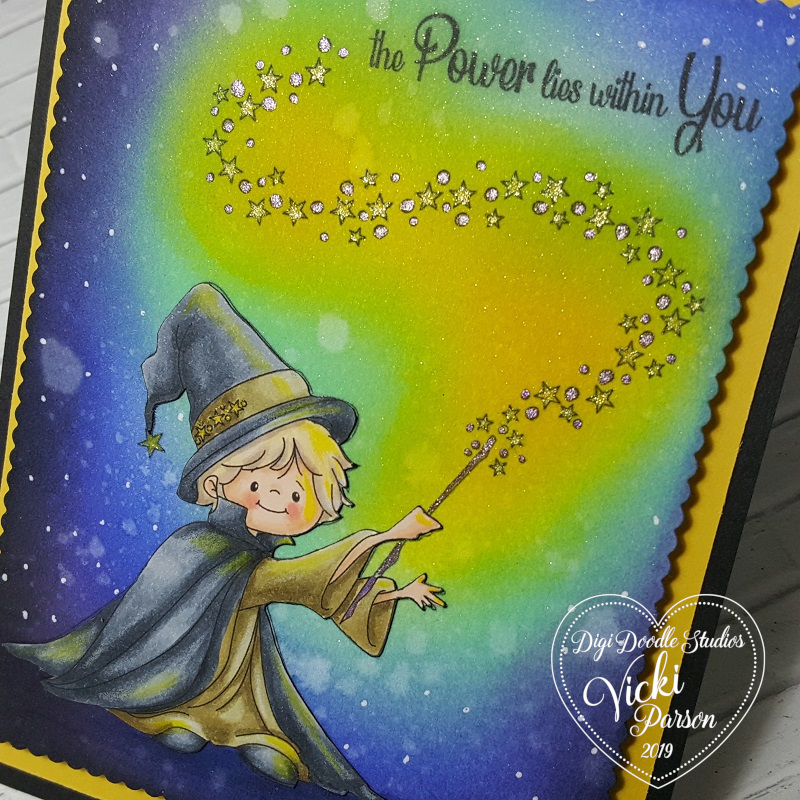
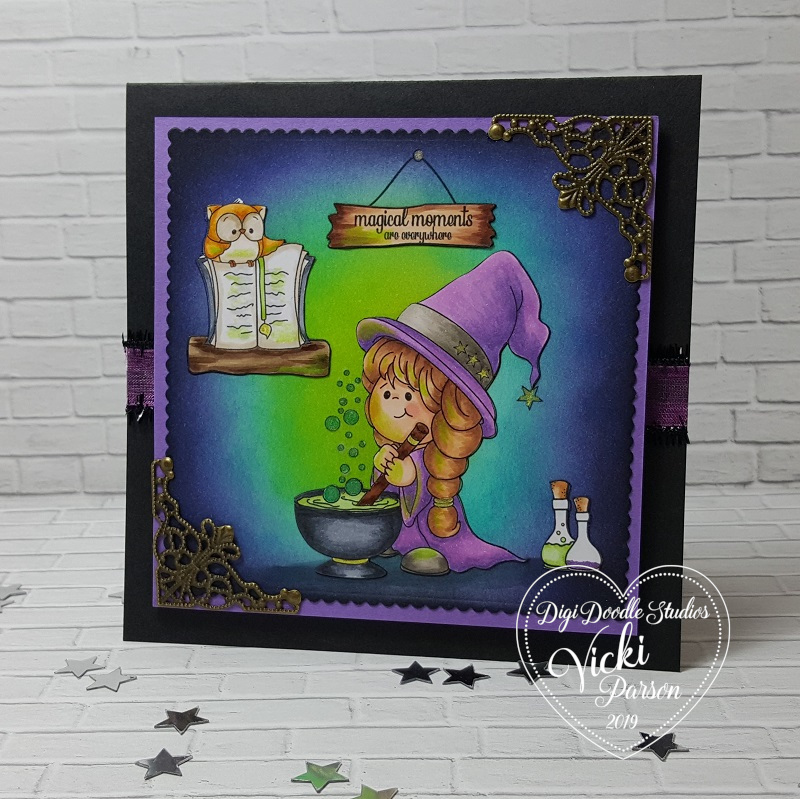
I absolutely love how this calendar turned out! I’ve used the Taylored Expressions Friendly Square Calendar Cards and I thought they were so uplifting. This time of the year positivity is something that is very important to me and can be hard to come by. The days seem to be gloomy and short with little sunshine, so coloring all of these was great to fill my time with.
For this display, you may remember a calendar I had done a few years ago on THIS POST using the TE Snarky Calendar Cards. I’ve decided to update that one and used the same display stand to create this one, which is why I prefer using this stand. It’s nice and durable.
I have gold foiled each card and colored it. I’ve made a new background display card with a layered stencil and I’ve layered everything with gold foil cardstock. I’ve got a bag on the back to store my extra cards so that I can switch them out whenever I’d like. All of the gold shine really catches my eye and is pleasant to view.
I hope you’ve enjoyed my post this afternoon and I REALLY appreciate you taking the time out of your day to leave me a comment. It means very much to me as does your support!
Have a beautiful day and I’ll see you on Saturday for my first Art Journal Page of the year!
Challenges:
- Crafting From the Heart– Anything Goes
- Ally’s Angels – Anything Goes
- Love to Scrap – Anything Goes
- Love to Craft – Anything Goes
- A Perfect Time to Craft – Anything Goes
- Crafty Calendar – Anything Goes
- Lil Patch of Crafty Friends – Anything Goes